Anyone who enters the kitchen will first look at the cabinets, which is reason enough to give it a fantastic look.
Changing the cabinets is expensive and time-consuming, and the best part is that you can have a DIY makeover for an impressive outcome with the best oil paint.
The first step should be identifying the right paint and color that combines well with your décor. Your choice should be durable, resistant to scratch, and environmentally friendly.
It’s good to go for a paint with low or no volatile organic compounds, not forgetting to check this paint’s dry time and smoothness.
Oil paint will provide your surface with a smooth finish, and most of them require two coats for a perfect finish.
Keep reading to get familiar with some of the best paints for your cabinet.
https://www.youtube.com/watch?v=B4glGMiHxDI&pp=ygUzQmVzdCBPaWwgUGFpbnRzIGZvciBDYWJpbmV0cyBmb3IgYSBQZXJmZWN0IE1ha2VvdmVy
Quick Glance: Best Oil Paints for Cabinets
| Oil paint | Best Feature | Color Pack | Item Volume (milliliters) |
| INSL-X Cabinet Coat | Super Adhesion | 1 | 3785 |
| Nuvo Titanium Cabinet Makeover | Best All-in-One Set | 2 | 1892 |
| Retique It Chalk Paint | Zero VOC Content | 44 | 947 |
| Chalk-Style Cabinet Paint | Beginner Friendly | 50 | 473 |
| Chalk Chicks Oil Paint | Ready-to-mix formula | 50 | 947 |
1. Best with Super Adhesion: INSL-X Cabinet Coat
One thing I love about this oil painting from INSL-X is its durability and ultra-smooth finish that gives your cabinet an elegant look.
The paint has super adhesion to hard coat surfaces even without a primer. It covers 350 to 450 square feet per gallon.
It’s resistant to chipping, food stains, and scuffing grease water, making it the perfect solution for your greasy kitchen cabinets.
The paint should be used when the air surface or product temperatures should be between 10 degrees and 32 degrees.
It’s an excellent factory-like lasting beauty paint if you plan to refurbish your kitchen or bathroom cabinets; it’s also valuable for shelving and crown molding.
Apart from using it for the cabinets, you can apply it on metal, new wood, and door trims. The paint has instructions that will make your painting journey more effortless if you are doing it yourself.
2. Best All-in-One Set: Nuvo Titanium Cabinet Makeover
For a fabulous makeover in your kitchen, the paint set from Nuvo serves you right, giving your cabinets a versatile look.
Your outdated cabinets will turn into new ones with the titanium infusion giving them a timeless color that matches your household items and décor.
The best part is that you can implement the whole makeover yourself without going through an extra cost for hiring an expert.
You will transform your wood and metal cabinets using two coats of paint through roll-on application: the coat dries in a satin finish.
The kit has all the essential tools to cover 100 square feet to cover your cabinets thoroughly.
If you are sensitive to strong odors, Nuvo cabinet paint is a low-odor paint with the paint and primer combination covering all finishes.
It’s water-resistant, making it withstand any wear and tear without adding a topcoat and sealers.
3. Best with Zero VOC Content: Retique It Chalk Paint
For safe and superior coverage for your cabinets and furniture, Retique It is designed to fit your painting needs.
It doesn’t have volatile organic compounds, and the cabinet gets an excellent finish with one or two coats. The acrylic oil paint is easy to apply.
The paint is thick and has excellent self-leveling coverage giving your cabinet a chalky finish, plus it dries after thirty minutes.
It has virtually no odor and is hypoallergenic, making it environmentally friendly and safe for your family.
The polyacrylic paint has a fantastic adhesion for all cabinet surfaces, with minimum prep work required.
You will find a high-end paintbrush in the box that helps in thick painting, wonder brushes for smooth painting, and a sponge for sealer application.
4. Best for beginners: Chalk-Style Cabinet Paint
If you have mismatched décor at home, the chalk-style cabinet paint will help you deliver an exceptional look to your boring cabinets.
Little or no prep work is required when you plan on using this paint since the clay and mineral formula have an outstanding adhesion for a more straightforward job.
Before starting your job, ensure the surface is dry and you have purchased all the brushes and sealers to help you finish.
Everyone visiting your home will be amazed by the excellent finishing on your cabinets; you will also enjoy the durability brought by the paint.
It has superior coverage even in bright colors, and your project requires one or two coats to get it done. You have 50 colors to select from for a personalized décor.
The paint is eco-conscious with meager amounts of VOCs that have no chemicals and not to mention the low odor that makes it favorable for your indoor furniture.
5. Best Ready-to-Mix: Chalk Chicks Oil Paint
If you are looking forward to restoring renaissance in your cabinet and other furniture, the 50 colors will help you through the process.
The DIY paint will offer excellent consistency with its spreading very smooth, with no clumping or flaking on the surface; it makes the whole process hassle-free and fun.
You don’t require sanding, stripping, or sanding before applying, and it requires minimal prep and a ready-to-mix formula that doesn’t need water.
You can use the painting brush or a spray gun to apply the paint, and the full coverage is one to two coats. An HVLP sprayer with a 2mm tip will work perfectly.
After applying it, you can use a seal with furniture wax or polyacrylic to protect your beautiful coat and increase its durability. The paint has low VOCs increasing its safety.
One QT of this paint will cover up to 150 SQ feet. Plus, it adheres to wood, metal laminate, or glass cabinets.

How to choose the right type of oil paint for your cabinets?
The first step to choosing the right type of oil paint for your cabinets is to consider the surface you are painting. Different types of oils will have different levels of durability, so it’s important to consider the surface material and its porosity when selecting a suitable oil.
If the surface is already sealed, then an alkyd-based oil paint may be the best option as it provides a high level of durability and moisture resistance. However, if the surface is raw wood or a porous material like concrete or brick, then an oil-based paint with a lower viscosity may provide better absorption and coverage.
In addition to considering the surface material, it’s important to consider the type of finish you want on your cabinets. Generally speaking, there are two main types of oil paints: gloss and matte.
Gloss paints will provide a shiny finish that reflects light well, while matte paints will offer a more muted look that can help create a softer feel in a room. It’s important to choose an option that won’t detract from other design elements in the room such as artwork or furniture pieces.
It may also be worth experimenting with different sheens before making your final decision.
| Brand | Color Options | Finish | Price Range |
|---|---|---|---|
| Sherwin Williams ProClassic Interior | White, off-white, various neutrals, and custom colors | Semi-gloss | $50-$60 per gallon |
| Benjamin Moore Advance Interior | White, off-white, various neutrals, and custom colors | Satin or semi-gloss | $50-$60 per gallon |
| Pittsburgh Paints Manor Hall Timeless | White, off-white, various neutrals, and custom colors | Semi-gloss | $40-$50 per gallon |
| Behr Premium Plus Ultra Interior | White, off-white, various neutrals, and custom colors | Satin or semi-gloss | $30-$40 per gallon |
| Dunn-Edwards Aristowall | White, off-white, various neutrals, and custom colors | Semi-gloss | $50-$60 per gallon |
What is the cost of painting cabinets with oil paint, and is it worth it?
The cost of painting cabinets with oil paint can vary depending on the type of paint and other materials needed. Expect to pay anywhere between $50-$ per gallon for quality oil-based paint, plus primer, brushes, rollers, and drop cloths.
In addition, painting your cabinets with oil paint takes several days due to the number of coats needed and the drying time required. But despite the higher upfront costs and time commitment, many people decide to use oil paints because they offer longer-lasting protection compared to other types of finishes.
Oil paints also have excellent color retention which makes them great for areas exposed to direct sunlight. Ultimately, painting cabinets with oil paint is an investment that can help you save money in the long run as it will protect your cabinets from damage caused by water or wear and tear for years to come.
What are the ways to maintain the oil paint finish and make sure it lasts longer?
The best way to ensure that your oil paint finish lasts longer is to start with a high-quality product. Investing in good quality oil-based paint will provide better coverage and durability over time.
Additionally, it’s important to keep the cabinets clean and dry, as dust and moisture can damage the paint finish. A regular wipe-down with a dry cloth or a mild cleaning solution can help remove dirt and grime from the surface.
In order to prevent fading and further damage to the paint finish, it’s also important to protect it from direct sunlight.
Applying an additional layer of clear varnish or sealer after painting can help protect against UV rays and prevent fading of the color. This can be done every two years or so in order to maintain the color and make sure that it lasts longer.
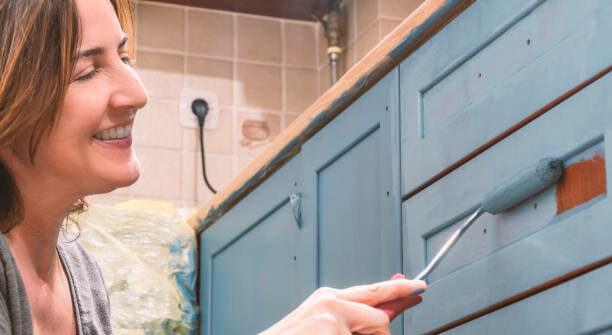
How long does it take for oil paint to dry on cabinets?
Oil paint typically takes anywhere from 6 to 48 hours to dry on cabinets, depending on the environment and the thickness of the coat applied. For example, a thicker coat may take longer to dry than a thin coat.
Additionally, warm and humid temperatures can slow the drying process, while cooler temperatures can shorten it. It’s important to keep in mind that oil paint needs a full day of drying time before another coat can be applied, so plan ahead accordingly.
When applying oil paint on your cabinets, make sure to follow the manufacturer’s instructions for best results. Applying too much paint or applying it incorrectly can cause the paint to take longer to dry or not properly adhere.
If you experience any issues with the drying process, such as peeling or cracking, it may be necessary to sand down the surface before reapplying with new layers of paint in order to achieve an even finish.
Do I need to sand my cabinets before painting with oil paint?
Yes, it’s important to sand your cabinets before painting them with oil paint. Sanding helps create a smoother surface and allows better adhesion of the paint to the cabinets. It also ensures that any imperfections or damage will be covered up by the new coat of paint.
The type and coarseness of the sandpaper you use will depend on the surface material of your cabinets; generally speaking, softer surfaces require finer sandpaper than harder ones. Before applying oil paint, use a vacuum cleaner to remove loose dust particles, and then scrub down your cabinets with a damp cloth or sponge to remove any remaining dirt or grime.
Once you have finished this step, apply an even coat of sandpaper over the entire cabinet until it is smooth and free from scratches, nicks, and dents. After this has been completed, you can proceed with applying your oil-based paint for a beautiful and long-lasting finish.
What are some common mistakes to avoid when painting cabinets with oil paint?
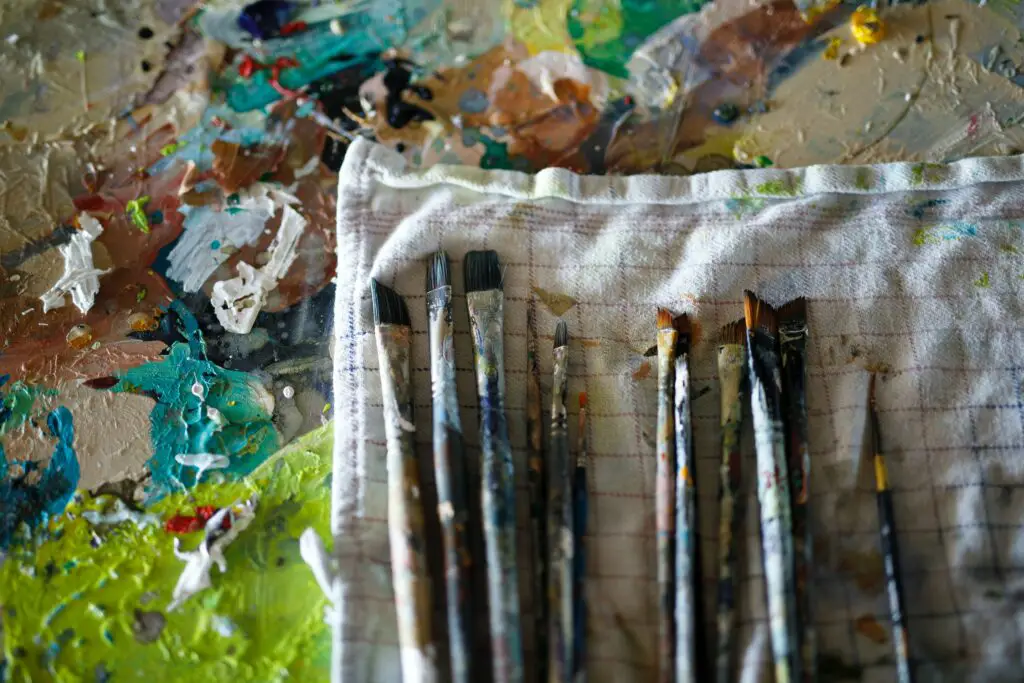
One common mistake to avoid when painting cabinets with oil paint is applying too much paint at once, as this can lead to an uneven finish. Applying thick layers of oil paint can result in drips or runs, and the resulting texture will be noticeable after the paint has dried.
To prevent this from happening, always use thin coats of paint and apply even pressure when brushing the paint onto the surface. Another mistake to avoid when painting cabinets with oil paint is not preparing the surface properly beforehand.
Sanding and cleaning cabinets before painting are essential for achieving a smooth and uniform look; failing to do so could result in an uneven and bumpy finish. It’s also important to check for any holes or cracks on the surface, as these should be filled before applying the first coat of paint.
Taking these steps beforehand will ensure better adhesion of the paint and provide a more professional-looking result in the end.
Final Word
For a durable finish on your cabinet, oil paints work perfectly since they have either zero or low volatile organic compounds (VOC) content, making them safer for interior use.
I love oil paints because they stand fading or chipping and sparkle with a clean sponge. The above review will help you determine the best paint for your cabinet. All the best.
https://www.youtube.com/watch?v=6R9HKvGxbR0&pp=ygUzQmVzdCBPaWwgUGFpbnRzIGZvciBDYWJpbmV0cyBmb3IgYSBQZXJmZWN0IE1ha2VvdmVy
