Oil painting is a popular medium in the art world for its versatility and vibrant colors. However, many aspiring artists face challenges when attempting to correct mistakes or refine their work. One question that often arises in such situations is, can you sand an oil paint? The answer, as we explore further, is not simple and may depend on factors such as the drying time, paint thickness, and the artist’s intentions.
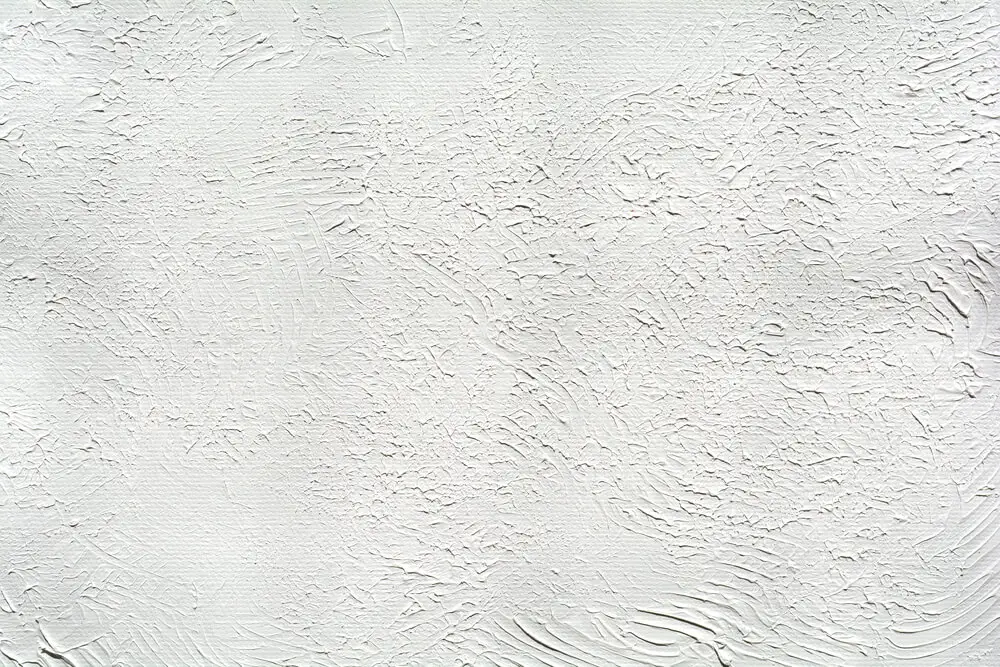
Sanding an oil painting is possible, but it should be done with caution. Oil paint takes significantly longer to dry than other paints, such as acrylics, and the drying process can be influenced by environmental factors like humidity and temperature. When the oil paint has fully dried and formed a stable surface, light sanding can be used to correct minor imperfections or adjust the texture of the painting.
There are various techniques available for sanding oil paint, and choosing the right one depends on the desired outcome. Precautions should be taken while sanding, such as using fine-grit sandpaper and gentle pressure to avoid damaging the artwork. Additionally, sanding should be done in a well-ventilated area to prevent inhalation of dust. Keep in mind that while sanding can provide some benefits in refining a piece, it’s essential to approach the process with care and knowledge to avoid causing harm to the artwork.
Understanding Oil Paint and Its Properties
Oil paint is a type of slow-drying paint that consists of particles of pigment suspended in a drying oil, typically linseed oil. The viscosity of the paint can be modified by adding different amounts of solvent, such as turpentine or mineral spirits, to the oil. This results in a thicker, more opaque finish compared to other types of paints, such as water-based or acrylic-latex paint.
The primary advantage of oil paint is that it allows artists to achieve rich colors and depth that would be hard to achieve with other kinds of paint. However, this paint also has a few drawbacks. One of the most notable disadvantages is the long drying time. Unlike acrylic-latex or water-based paint, which dries within hours, oil-based paint can take several days or even weeks to dry completely.
There are two types of oil-based paint: natural oil-based paint and alkyd paint. Natural oil-based paints are made using natural oils like linseed, walnut, or poppy oil as a binder. Alkyd paint, on the other hand, uses a synthetic resin called alkyd as the binder. Both types of oil paint have their own unique properties, but they both share a slower drying time compared to water-based paints.
Oil-based paints contain volatile organic compounds (VOCs), which are released as the paint dries and are responsible for the strong fumes that are often associated with oil paint. These fumes can be harmful if inhaled over an extended period or in large quantities, so ventilation and personal protective equipment are essential when working with oil paints.
Due to the presence of VOCs and the long drying time, oil paint is not always the most practical choice for home painting projects. Acrylic-latex paint and other water-based paints are more commonly used for these purposes, as they dry quickly and emit fewer odors. However, oil paint remains a popular choice among artists for creating fine art pieces due to its unique properties and the ability to achieve a distinct appearance that is hard to replicate with other paints.
Preparing the Canvas
Before attempting to sand oil paint, it is essential to properly prepare the canvas. A well-prepared canvas ensures a smoother painting surface and minimizes the need for sanding later. Begin by selecting a high-quality, tightly woven canvas that offers a sturdy foundation for your oil painting.
To prepare the canvas for oil paint, apply a primer such as gesso. Gesso is a white, acrylic-based substance that is both flexible and durable, making it the ideal primer for oil paints. It also helps to seal the canvas fibers and prevent the oil paint from seeping through.
When applying the gesso onto the canvas, use a wide, flat brush to create thin and even layers. It is recommended to apply at least two layers of gesso, allowing each layer to dry completely before applying the next one. If desired, you can lightly sand the gesso between layers to achieve a smooth surface.
Once the gesso is dry, inspect the canvas for any imperfections. These could include small indentations or raised areas, which may become more noticeable once the oil paint is applied. Gently sand the canvas with fine-grit sandpaper to address these imperfections, ensuring a more even surface.
After sanding the canvas, make sure to remove any dust or residue using a clean cloth or soft brush. With the canvas now properly prepared, you can confidently proceed with creating your oil painting.
Sanding Techniques
Choosing the Right Sandpaper
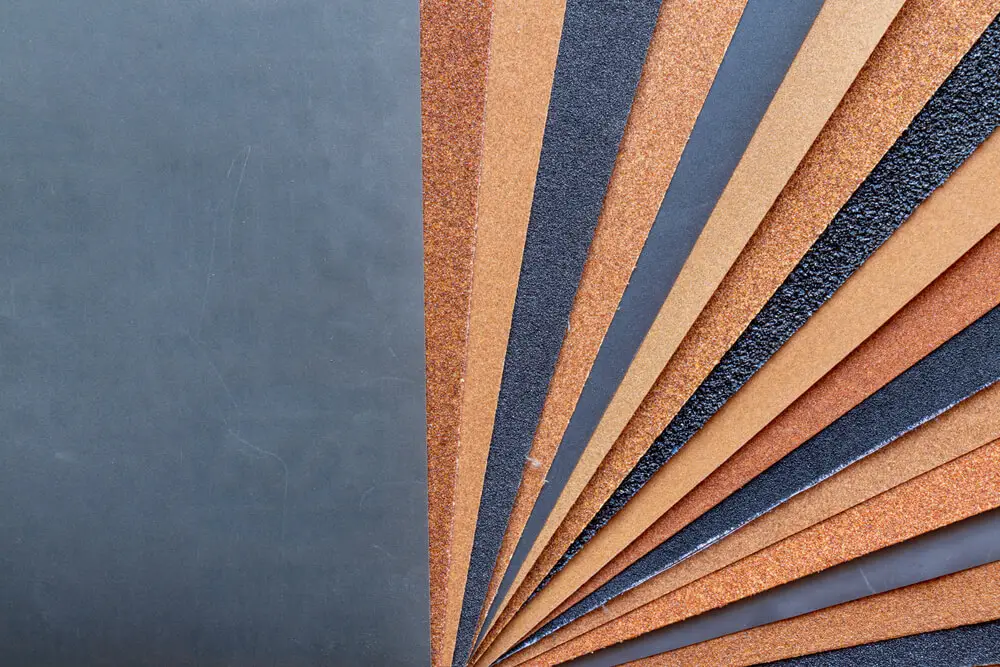
When sanding oil paint, it is essential to choose the right type of sandpaper. There are many varieties available, and the one you select will depend on your specific needs. In general, it is a good idea to start with a fine-grit sandpaper such as 220 or 320 grit. This will help remove most surface imperfections while minimizing the risk of unintentionally damaging the paint layer.
For more delicate tasks, you can also use an even finer grit sandpaper such as 400 or 600. However, bear in mind that you may need to sand longer or apply more pressure to achieve the desired results.
Sandpaper Grit
The appropriate sandpaper grit to use when sanding oil paint varies depending on your desired outcome. Here’s a simple table to help you determine the right grit level for different purposes:
| Purpose | Sandpaper Grit |
|---|---|
| Smoothing out Imperfections | 220 – 320 grit |
| Delicate Tasks | 400 – 600 grit |
In general, lower grits are more coarse and will remove more material, while higher grits are finer and will produce a smoother finish. As you sand, you may need to use a combination of these grits to achieve the best results.
When using a power sander, it is crucial to use a gentle touch and a fine-grit sandpaper to prevent damaging your oil painting. A power sander can be useful for large surfaces or when you need to do a quick job, but always exercise caution to avoid harming the paint layer.
Remember to take your time and be patient when sanding oil paint, as rushing the process may lead to unwanted damage.
Sanding Between Coats
Sanding between coats of paint is an essential step to achieve a smooth and professional-looking finish. The process involves gently abrading the surface of the undercoat to create an ideal base for the top coat to adhere to. It is particularly useful when working with oil paints, as it helps to prevent a buildup of texture and ensures that each layer is even and consistent.
When sanding between coats, it’s important to use a fine-grit sandpaper, typically in the range of 320 to 400 grit. This will remove any brush strokes or imperfections without causing damage to the paint layers. Begin by lightly sanding the undercoat, being careful not to press too hard and removing too much paint. Focus on areas with a visible texture or glossy surface, as these can cause issues when applying the top coat.
The Odd Nerdrum technique, a method used by the well-known Norwegian artist, utilizes sanding between coats in oil painting. This technique allows for the creation of a luminous, almost glowing effect on the canvas. By sanding the paint layers, the artist can create a smooth and highly reflective surface that enhances the depth and richness of the colors.
As you work your way through the painting process, sanding can be done between each layer or coat. This helps to build up a smooth and even surface for the final coat, which is typically the thickest and most vibrant layer of paint. Once the final coat is applied and dried, a light sanding can be done to make the painting surface even more smooth and glossy.
In summary, sanding between coats in oil painting is an essential technique to create a high-quality finish. By using fine-grit sandpaper and taking care not to damage the paint layers, you can create a smooth and even surface for both undercoats and top coats. The Odd Nerdrum technique demonstrates how this process can lead to stunning effects in artwork and is just one example of the importance of sanding between coats when working with oil paints.
Working with Latex Paint
Latex paint is a popular choice for many painting projects due to its durability and acrylic properties. It is a water-based paint that’s easy to clean up, making it a great option for both DIY and professional painters. When considering sanding an oil-based paint surface, it can be necessary to understand how to work with latex paint as a potential alternative or as a topcoat.
When using latex paint over oil paint, proper preparation is essential for the best results. Unlike oil-based paint, latex paint requires a longer curing time, usually around 30 days. During this time, the paint’s acrylic components form a strong and durable bond. Once cured, latex paint offers excellent resistance to weather and staining.
One important aspect while working with latex paint over oil paint is using a bonding primer. A bonding primer is specifically designed to create a surface that latex paint can adhere to. This is crucial because latex paint does not stick well to oil paint directly. Apply the bonding primer over the oil-based paint before applying the latex paint, and give it enough time to dry completely, according to the product instructions.
When working with latex paint, it is essential to ensure that the surface is clean, dry, and free of any loose or peeling paint. Sanding the oil paint to create a smoother surface can help the bonding primer and latex paint adhere better. Always start with a higher grit sandpaper and work your way to a finer one to avoid damaging the surface or the paint beneath.
Once the surface is well-prepared, using a high-quality brush or roller to apply the latex paint is recommended. Start with thin coats of paint, allowing each layer to dry before applying the next. Two or three coats of paint should provide an even and durable finish.
In conclusion, working with latex paint over oil paint is possible when proper preparation and technique are followed. By ensuring the bonding primer and required curing time, the result will be a long-lasting, durable finish that can withstand the elements and use.
Applying Wood Putty and Other Fillers
Wood putty is an essential tool for preparing a surface before sanding and painting with oil paint. It is used to fill in any imperfections or flaws in the wood, resulting in a smooth and even surface. To ensure a successful project, it is important to select the appropriate filler and apply it carefully.
Before applying wood putty, first clean the surface of any dirt, dust, or debris. This will help the putty bond better with the wood. Then, use a putty knife or a flat scraper to spread the putty across the surface of the wood, focusing on indentations and other imperfections. Work the putty into the indents using a forceful push, then scrape away the excess to create a level surface.
Allow the putty to fully dry according to the manufacturer’s instructions. This may take anywhere from a few hours to a couple of days, depending on the product. As the putty dries, it will shrink slightly, so you may need to apply additional layers to achieve the desired level of smoothness.
Once the putty is dry, begin sanding the surface with a fine-grit sandpaper, such as 220-grit. Sand in the direction of the wood grain to avoid creating unwanted scratches. Work progressively through increasingly fine grits, such as 320 and then 400-grit, to achieve a silky-smooth finish that is ideal for oil painting. Remember to wipe the surface clean with a tack cloth after each round of sanding to remove any accumulated dust.
When working with oil paints, it is crucial that you take the time to fill any imperfections in the wood. This not only ensures a smoother surface for the paint to adhere to but also creates a more visually appealing final result. By carefully selecting and applying the right filler, sanding the surface with the appropriate grits, and following the manufacturer’s drying recommendations, you can be confident in your ability to create a professional-looking piece of art.
Safety Considerations

When sanding oil paint, it’s crucial to prioritize safety measures. The process of sanding oil paint can release toxic fumes from solvents and create fine dust particles that may pose health risks.
Always work in a well-ventilated area to minimize the inhalation of toxic fumes and paint dust. Open windows and doors or use an exhaust fan to promote airflow. Additionally, it’s wise to wear a mask or a respirator to further protect yourself from inhaling harmful particles.
Due to the potentially hazardous nature of solvents, it’s essential to handle them cautiously. Use gloves and eye protection to prevent direct skin contact and accidental splashes. Keep solvents away from open flames or sparks as they are highly flammable.
Lastly, properly dispose of paint residue, soiled rags, and solvent containers to prevent accidental ingestion or exposure by other individuals or pets. Following these safety precautions will help ensure a safe and successful process when sanding oil paint.
Cleaning Up After Sanding
When you’re done sanding an oil painting, it’s essential to clean up the area to ensure no dust particles remain on the artwork. To begin the cleanup process, use a tack cloth to gently remove the dust from the surface. A tack cloth is a lint-free, sticky cloth specifically designed for picking up dust without leaving any residue behind.
Next, use a lint-free cloth to wipe down the painting once more. This step ensures that any remaining particles are removed from the surface. Dampen the lint-free cloth slightly with water or a gentle solvent, and carefully clean the painting’s surface, taking care not to damage it. Make sure the cloth you use is clean and free from any contaminants, as these could damage the painting.
After wiping the painting surface, thoroughly clean the surrounding work area. Sweep up any fallen dust, and dispose of it in a sealed bag to prevent it from recontaminating your painting or workspace. Don’t forget to clean your tools and equipment as well, including sandpaper and protective gear such as gloves and masks.
Once you have finished cleaning, allow the painting to dry completely before moving on to the next step in your process. Drying time may vary depending on environmental factors, so it’s essential to be patient and wait for the surface to become fully dry.
Finishing Tips for a Smooth and Durable Finish
Achieving a smooth finish with oil paint can be quite challenging, but with patience and the right techniques, you can create an impressive result. One key aspect in obtaining a smooth surface is minimizing visible brush strokes. Start by using a soft-bristle brush for improved consistency. Mixing your oil paint with a medium like linseed oil or Liquin can also help in attaining a smoother application. Remember to apply thin layers of paint, allowing each layer to dry before adding the next.
When aiming for a durable finish, it’s crucial to avoid common issues like peeling and cracking. To do so, follow the fat-over-lean rule: use leaner (less oily) paint for the initial layers and gradually add more oil to the subsequent layers as you progress. This provides a stable foundation and prevents issues as the oil paint dries and contracts.
Painting on an unprimed canvas can lead to durability issues, as oil paints can react with the raw fibers of the canvas, eventually causing rot. To avoid this issue, always prime your canvas with a layer of gesso. This creates a barrier between the canvas and the oil paint, thus improving the longevity of your artwork.
The depth of an oil painting can be enhanced by glazing. This technique involves the application of thin, transparent layers of paint, which allows the colors underneath to shine through. Glazing not only adds depth and luminosity to your painting but also helps protect the surface from dust and dirt.
In summary, to attain a smooth and durable finish with oil paints, use a soft-bristle brush, mix your paint with a suitable medium, apply thin layers, adhere to the fat-over-lean rule, and always use a primed canvas. Utilize techniques like glazing to add depth and protect your painting for years to come. By following these tips, you can create beautiful, long-lasting artwork with confidence and expertise.
Frequently Asked Questions
How to properly sand the surface of an oil painting?
To sand the surface of an oil painting, first ensure the paint is completely dry. Then, use a light touch and fine-grit sandpaper (320-600 grit) to gently sand the surface. Sand in small, circular motions and periodically check your progress to avoid removing too much paint.
What grit sandpaper is suitable for sanding oil paint?
For sanding oil paint, it is best to use fine-grit sandpaper in the range of 320-600 grit. This will help to evenly smooth the surface without causing excessive damage to the paint layers or unwanted texture changes.
Is it safe to sand an oil painting when it’s fully dry?
Yes, it is safe to sand an oil painting when it is fully dry. However, it’s essential to use fine-grit sandpaper and gentle pressure to avoid damaging the paint layers and canvas underneath.
Can sanding be used to correct errors in an oil painting?
Sanding can be used to correct minor errors, such as paint drips or raised brush strokes, in an oil painting. By gently sanding the affected area with fine-grit sandpaper, you can smooth the surface before applying a new layer of paint to correct the mistake.
What precautions should be taken while sanding an oil painting?
When sanding an oil painting, wear a mask to avoid inhaling dust particles, and work in a well-ventilated area. Use light pressure and fine-grit sandpaper to prevent damage to the paint layers and canvas. Always check your progress frequently to avoid over-sanding the surface.
Are there alternatives to sanding for smoothing out an oil painting?
Yes, there are alternatives to sanding for smoothing out an oil painting. You can use a palette knife or other flat-edged tool to carefully scrape away uneven paint or texture. Another option is to apply a layer of clear medium, such as glazing medium, to create a smooth surface without altering the existing paint layers.