The Importance of Proper Brush Care
Brush care is crucial to maintaining the quality of your oil paintings and extends the lifespan of your brushes. Regular cleaning and maintenance prevent damage to the bristles, which can affect the application of paint. After each painting session, clean your brushes with a brush cleaner or mild soap, ensuring that all oil paint residues are removed.
Once clean, reshape the bristles gently with your fingers, then store them upright to dry. Don’t leave brushes soaking in solvent, as this can damage the bristles and loosen the glue holding them.
Additionally, consider investing in a variety of brushes. Having a good range of brush types and sizes will allow for different techniques and effects in your painting.
Understanding and Mixing Colors for Oil Painting
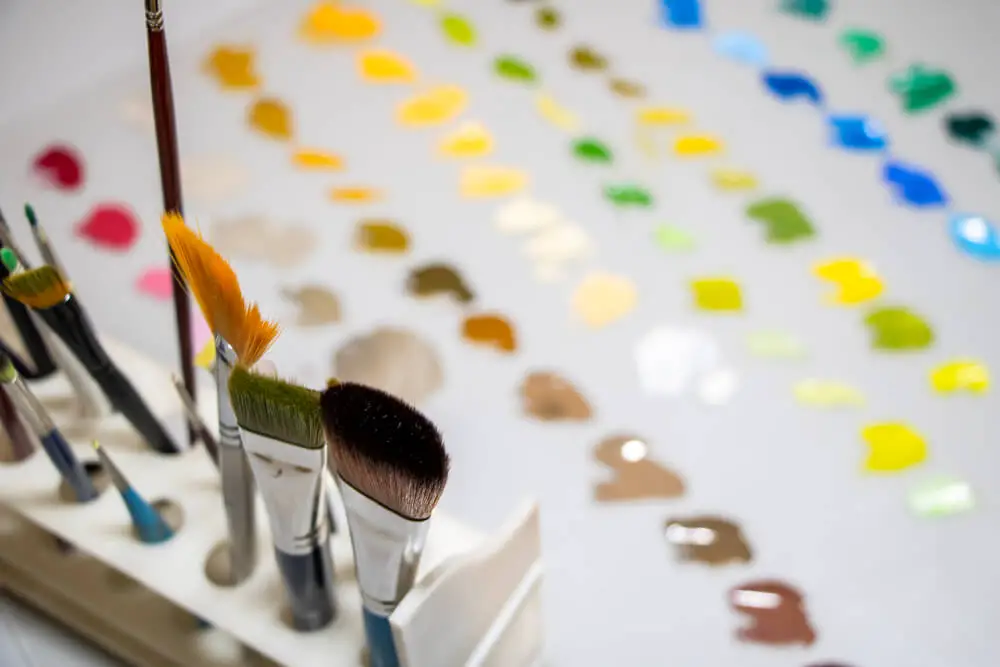
Understanding color theory and how to mix colors effectively is integral to successful oil painting. It’s important to have a solid grasp of primary, secondary, and tertiary colors, as well as understanding complementary colors and color temperature. Beginners often mistakenly mix too many colors together, resulting in muddy hues.
Remember, less is often more when it comes to mixing colors. Practice making a color chart to help understand how different colors interact and change when mixed. It’s also important to understand that the color you see when the paint is wet may slightly change once it’s dry, so plan your palette accordingly.
Choosing the Right Type of Canvas for Oil Painting
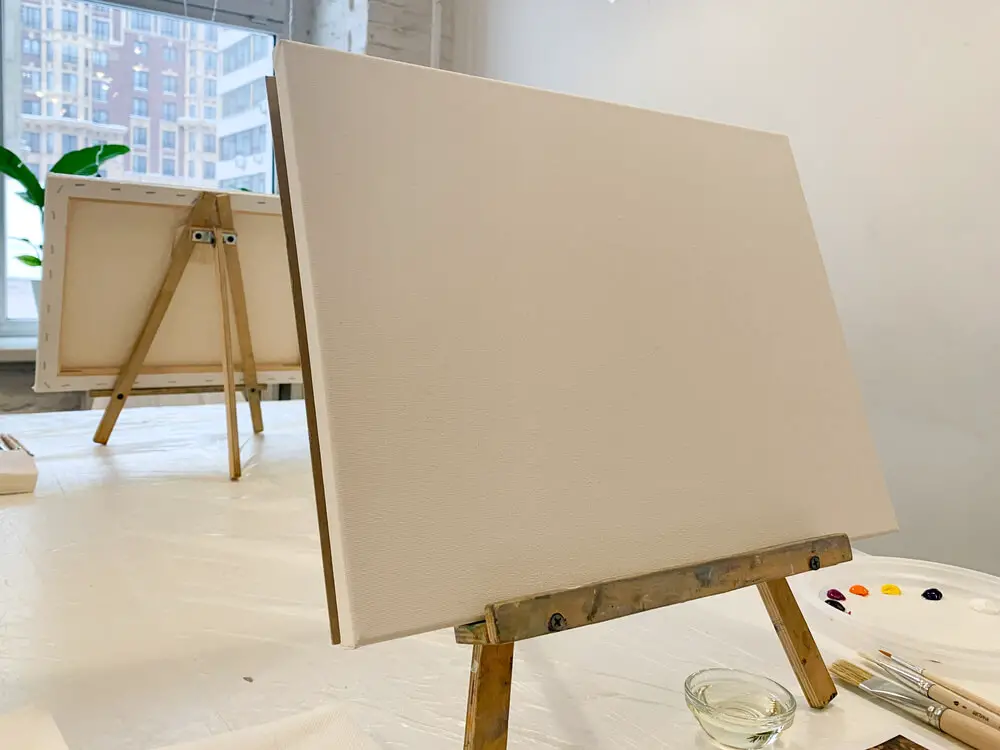
The canvas you choose can significantly impact the outcome of your oil painting. Canvases come in different types, such as linen, cotton, and synthetic fibers, each with its unique texture and absorbency. Linen, with its fine texture and durability, is a favorite among professional artists, while cotton canvases are more economical and easier to stretch, making them great for beginners.
Some artists also prefer synthetic canvases, which are often the most affordable option and come in a range of textures. Additionally, it’s essential to prepare your canvas with a layer of gesso before painting. This seals the canvas and creates a surface that the oil paint can adhere to more effectively.
Handling and Safety Tips when Using Oil Paints
Working with oil paints requires certain precautions to ensure your safety and the longevity of your artwork. Always work in a well-ventilated area to avoid inhaling any potentially harmful fumes from the paint or mediums.
Wear protective clothing or an apron to protect your skin and clothing from stains. Never dispose of oil paints or mediums down the sink as they can cause environmental damage; instead, let them dry out and dispose of them in the garbage. Remember that oil-soaked rags can spontaneously combust if not properly stored; always keep them in a closed, fire-proof container.
The Benefits of Using a Palette Knife in Oil Painting
Palette knives can be a fantastic tool in your oil painting arsenal. They allow for different types of application not easily achieved with a brush, like creating sharp lines, scraping off paint, or applying thick layers of paint for a textured effect.
Unlike brushes, palette knives don’t absorb the oil in the paint, resulting in brighter, more vivid colors. They also mix colors without muddying them and are easier to clean. Experimenting with a palette knife can open up a whole new range of techniques and styles in your oil painting journey.
Mastering the Art of Gradients in Oil Painting
Gradients, or smooth transitions from one color or tone to another, are fundamental in oil painting. They can help create a sense of depth, volume, and realism in your artwork. To achieve a smooth gradient, you must learn to blend your oil paints effectively on the canvas. Start with two colors you want to transition between and paint a small amount of each side by side. While both colors are still wet, use a clean, dry brush to gently blend the middle area
where the colors meet. Use light strokes and work in one direction. The key is to blend just enough to create a smooth transition, but not so much that the two colors become one.
Understanding the Role of Mediums in Oil Painting
In oil painting, a medium is a substance added to the paint to alter its properties. Mediums can change the paint’s consistency, drying time, and finish, providing endless possibilities for customization. Some commonly used mediums include linseed oil, which increases the paint’s flow and decreases its drying time; turpentine or mineral spirits, used for thinning the paint or cleaning brushes; and varnish, applied after the painting has dried to protect it and enhance its appearance.
When using mediums, remember the “fat over lean” rule: each subsequent layer of paint should contain more oil (fat) than the one below it to prevent cracking.
The Role of Lighting in Oil Painting: An Essential Guide
Lighting plays a crucial role in oil painting, influencing not only the way colors and objects are perceived but also how they’re represented on the canvas. Whether you’re working from life, a photograph, or your imagination, understanding how light and shadow work is key.
Pay attention to the direction and intensity of the light source and how it interacts with the objects in your composition. Observing these elements will help you create more realistic and convincing paintings. Additionally, make sure your workspace is well-lit, preferably with natural light or full-spectrum artificial lights, to accurately see and depict colors.
Tips for Achieving Realistic Texture and Depth in Your Paintings
Creating texture and depth is one of the exciting challenges of oil painting. For texture, consider using a palette knife to apply thick layers of paint, a technique known as impasto. To create depth, understand the principles of perspective and use color and value effectively.
Objects that are further away should be smaller and less detailed, with cooler and less saturated colors. Using gradation can also give depth to your painting; areas of high contrast, with lighter lights and darker darks, will appear closer to the viewer.

Preserving Your Oil Paintings: Tips and Best Practices
Once you’ve completed your masterpiece, you’ll want to ensure it’s preserved for future enjoyment. Oil paintings should be kept out of direct sunlight and away from extreme temperatures or dampness. Dust your painting lightly using a soft brush to prevent dirt accumulation. When the painting is fully dried (which can take up to a year for thick layers), consider applying a layer of varnish.
Varnish protects the painting from dust and dirt and can enhance the colors’ vibrancy. Always ensure the varnish you use is removable, as it may need to be taken off and reapplied years down the line to keep the painting in the best condition.
Finding Inspiration: Subjects and Themes for Oil Painting
Choosing subjects or themes for your oil painting can be as much a part of the creative process as the painting itself. You could find inspiration in a variety of places: from nature, travels, emotions, stories, people, and beyond.
As a beginner, you might find it helpful to start with simple subjects such as still lifes or landscapes to focus on learning the medium. As you gain confidence, you can move to more complex subjects or experiment with abstract painting. Remember that the most important thing is to paint what you enjoy and feel connected to.
Oil Painting vs. Acrylics: What’s the Difference?
While both oil and acrylic paints can be used for similar styles of painting, they have some key differences. Oil paints are known for their rich, luminous colors and slow drying time, which allows for more extended blending. They can create a depth of color and texture that is hard to replicate with other mediums. On the
other hand, acrylic paints are water-based and dry quickly, which can be advantageous if you want to build up layers quickly. They’re also easier to clean up, and the paint and mediums are generally less expensive than oils. The choice between oil and acrylic will largely depend on your personal preference and the style of painting you wish to achieve.
Understanding the ‘Fat Over Lean’ Rule in Oil Painting
The “fat over lean” rule is a fundamental principle in oil painting that helps prevent your painting from cracking over time. “Lean” refers to paint mixed with a small amount of oil (medium), while “fat” refers to paint mixed with more oil.
The rule means that each subsequent layer of paint should be fatter (contain more oil) than the one underneath. The reason for this is that oil paint dries by oxidation, not evaporation, and the more oil a paint layer contains, the longer it takes to dry. If a fat layer is applied over a lean one, the top layer may dry faster, leading to cracking.
How to Know When Your Oil Painting Is Finished
Deciding when your oil painting is finished can be one of the most challenging parts of the process. You may feel the urge to continue tweaking and adding details, but overworking can lead to a muddled composition or colors. A good rule of thumb is to step away from your work periodically and come back with fresh eyes. If you find your eye moving comfortably around the painting and not being stuck or jarred by any element, your work might be done. Another good practice is to determine what you want to achieve with your painting before you begin. Having a clear goal in mind can help guide you in knowing when your painting is finished.
How do you correct mistakes in oil painting?
One of the most important and rewarding things about oil painting is learning how to correct mistakes.
There are a few main techniques that can be used when repairing a mistake in an artwork. If you notice a small area that needs attention, try using a solvent to blend the mistake away gently.
If it’s more serious, try scraping away the surface with a palette knife or razor blade and start anew with fresh paint.
If your entire piece has gone off course and you want to scrap the entire thing, then turpentine is the way to go!
You can also purchase specially formulated solvents or lacquers that contain powerful resins capable of removing all traces of paint from your board or canvas, giving you a blank slate for another attempt at perfection.
With practice and patience, soon you’ll be repairing any aesthetic errors in no time!
How do you start an oil painting for beginners?
For those who are just starting in oil painting, it can be a bit intimidating to know where to even begin!
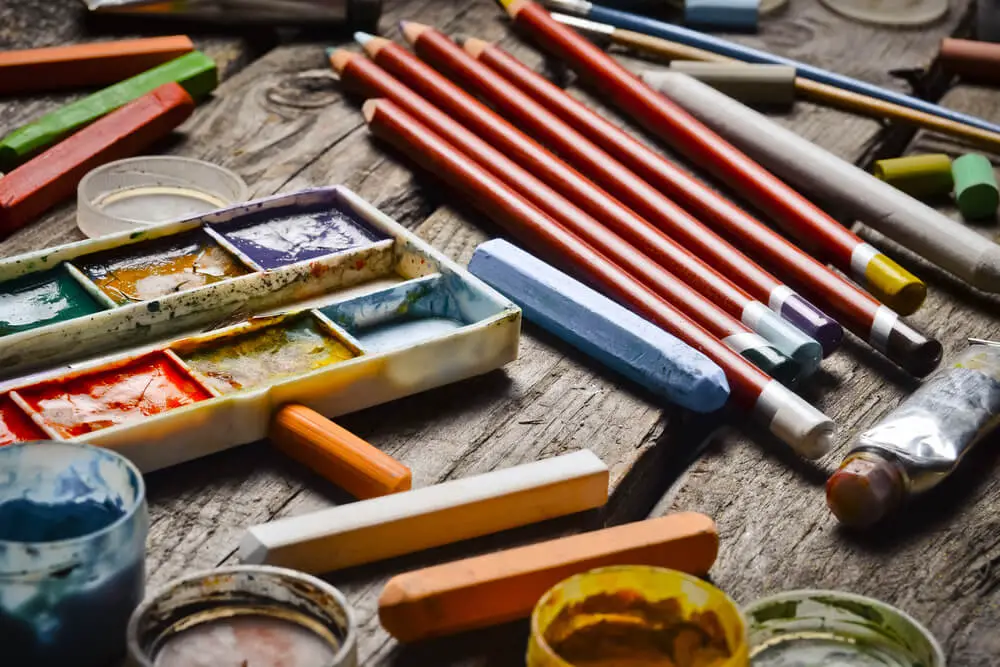
Before worrying about your chosen subjects or color scheme, the first step is to start with the right supplies and materials.
Sketch the desired image on a piece of paper and then transfer it to the canvas by tracing over it with tracing paper and light pencil lines.
Once you have done that, you can begin laying down your base colors.
Allocate a specific part of the canvas for each of the primary colors as this will help in keeping your painting balanced.
Make sure you keep your resources handy like jars of clean water when blending oils and a rag for wiping off excess paint cause eventually, you’ll need them! Taking things slow is key here — so don’t worry about trying to rush;
enjoy this wonderful journey of creating beautiful artwork with oil paints!
How do you avoid painting mistakes?
Painting mistakes can be a major bummer, but there are plenty of ways to avoid them.
Start by preparing the room; use some painter’s tape to mask off any areas that you don’t want to get paint on, like baseboards and window trim.
Additionally, if you’re using a brush, make sure to dip only the tips of the bristles into the paint and tap off any excess beforehand.
That will help you avoid running or drips.
Finally, remember that practice makes perfect- when starting with a new color or a new technique, it’s often best to permit yourself to try it out on something other than your walls!
With these in mind, your painting project should be smooth sailing!
What are the rules of oil painting?
Oil painting offers a beautiful and expressive way to create art. To get the most out of your creations, there are a few key rules to observe.
First, layering is essential when it comes to oil painting. Create thin layers to increase the detail of your painting and reduce the risk of cracking as the paint dries.
Second, it’s important to ensure you use oil paints with a drying time that fits well into your schedule.
Some slower-drying oils offer more blending time while others are meant for quick completion so choose wisely!
Lastly, clean-up is key – remember to use turpentine or other solvents on each layer before it sets to keep your brushes healthy and ready for the next project!
All of these rules come together when used correctly to create beautiful but long-lasting pieces of artwork.
What is the 1/3 rule in painting?
The 1/3 rule in painting is a great concept to keep in mind when working on compositions in art. It’s used by professional and aspiring painters alike as a guideline for creating aesthetically pleasing designs.
The rule states that any element within your work should be placed either above or below the imaginary 1/3 rule line at the top or bottom of the frame or between two lines at 1/3 of the way up and down the composition.
Having off-balance elements following this basic principle helps to create an enticing visual illusion that inspires awe and wonder.
So don’t forget to use this critical trick when planning your next painting project!
How many layers should an oil painting have?
Oil painting is a great way to express yourself in a creative and eye-catching way. However, the effectiveness of an oil painting can depend on how many layers are used.
The optimal number of layers depends on the type of painting and what the painter is attempting to achieve.
Generally speaking, professional painters recommend using 3 or more layers if you want a deep and complex texture, while basic still-life paintings may require only one layer to keep things looking simple.
Each layer will affect the depth, texture, and illumination of a painting, so consider carefully how many layers are needed for your masterpiece.
Final Thoughts
Embarking on the journey of oil painting is a fulfilling and rewarding endeavor, rich with opportunities for self-expression and creativity. While it can seem daunting at first, understanding the fundamental aspects such as proper brush care, color mixing, canvas choice, safety tips, and various techniques can provide a sturdy foundation for your artistic journey.
Remember that every artist, no matter how experienced, started as a beginner, and every painting, no matter how intricate, began with a single brush stroke. It’s the accumulation of knowledge, honed skills, and dedicated practice that leads to mastery.
By avoiding common beginner mistakes and embracing the learning process with patience and enthusiasm, you’ll undoubtedly grow as an artist and enjoy the beautiful world of oil painting.