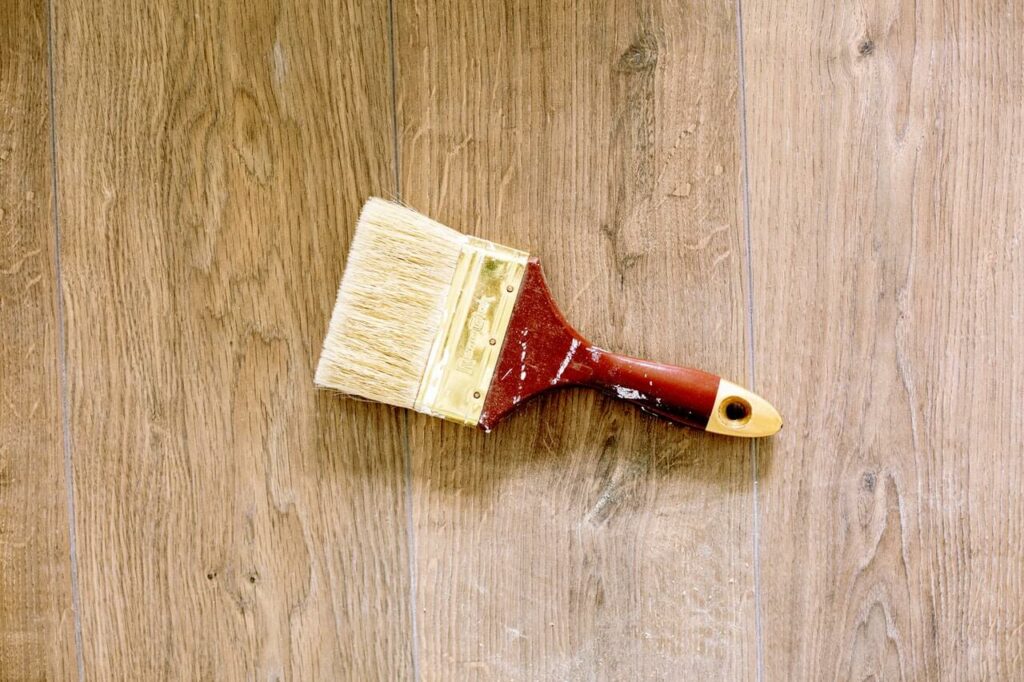
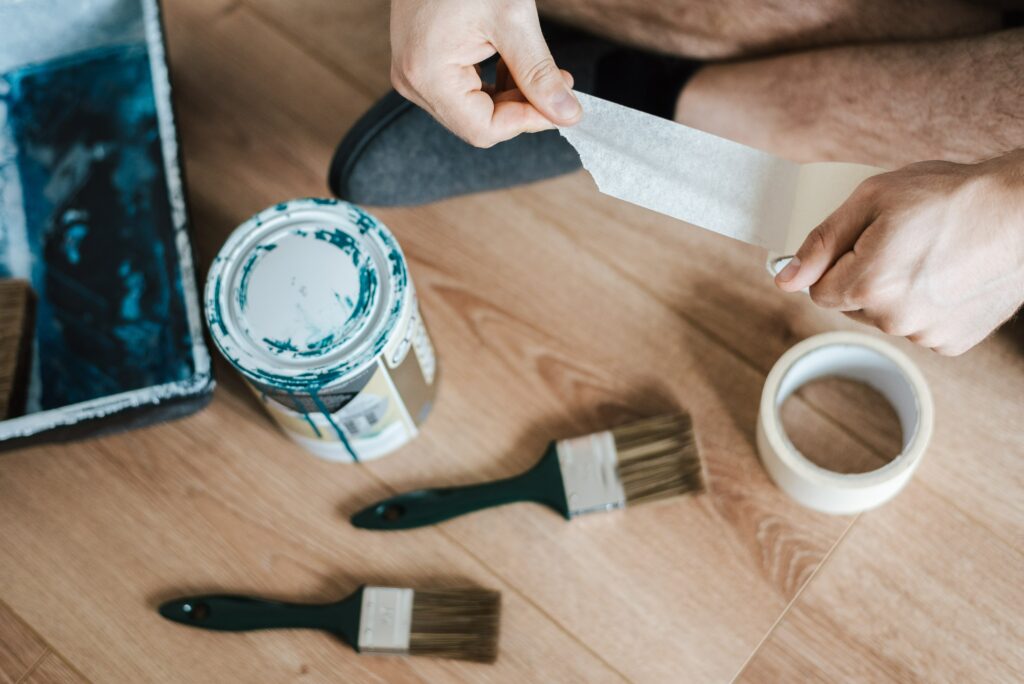
Painting is fun. Unfortunately, it is a messy job. For instance, you have to clean up after not just yourself but also the tools you used to paint.
The first tool you’ll have to clean after a painting project is the brush. While there are so many ways to go about it, the most effective method is any method that doesn’t involve a thinner. That’s because thinners are expensive and can easily damage the brush.
Read on to learn more about cleaning paintbrushes without using paint thinners. Note that the methods discussed are eco-friendly and natural but effective. Therefore, you don’t have to worry about ruining your paintbrush.
The Linseed Oil Method
Gently dip the brush in a jar or container filled with linseed oil. Use oil soap or baby oil if you don’t have linseed oil. Swish the paintbrush inside the oil for at least 30 seconds.
Once the paintbrush is fully soaked, wipe it onto a clean and dry paper towel. Wiping it on a paper towel is essential because it removes all paint pigments. Next, dip the paintbrush into the jar of oil and repeat the process until there’s no pigment left.
Don’t allow the paintbrush to dry once there’s no pigment left. Instead, wash it in running water, then let it dry for at least 10 minutes before you can use it again.
Cleaning Between Colors
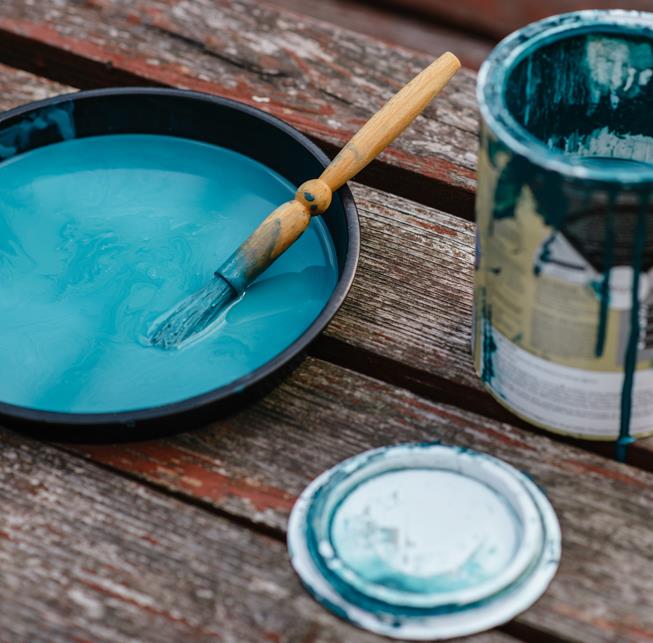
You’ll need to clean your paintbrush several times if you’re painting with different colors. Fortunately, you won’t have to be thorough at this stage. First, however, you must remove all paint traces to avoid messing up your project with different shades of different colors.
Gently swish the paintbrush in a bowl or jar of linseed oil for at least 5 minutes. Instead of linseed oil, you can also use other drying oil like olive oil, poppy oil, walnut oil, or safflower oil.
The oil you choose to use here will undoubtedly get into the painting. If your choice of oil takes too long to dry, then expect your paintwork to take too long to dry. Do not use anything that stays wet for long to avoid such issues.
Be keen if you opt for poppy, walnut, or safflower to clean the brush between colors. Check the packaging label to ensure the oils you choose don’t contain vitamin E or Tocopherols. These two ingredients in oils always slow down the paint drying process.
For best results, follow the following process.
You’ll need the following:
- A drying oil (Linseed, poppy, safflower, or walnut oil)
- Hand gloves
- Paper towels
Steps To Follow
First, note that your paintwork is still in progress. You must, therefore, clean the paintbrush within minutes. Here’s how to clean the brush quickly.
Remove all the excess paint from the brush with your gloves on. The gloves will also make it easy to paint without getting paint on your skin. The gloves will also make it easy to paint without getting paint on your skin.
Once you’ve removed the paint from the brush, wipe the brush on a paper towel. You can always use printer paper or even a serviette if you don’t have enough paper towels. Rags or any other piece of soft cloth are good alternatives.
This cleaning stage is essential because it will reduce the amount of paint you’ll have to remove from the brush. The process will, therefore, be manageable and fast.
By now, all the excess paint on the brush should be gone. You should deep clean the brush within seconds. All you need to do here is ensure the bristles are fully dipped in drying oil.
Swish the paintbrush in oil for at least 30 seconds. You will notice that the oil surrounds the pain particles after about 10 seconds. Brushing the particles off the brush then becomes very easy.
Get a rough paper and use it to wipe the now oil-soaked paintbrush. You should notice paint coming off the brush quickly. Take your time to wipe the brush until it is rid of all color.
You can also take time to squeeze the paint bristles in one direction gently. Do this from the ferrule point to the tip. Squeezing the paintbrush this way draws out lingering paint and other residues fast.
Don’t use the brush just yet. Instead, dip it back in drying oil and wipe it onto a fresh paper towel or soft cloth. You will have to repeat this process three times before the brush bristles get clean enough.
Cleaning The Brush After The End Of Your Project
You must clean the paintbrush after you’re done with your project. Leaving it wet with paint will damage it. That means you’ll have to buy a new paintbrush the next time you have to paint.
Note you will have to thoroughly clean the paintbrush at this point because you don’t know when you will use it again. You have to remove all traces of paint and dirt residue.
Fortunately, this part is easy because you can use non-drying oils like sunflower oil and canola oil. Let the paintbrush dry for about one hour if there’s enough sunshine. You will have enough time to let the non-drying oil dry.
Remember to wash the brush with enough running oil after removing all traces of paint. The most effective way, in this case, is by using plenty of soap and water.
How do you deep clean oil-based paint off brushes?
Oil-based paint can be a tricky substance to clean off of your brushes, but with the right steps and materials, you’ll have them looking like new in no time.
The first step is to make sure that you’re using the right solvent for the job.
Mineral spirits are a great choice for cleaning oil-based paints as they work to break down the pigment and leave your brush bristles looking good as new. It’s important not to use water or any other type of liquid, as it won’t be able to effectively remove the paint from the bristles.
Once you’ve done this, pour some mineral spirits into a container and use an old toothbrush (that will be devoted solely to paint-cleaning purposes) to scrub away excess paint on your brush. You may need multiple applications depending on how thick the layer of paint is.
Afterward, rinse your brush under lukewarm water until all of the mineral spirits are removed, and then gently shake off any excess water before laying it flat on a paper towel or rag to dry overnight. Depending on how much paint was caked onto the bristles it may take multiple cleanings with mineral spirits for it to come out completely; if this is the case just repeat these steps until all traces of paint are gone.
| Materials Needed: | Instructions: |
|---|---|
| 1 cup of vegetable oil | 1. Pour the vegetable oil into a jar or container. |
| 1/2 cup of liquid dish soap | 2. Add the liquid dish soap to the jar or container and mix well. |
| Warm water | 3. Rinse your oil paint brush under warm water. |
| Paper towels | 4. Gently wipe the excess paint off of the brush with a paper towel. |
| The jar or container with the oil and soap mixture | 5. Dip your brush into the oil and soap mixture, making sure to coat the bristles thoroughly. |
| More warm water | 6. Rinse the brush under warm water again, using your fingers to gently massage the bristles and remove any remaining paint. |
| Paper towels or a cloth | 7. Gently squeeze the excess water out of the brush and then use a paper towel or cloth to blot the bristles dry. |
What is a substitute for paint thinner?
A paint thinner is a petroleum-based solvent used to thin oil-based paints and varnishes. It can be found at most hardware stores and is essential for any painting job.
However, for those wanting to avoid the use of chemicals or who are in a pinch, there are some alternatives that can be used as substitutes for paint thinner.
One option is to use turpentine, which is a naturally derived solvent made from the resin of certain pine trees.
Turpentine evaporates quickly and helps break down oils in paints, making it great for thinning out oil-based paints. However, due to its strong odor, it should only be used in a well-ventilated area such as outside or with windows open.
Another alternative is boiled linseed oil which helps reduce the viscosity of the paint without affecting its color or texture. The downside of this solution is that it will take longer to dry than standard paint thinner could.
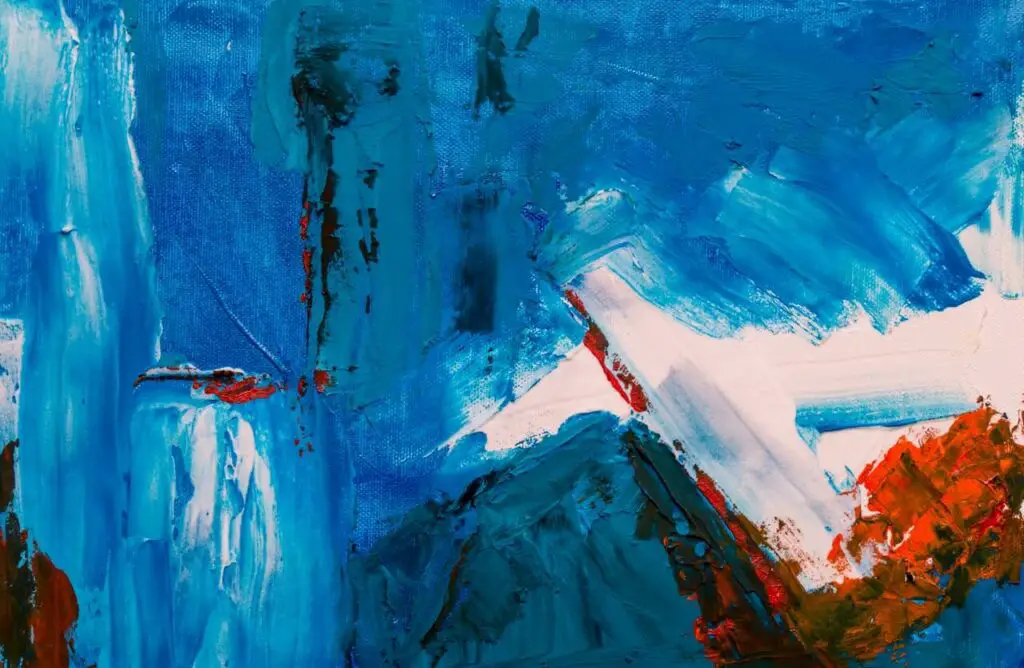
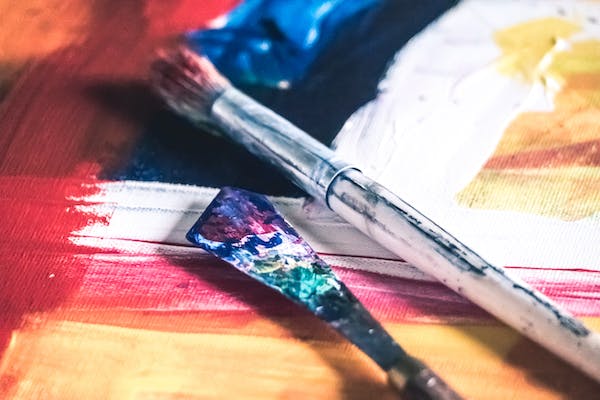
Is oil painting washable?
Oil painting is a popular medium among artists and can be used to create beautiful works of art. But one important factor to consider is whether or not oil paintings are washable – after all, no one wants their hard work ruined by an unfortunate accident.
The answer is yes, oil paintings are washable in most cases. However, it is important to take into account the materials used and the age of the painting when deciding how best to clean it.
For instance, older paintings may require more delicate care in order to prevent any additional damage, as the paints used in these pieces could be more fragile than those used in newer works. When cleaning an oil painting, it is important to use only gentle products that will not damage the work.
A damp cloth or a soft brush can be used on the surface of the painting to remove dust and dirt particles without ruining any of the paint layers. It is also important to avoid using harsh chemicals such as abrasive cleaners or solvents, as these may strip away some of the paint layers or cause discoloration in certain areas.
Which is better oil-based or water-based paint?
When it comes to deciding which type of paint is best for any particular project, there are a few major factors to take into consideration. Generally speaking, oil-based paints provide a richer and more vibrant look compared to water-based paints, but they also have some distinct disadvantages.
Oil-based paints require more time and effort to apply due to their thicker consistency. They also require more drying time, with some types taking up to 24 hours before being fully cured.
On the other hand, water-based paints are easier to apply and dry faster than oil-based ones; they tend to be ready for a second coat within 2-4 hours after their initial application.
These types of paint also typically contain fewer harsh chemicals than oil-based varieties and can be cleaned up with soap and water rather than special solvents. Additionally, they offer better coverage than oil-based paints and are often less expensive overall.
Is oil paint waterproof?
Oil paint is a popular medium among artists that provides excellent coverage and vivid colors. But one important factor to consider when using oil paint is whether or not it is waterproof.
The answer is yes, in most cases, oil paint is waterproof when it has fully dried. However, the amount of time it takes for oil paint to dry varies depending on the type of paint used as well as the temperature and humidity in the room.
Generally speaking, oil paints take anywhere from 12-24 hours to dry completely; if you want to ensure that the paint will be waterproof after drying you should wait at least 24 hours before exposing it to any moisture.
Once an oil painting has been exposed to water, it may lose some of its vibrancy and become washed out in color.
How long does oil-based paint take to dry?
Oil-based paint is a type of paint that uses oil as its carrier instead of water. It has a thicker consistency and can provide better coverage, vibrancy, and durability than other types of paints, but it usually takes longer to dry.
On average, oil-based paint will take anywhere from 12-24 hours to fully dry, depending on the type and amount being used as well as the temperature and humidity in the given space.
When using oil-based paint, it’s important to note that certain conditions can affect how quickly it dries – for instance, if you’re painting in an area with higher levels of humidity you may find that it takes longer for your artwork to cure than expected.
Wrap Up
You don’t have to use a paint thinner to clean your paintbrush. Some alternatives are as effective as thinners. Notably, all paint thinner options are usually readily available.
As you have learned, the best alternatives are drying oils like walnut and linseed. They are easy to use. They are also cheap.
It is also important to note that patience is vital as you clean the paintbrush. You’ll need as much as 20 minutes if you’re cleaning the brush after the project. If you’re using the same paintbrush between different colors, you’ll need 10 minutes.
Lastly, always wear protective clothing when painting. You should have chemical gloves on throughout your paint project.