Oil painting is a timeless and versatile medium that has been cherished by artists for centuries. To create a stunning masterpiece, a solid foundation is crucial. Preparing the surface for your oil painting not only ensures the longevity of your artwork but also enhances the colors and textures of your piece.
The process of preparing a surface for oil painting involves selecting the appropriate material, priming the surface, and creating a smooth and even base. These factors contribute to providing an optimal painting experience while preventing potential issues such as color absorption and spotty textures. By following a few key steps, your canvas will be primed and ready for the first strokes of your masterpiece.
In this article, we will guide you through the essential steps in preparing a surface for oil painting. From choosing the right canvas material, to applying a primer and creating an even base, these tips will help you lay the groundwork for a successful and visually appealing piece.
Choosing the Right Surface
Canvas and Linen
Canvas is a popular surface choice for oil painting and is available in two primary materials: cotton and linen. Cotton canvas is affordable and easy to find, making it a common choice for beginners. Linen canvas, on the other hand, offers high-quality fibers with better durability, though it is more expensive. Both materials can be found pre-stretched or as canvas boards.
Wood Panels
Wood panels are another traditional surface option for oil painting. They provide a smooth and rigid surface, but it’s essential to choose a panel like birch or maple, which are less susceptible to warping. It’s important to properly prepare the wood with a ground layer, such as gesso, to prevent the oil from directly contacting the wood.
MDF and Plywood
Medium-density fiberboard (MDF) and plywood are affordable alternative surfaces for oil painting. MDF is dense and offers a smooth surface for a more detailed painting. Plywood, usually made from layers of birch, is similar in its smoothness but provides more rigidity. Applying a ground layer is crucial to protect these surfaces from oil absorption.
Walls and Other Surfaces
Although less common, walls can be painted with oil paints provided the surface is properly prepared. Smooth surfaces like paper, glass, or metal can also be used if prepared with an appropriate primer. Keep in mind that oil paints take longer to dry and may pose challenges when applying them to unconventional surfaces; it’s essential to ensure the surface is appropriately prepared to achieve the best results.
Surface Preparation
Priming Canvas and Linen
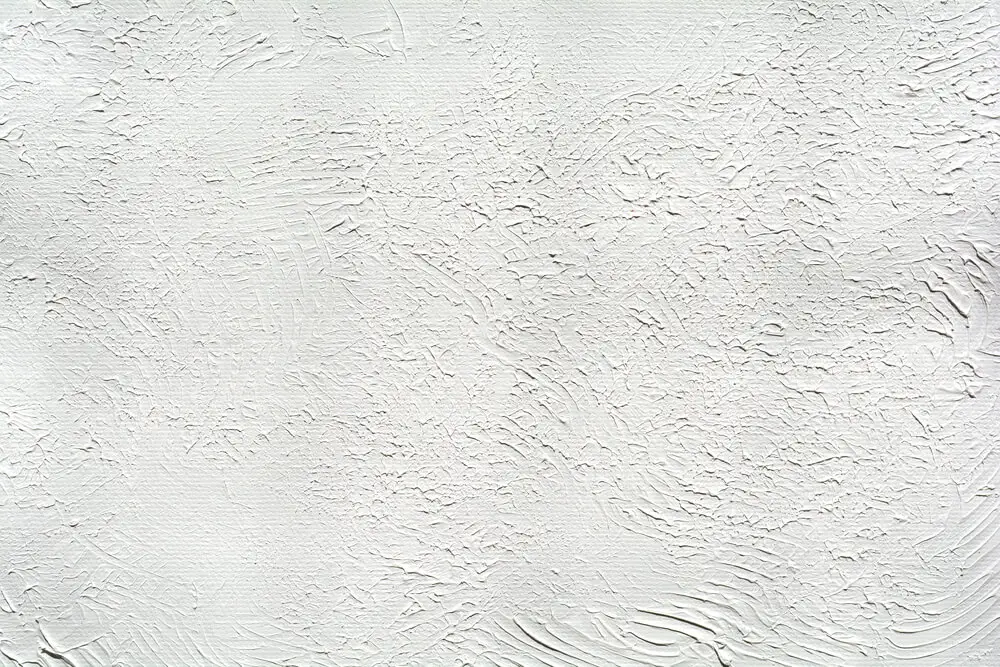
Priming is crucial for creating a proper surface for oil painting. Before applying any paint, you need to prime your canvas or linen. Gesso is a common primer for this purpose. It creates a barrier between the canvas and the oil paint, preventing oil absorption and providing a smoother painting surface.
To prime your canvas or linen with acrylic gesso, follow these steps:
- Clear the surface of any debris, and make sure it’s dry.
- Apply a thin layer of gesso using a large, flat brush, painting in smooth, horizontal strokes.
- Allow the gesso to dry, adhering to the manufacturer’s guidelines.
- If a smoother texture is desired, lightly sand the surface with fine-grit sandpaper.
- Apply additional layers of gesso if necessary, sanding between each layer, until the desired texture is achieved.
Priming Wood Panels
Wood panels can also be a suitable surface for oil painting. As with canvas, you’ll first need to prime the panel to prevent oil absorption and create a better painting surface.
To prime a wood panel:
- Lightly sand the surface to remove any rough spots.
- Wipe the panel clean with a dry cloth.
- Apply a layer of acrylic gesso using a large, flat brush.
- Allow the gesso to dry, sanding lightly between layers if necessary.
- Apply additional layers of gesso as needed.
Priming MDF and Plywood
Medium-density fiberboard (MDF) and plywood are other surfaces artists use for oil painting. To prepare these surfaces:
- Sand the surface to remove any rough edges or inconsistencies.
- Use a dry cloth to wipe away any debris.
- Apply a layer of acrylic gesso with a large, flat brush.
- Allow the gesso to dry, and lightly sand if needed.
- Apply additional layers of gesso, sanding between each layer if desired.
Priming Walls and Other Surfaces
When painting on walls or other surfaces, priming is still a crucial step. This ensures the oil paint adheres well and has a consistent texture across the surface.
To prepare a wall or other surface for oil painting:
- Ensure the surface is clean and any previous paint is removed or stable.
- Sand the surface if necessary to create an even texture.
- Apply a layer of acrylic gesso using a large, flat brush or roller (depending on the size of the surface).
- Allow the gesso to dry, adhering to the manufacturer’s guidelines.
- Apply additional layers of gesso as needed, sanding between each layer to create the desired surface texture.
By following these guidelines, you can create well-prepared surfaces for your oil painting projects, ensuring a quality result.
Correcting Surface Imperfections
Filling Cracks and Holes
To prepare a surface for oil painting, it’s essential to address any cracks or holes. Start by removing any loose debris from the area. Then, use a suitable filler, like wood filler or putty, to fill the gaps. Apply the filler with a putty knife, pressing it firmly into the cracks and smoothing it over with flat edge of the knife. Allow the filler to dry completely before moving on to the next step.
Sanding and Levelling
Once the filler has dried, you’ll need to create a smooth, level surface. Begin by sanding the entire area with fine-grit sandpaper. This will help remove old paint, wallpaper, and rough surfaces. Ensure that you sand in the direction of the wood grain if working with wooden surfaces. After sanding, wipe the surface with a clean, damp cloth to remove any dust or debris.
Sealing and Protecting
The final step is to seal and protect the surface for oil painting. Apply a coat of suitable sealant, such as an acrylic gesso or primer, to the entire area. Be sure to use a good-quality brush or roller for even coverage. Allow the sealant to dry thoroughly before starting your oil painting. This will create a barrier that prevents the paint from seeping into the material and ensures a long-lasting, professional result.
Cleaning and Preparing the Surface
Removing Dirt and Debris
Before starting the oil painting process, it’s essential to remove dirt and debris to ensure a clean surface. Use a damp cloth or a sponge to carefully wipe the surface. Be sure not to over-saturate the material, as that can introduce moisture. If you encounter stubborn dirt, consider using a soft-bristle brush to remove it gently.
Addressing Moisture Issues
Moisture can lead to various problems, such as mold, inconsistent drying, and weakened adhesion between the surface and paint layers. To avoid these issues, ensure the surface is dry before painting. If you’re working with a damp surface, allow it to dry naturally or use a portable heater to speed up the process. Make sure the environment in which you’re working has good air circulation and is free of excessive humidity.
Lead Paint Safety
In some older surfaces, there might be remnants of lead paint. It’s essential to take proper precautions to minimize exposure to lead dust. Some safety measures to consider are:
- Wearing protective gear: disposable gloves, masks, and coveralls are necessary to avoid contact with lead particles.
- Proper ventilation: open windows and doors to ensure adequate airflow and avoid inhaling dust.
- HEPA vacuum: use a vacuum cleaner with a HEPA filter to safely remove lead-contaminated dust from the surface and surrounding areas.
- Dispose of waste materials responsibly: collect all waste, including coveralls, gloves, and masks, in sealed bags and follow local regulations for lead waste disposal.
By following these steps, you can create a clean and safe surface for oil painting while being mindful of potential hazards.
Preparing the Paint
Before starting your oil painting, it’s essential to prepare the paint properly. This involves choosing the right oils, colors, mediums, and pigments. To begin with, select high-quality oil paints that will provide a rich and vibrant outcome. There are various techniques available, so it’s crucial to practice and find the one that suits you best.
When selecting colors, start with a basic palette that includes essential colors such as white, black, primary colors, and a few secondary colors. This will allow you flexibility in mixing and creating a range of shades. As you gain experience and develop your skills, consider expanding your color palette, allowing for more variety and complexity in your oil paintings.
In terms of medium, there are several options to choose from, such as linseed oil, poppy oil, or walnut oil. These mediums are used to dilute the paint and modify its properties. Linseed oil is the most common choice due to its durability and drying time. However, poppy oil and walnut oil are suitable alternatives if you want to achieve different effects or work with faster drying times.
Pigments play a crucial role in oil painting, dictating the colors’ intensity, opacity, and consistency. Choose pigments that reflect the results you desire from your oil paintings. Natural pigments, such as ochres and umbers, can create earthy tones, while synthetic pigments, like acrylics, can provide brighter, more vibrant colors.
To mix your chosen pigments with the oil medium effectively, use a palette knife or a spatula. This will help you achieve a uniform consistency, making it easier to apply the paint to the canvas. Additionally, pre-mixing your colors in various combinations can save time and promote a more cohesive painting process.
Lastly, it’s essential to proper cleanup and store your paints and materials between painting sessions. Seal the unused paint in an airtight container and store the brushes in a clean environment free of dust or debris. Proper maintenance will help extend the lifespan of your materials and make your painting practice more enjoyable and efficient.
Remember to stay confident, knowledgeable, and neutral while exploring different oil painting techniques. With clear guidance and patience, you’ll be well on your way to creating beautiful and captivating oil paintings in no time.
Stretching and Framing
Before starting to paint, it’s essential to properly prepare the surface for oil painting. One important step is stretching and framing your canvas. This process ensures that the painting surface is smooth and tensioned, providing a stable base for the artwork.
First, choose the right support for your painting. Traditional options include stretched canvas, canvas boards, or aluminum panels. Stretched canvas is a popular choice, as it offers flexibility and can be customized according to the artist’s preference. Canvas boards, on the other hand, are more rigid and may not require additional framing. Aluminum panels are highly durable and can withstand a variety of environmental conditions such as rain and temperature fluctuations.
When stretching a canvas, begin by selecting a sturdy frame. The frame should be well-constructed and free of any damage or warping. Lay the canvas over the frame, ensuring that the weave of the fabric runs parallel to the frame’s edges. Proceed to attach the canvas to the frame, using staples or tacks, starting from the center and working your way outwards. It’s crucial to maintain consistent tension to prevent any sagging or bunching of the canvas.
After the canvas is properly stretched, you may want to add a protective layer called a “sizing” to the surface. This is typically a mixture of glue, water, and other substances that serve to shield the canvas from chemicals in the paint, which can be corrosive or damage the longevity of the artwork. Apply the sizing with a brush, allowing it to dry thoroughly before adding any primers or other preparations.
As a final step, the canvas should be framed. For stretched canvases, you have the option to place it in a traditional wooden frame or a more modern aluminum frame. Balance the choice of frame material with the style and size of your painting to ensure the best visual and structural results.
By carefully stretching and framing your support, you’ll create a smooth and stable surface that’s ideal for oil painting. This foundation is crucial for producing high-quality, long-lasting artwork.
Understanding Different Painting Techniques
Painting techniques vary depending on the desired outcome and the type of paint being used. Landscapes, for example, often require a looser, more fluid application of paint, which can be achieved with either water-based paint or oil paint.
When working with water-based paint, it’s common to use watercolor paper for its high absorbency. This allows the paint to adhere well and promotes a smooth finish. Conversely, oil paints work better on surfaces with low absorbency such as canvas or wood panels, since they require a longer drying time.
Linseed oil is an essential component when working with oil paints, as it increases fluidity and gloss, allowing for smoother application and a more vibrant finish. Additionally, adding ethylene glycol to the paint mixture can further enhance its fluidity.
Understanding the properties of your paint is crucial to achieving a successful outcome. Absorbency, for example, is a critical factor to consider. Surfaces with higher absorbency can cause premature drying of the paint, which may lead to cracking in the finished piece. This issue is more pronounced in water-based paints as they dry much faster than oil paints.
Moreover, the porous nature of certain surfaces, like wood or unprimed canvas, can also have an impact on the painting process. Highly porous surfaces will absorb the paint more rapidly, making it difficult to maintain a consistent level of coverage. To prevent this issue, it’s essential to seal or prime the surface before painting.
Lastly, it’s important to remember that certain materials can react with the paint and cause undesirable effects. For example, rust or corrosion can form when using oil paint on metal surfaces and damage the artwork over time. To protect your work, ensure compatibility between your painting surface and materials.
By being aware of these factors and choosing the appropriate techniques and materials, you can create a successful and durable oil painting. Remember to stay confident, knowledgeable, and always consider the specific needs of your chosen medium and subject matter.
Frequently Asked Questions
What is the process for priming a canvas?
Priming a canvas involves applying a layer of a material called gesso to the raw, uncoated canvas. This layer forms a barrier between the canvas and oil paint, ensuring that the paint adheres properly and protects the canvas from damage. The process includes diluting the gesso with water, applying several coats, letting it dry, and sanding it to achieve a smooth surface.
Which type of gesso is suitable for oil painting?
For oil painting, it is best to use an acrylic gesso specifically formulated for oil painting. Acrylic gesso provides an appropriate level of absorbency while guarding against oil paint rotting the canvas fibers.
How many layers of gesso are required?
Typically, artists apply two to four layers of gesso on a canvas. The number of layers will depend on the level of smoothness you desire for your painting surface and the quality of the canvas. More layers contribute to a smoother surface.
Can you paint directly on canvas without any preparation?
While it is possible, painting directly on an unprimed canvas is not recommended for oil painting. The oil from the paint can seep into the canvas fibers, causing deterioration over time. Priming creates a barrier that protects the canvas and ensures proper paint adhesion.
Are there any alternatives to gesso?
Oil ground is an alternative to gesso, specifically for oil painting. It provides a smoother and more rigid surface than gesso. However, oil grounds may take longer to dry, sometimes requiring weeks to cure fully before painting.
What is the purpose of sizing in oil painting?
Sizing is the process of applying a layer of material, such as glue or acrylic size, to a canvas before priming it with gesso. This treatment further protects the canvas and prevents oil paint from coming into direct contact with the canvas fibers, ensuring the artwork’s longevity.
