
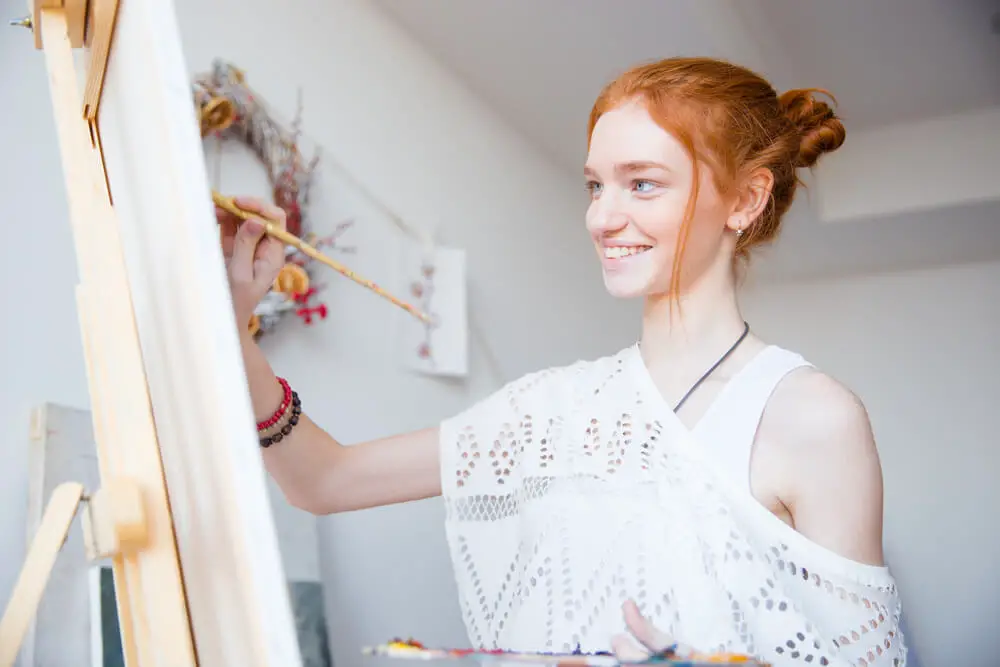
Setting up an indoor easel for painting can significantly improve your artistic experience by providing a stable and adjustable workspace.
Whether you’re a beginner or a professional artist, having a properly prepared easel can make a world of difference in your painting process. In this article, we will provide you with valuable tips on how to set up your indoor easel for an enjoyable and efficient painting session.
Selecting the right type of easel is crucial, as there are many options available on the market, each with its own features and benefits. Some popular choices include A-frame, H-frame, and table-top easels.
Your choice should depend on factors such as your painting style, available indoor space, comfort, and budget.
Once you’ve chosen the ideal easel for your needs, finding the perfect location for it is equally important. Look for a well-lit area with enough space for you and your art supplies while also considering factors like ventilation and safety.
After you have determined the ideal location, it’s time to assemble and adjust your easel according to your preferences.
Make sure that it’s level and properly secured to prevent wobbling or collapsing. Additionally, consider the height and angle adjustments necessary for your comfort and the proper display of your artwork. Following these essential steps will ensure that your indoor easel is set up for an optimal painting experience.
Choosing the Right Easel
When setting up an indoor easel painting, selecting the right easel is crucial. Remember, an easel should match the artist’s preferences, studio space, and requirements. In this section, we will discuss the different types of easels available: A-Frame Easels, H-Frame Easels, French Easels, Pochade Box, and Tripod Easels.
A-Frame Easels
A-Frame easels, also known as Lyre easels, have a triangular shape. They are typically lightweight and foldable, making them suitable for artists with limited private studio space. However, their stability may not be ideal for large-scale canvases or heavy work.
H-Frame Easels
H-Frame easels are arguably more robust and stable than A-Frame easels. They have a rectangular structure, providing a solid base that can support large canvases. However, they can occupy more studio space and may not be as portable as A-Frame easels.
French Easels
French easels are an excellent choice for artists who work both indoors and outdoors, as they combine an easel, canvas carrier, and storage unit in one portable design. While they are versatile, they may not be the best fit for those who prefer a larger portable studio.
Pochade Box
A Pochade Box is a compact, portable painting setup that includes an easel and a paint storage compartment, perfect for plein air painters or artists with limited studio space. It typically mounts on a camera tripod for easy setup and stability. However, it is mostly suited for smaller paintings and might not meet the needs of artists working on larger canvases.
Tripod Easels
Tripod easels consist of three legs and are well-suited for both indoor and outdoor painting. They are lightweight and collapsible, allowing for easy transport and storage. However, they may not provide the same level of stability as H-Frame easels when working on larger pieces.
Setting Up the Easel
Adjusting the Legs
To begin setting up the indoor easel painting, start by adjusting the legs. Make sure the legs are extended to their full length and locked in place to provide stability. You can do this by sliding the legs out and tightening the locking mechanisms. Ensure that all the legs are extended to the same length for an even and secure base.
Securing the Base
Once the legs are adjusted, make sure the base of the easel is properly secured. This will ensure optimal stability and support for your painting. Lay the easel on a flat surface and check that each leg is firmly in contact with the floor. If necessary, use small non-slip pads under the legs to avoid any movement during painting sessions.
Leveling the Workspace
A level workspace is essential for successful indoor easel painting. Use a bubble level or a smartphone leveling app to ensure the easel’s workspace is level. If the easel is not level, adjust the legs individually until the workspace is even. This will help prevent any uneven distribution of paint on your canvas.
Establishing the Desired Height
Finally, set the desired height for your painting surface. The optimal height will depend on your personal preferences and the specific project you’re working on. Adjust the central mast or the frame holders to position the artwork at a comfortable height for painting, then lock the adjustments in place. Remember to keep the support brackets at the proper height to hold the canvas or board securely during painting.
Preparing the Canvas
Selecting the Right Canvas
When setting up an indoor easel painting, it is important to choose the right canvas that best suits your needs. There are several types of canvases available, such as cotton, linen, and synthetic.
- Cotton canvases are popular for their affordability and versatility. They are suitable for both acrylic and oil painting and provide a good surface for various painting techniques.
- Linen canvases offer a high-quality surface for professional painters. They are more expensive than cotton canvases and are more receptive to detail and delicate brushwork.
- Synthetic canvases are made from materials like polyester. They are less expensive than linen canvases and offer more durability, making them ideal for beginners or outdoor paintings.
Attaching the Canvas to the Easel
Once you have selected the appropriate canvas, follow these steps to attach it to the easel:
- Position the easel: Set up the easel on a stable and flat surface, ensuring that it is at a comfortable height and angle for painting.
- Secure the canvas: Place the canvas on the easel, aligning the bottom edge with the lower support of the easel. Make sure the canvas is centered and level.
- Use clips or boards: If your canvas is not snugly held in place, use artist clips or boards to secure the sides of the canvas. This will prevent it from moving or falling while painting.
- Adjust the top clamp: Most easels have an adjustable top clamp to keep the canvas in place. Tighten the clamp just enough to hold the canvas firmly without causing damage.
After completing these steps, your canvas is now ready for painting. With a properly prepared workspace and canvas, you can confidently express your creativity through your indoor easel painting.
Organizing Painting Supplies
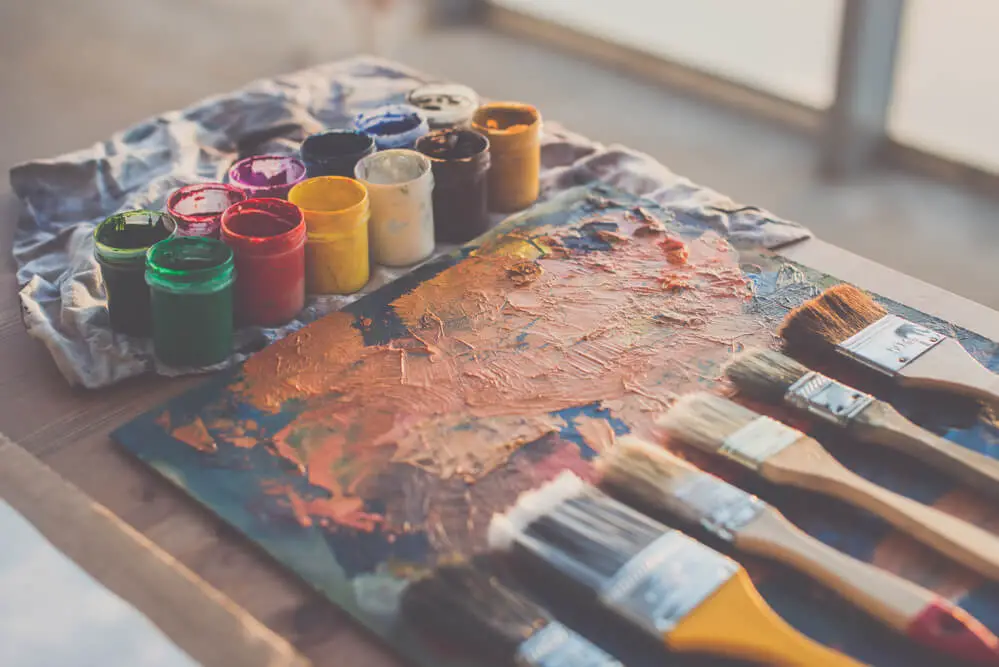
Paint Storage
Proper paint storage is crucial to maintain the quality of your paints and ensure longevity. Consider organizing your paints by color in airtight containers or plastic storage boxes with dividers. For tubes, you can use a paint tube storage rack or a pegboard with hooks. Store your paints in a cool, dry and dark place and keep them sealed to prevent them from drying out.
Color Mixing Tools
To achieve the perfect color mix, acquire the right color mixing tools:
- Palette: Choose a flat surface, such as a wooden or plastic palette, glass, or disposable paper palette. Opt for a palette with a large mixing area to mix your colors freely.
- Palette knives: These versatile tools can be used for mixing colors, scraping off excess paint, or creating unique textures on the canvas.
- Mixing cups: Small plastic cups or jars can be used to pre-mix larger amounts of paint or store mixed colors for later use.
Ensure to keep your color mixing tools clean and organized, as this will help you achieve accurate color blending.
Other Essential Tools
For a well-organized easel painting setup, consider having the following essential tools handy in your studio:
- Brushes: Store your brushes upright in a brush holder or a small vase/jar to prevent the bristles from deforming. You can also organize brushes by size or type of bristle.
- Water container: Have various-sized containers nearby to clean brushes and store clean water for diluting paints. Be sure to change the water frequently during painting sessions.
- Paper towels or rags: Keep a good supply of absorbent materials on hand to clean brushes, palette knives, and other tools or to handle spills.
- Clamps: Securely holding the canvas or paper to the easel using clamps prevents them from accidentally shifting or falling during your painting session.
Remember to maintain the order and cleanliness of your workspace after each session, ensuring your indoor easel painting experience remains enjoyable.
Creating an Ideal Workspace
Setting Up Lighting
When setting up an indoor easel painting workspace, proper lighting is essential. Make sure to have a combination of natural and artificial light sources. Position your easel near a window to make the most out of natural light. If your window has a curtain, use a sheer or light-filtering curtain to soften and diffuse the light. For artificial light, add adjustable lamps that can be positioned around your workspace to illuminate specific areas as needed.
Planning the Workspace Layout
Arrange your workspace to make the room functional and comfortable. Consider the following items in your layout:
- Easel: Place the easel in a convenient and accessible location, ideally near a window for the best use of natural light.
- Furniture: Use a comfortable chair or stool for longer painting sessions, and consider having a small table nearby for holding painting supplies.
- Paints and Tools: Organize your paints, brushes, and other tools within easy reach. A rolling cart or a simple shelf can be useful for storing materials.
- Artwork Display: Allocate space for displaying your finished artwork or works-in-progress, allowing you to step back and assess your work as needed.
Protecting Your Space
Taking measures to protect your indoor painting workspace is crucial. Here are some tips to keep your space clean and safe:
- Drop Cloth: Lay down a drop cloth or old sheet on the floor beneath your easel to catch any paint spills, drips, or splatters.
- Protective Wear: Wear an apron or old clothes while painting to prevent ruining your regular attire.
- Ventilation: Ensure that your workspace is well-ventilated to avoid inhaling fumes from paint solvents or mediums.
- Paint Disposal: Have a designated area for disposing of used paint, paper towels, or other waste materials responsibly.
By following these guidelines, you can create an ideal workspace for indoor easel painting that serves your artistic and practical needs.
Finding the Perfect Position
Setting up your indoor easel painting requires finding the perfect position to ensure your comfort and creativity. In this section, we will discuss the considerations for painting while sitting and painting while standing.
Painting While Sitting
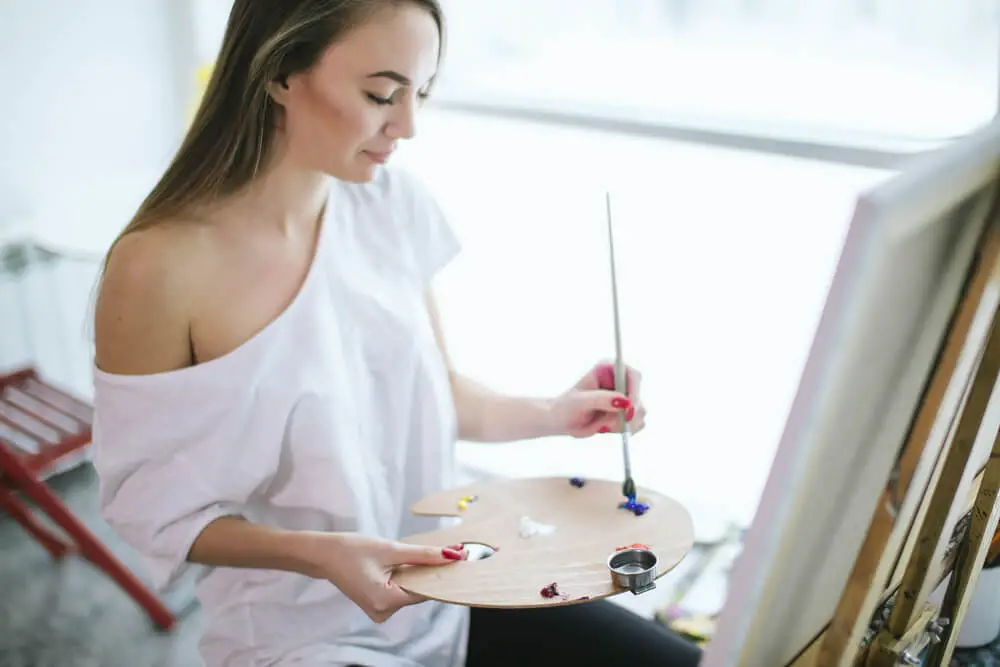
When choosing to paint while sitting, it’s essential to set up your easel at the right height and angle for optimal comfort and painting results. Adjust your easel’s height so that your eyes are level with the canvas’s center. This will help prevent distortion and allow for more precise brushstrokes.
To accommodate the proper tilt and angle, angle your easel back at a slight degree of about 10-20°. This positioning will enable you to view the canvas without glare or distortion from lighting.
Ensure that you have a comfortable stool or chair with the proper height and support. Your sitting posture plays a significant role in how long you can comfortably sit and paint. Look for a stool that is adjustable and provides ample back support.
Painting While Standing
Painting while standing allows for more free movement and engagement with your canvas. As with sitting, ensure that your easel’s height is adjusted so that your eyes are level with the canvas’s center. Also, consider the angle and tilt of your easel, allowing for a comfortable reach to all areas of the canvas.
Ensure your standing height is comfortable by checking the distance between your body and canvas. Maintain a comfortable arm’s length distance to avoid straining your muscles during long painting sessions.
When painting while standing, it’s essential to maintain good posture and balance. Be mindful of how you distribute your weight, avoiding locking your knees or bending at the waist.
Remember to take breaks and stretch regularly, which can help prevent muscle fatigue and maintain your focus and creativity.
Studio and Storage Tips
Organizing Your Studio
When setting up an indoor easel painting studio, consider the available floor space, walls, and reach. Make sure there’s enough room for your easel, painting supplies, and any other tools you may need. Don’t forget to accommodate for the creativity and effort you’ll be putting in, whether it’s for business or a hobby.
It’s crucial to keep your workspace organized, as it helps maintain a focused and efficient workflow. A well-ordered studio helps reduce clutter, prevents accidents, and makes the artistic process more enjoyable.
Storing Your Easel and Supplies
Select an appropriate storage area for your easel and painting supplies, such as a closet, garage, or basement. Ensure that your mast remains secure and doesn’t lean against any walls when not in use. To properly store your easel, consider the following tips:
- Mount it at a 45-degree angle to save floor space and minimize the risk of damage
- Use screws and screw holes to tighten the mast securely.
- If needed, utilize storage bins or shelves to keep supplies easily accessible.
Additionally, label materials and storage containers to quickly locate items when needed and keep your studio organized. Use items like tape to categorize and bundle supplies, making them easier to manage and store away.
By incorporating these tips, you can create an organized studio environment that supports your artistic endeavors and maximizes your productivity.
Frequently Asked Questions
What are the steps to assemble a wooden easel?
- Lay out all the pieces and familiarize yourself with them.
- Attach the front legs to the rear leg using the provided hardware.
- Connect the canvas holders to the front legs, ensuring they are level.
- Adjust the height and angle of the canvas holders according to your preference.
- Secure the easel by tightening all the screws and bolts, and place it on a stable surface.
How to set up a tripod easel for indoor painting?
- Unfold the tripod legs and place them evenly on the ground.
- Extend the legs to your desired height, and secure them with the locking mechanism.
- Attach the top clamp and the bottom support to hold the canvas.
- Place the canvas on the supports and secure it with the top clamp.
- Adjust the easel’s angle and height for a comfortable painting experience.
What is the proper way to position an easel for painting?
- Place the easel on a level and stable surface.
- Position the easel so the light source is at a 45-degree angle to the canvas.
- Adjust the height of the canvas support so that it’s at eye level when you’re standing or sitting.
- Ensure the canvas is at a comfortable distance from your body to avoid straining your neck and back.
- Set the angle of the easel to provide a comfortable view of the entire canvas.
What is the process for setting up a French box easel?
- Unfold the easel and extend the legs to the desired height.
- Open the storage box and secure it to the easel with the sliding mechanism.
- Attach the canvas holders to the storage box and adjust them to your preferred angle.
- Place your canvas on the holders, securing it in place with the top clamp.
- Organize your art supplies in the storage box, and set up a palette on the built-in palette shelf.
How do you assemble an easel board for indoor use?
- Assemble the frame by connecting the side and top panels together with screws or joints.
- Attach a backing board to the frame, ensuring it’s secure and fits well.
- Position the easel board on the desired wall at a comfortable height and angle.
- Secure the easel board to the wall using appropriate hardware, such as screws or brackets.
How can I set up a mini easel for painting at home?
- Unfold the mini easel and place it on a flat surface.
- Extend the legs to achieve the desired height, and secure them with the locking mechanism.
- Place your canvas or paper on the front support, making sure it’s stable.
- Adjust the height and angle of the mini easel for comfortable painting.
- Ensure your work area is well-lit and organized with art supplies nearby.