Welcome to the fascinating world of realism painting! If you’ve ever marveled at a painting that looks so real, you could almost reach out and touch it, then you’ve experienced the magic of realism art. Let’s dive in and explore this captivating art style.
- Definition of Realism PaintingRealism painting is an art style that aims to depict subjects as they appear in real life, without embellishment or interpretation. The goal is to capture the world around us with as much accuracy and truth as possible. It’s all about paying close attention to detail and accurately representing color, light, and shadow. Wikipedia has a wealth of information on this topic if you’re curious to learn more.
- History and Evolution of Realism ArtRealism as an art movement began in the mid-19th century in France. Artists like Gustave Courbet and Jean-François Millet started to move away from the idealized beauty of Romanticism and instead focused on depicting everyday life as it truly was. Over time, realism has evolved and influenced many other art movements, but the core principle of portraying reality as accurately as possible remains the same. Check out this Wikipedia article for a deeper dive into the history of realism art.
- Key Characteristics of Realism PaintingThere are several key characteristics that define realism painting. These include a focus on everyday subjects, accurate representation of light and shadow, detailed and precise brushwork, and a commitment to portraying the truth of the scene. Realism artists often use a limited color palette to maintain the integrity of natural light and color. They also tend to avoid dramatic or emotional content, instead opting for a straightforward, honest portrayal of their subjects.
Now that we’ve covered the basics of realism painting, let’s move on to some techniques you can use to create your own realistic masterpieces. Stay tuned!
Guide to Realism Painting: Mixing Colors for Realism Art
Hey there, budding artists! Today, we’re going to dive into the world of realism painting. Specifically, we’ll explore how to mix colors to create realistic art. But before we start mixing, we need to understand the basics of the color wheel. So, let’s get started!
Understanding the Color Wheel
The color wheel is a basic tool for artists, and it’s super easy to understand. It’s made up of three types of colors: primary, secondary, and tertiary. Let’s break these down.
- Primary Colors
- Secondary Colors
- Tertiary Colors
Understanding the color wheel is the first step towards mastering color mixing for realistic painting. So, keep practicing and experimenting with these colors, and you’ll be a pro in no time!
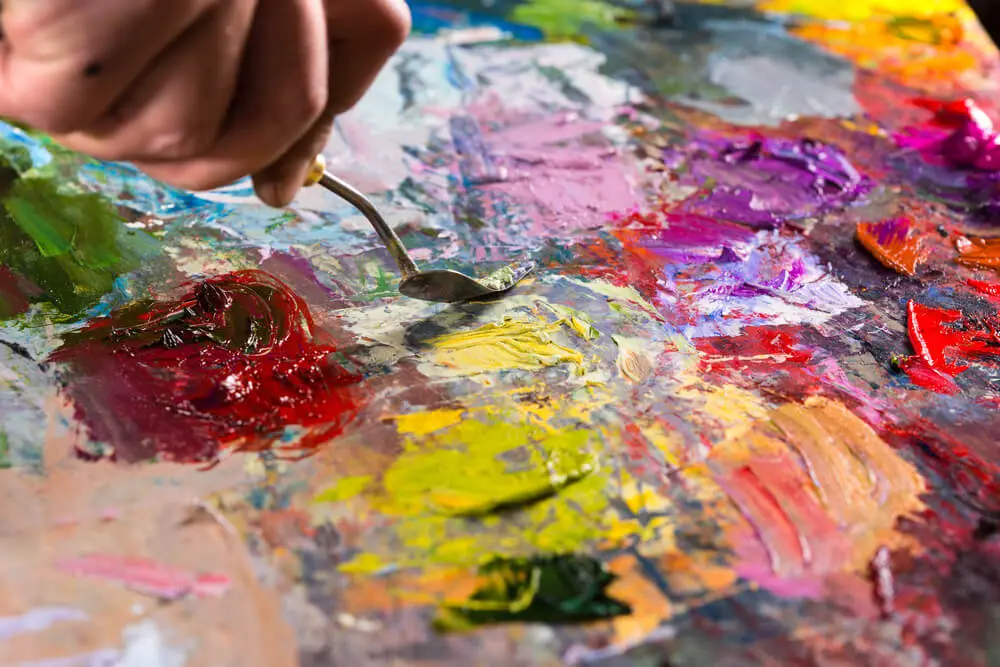
Realistic Color Mixing Guide
When it comes to creating realistic oil paintings, understanding how to mix colors is key. Here’s a simple guide to help you get started.
- Creating a Color Mixing ChartA color mixing chart is a handy tool for any artist. It’s a visual reference that shows how different colors blend together. To create your own, start with your primary colors: red, blue, and yellow. Mix two primary colors together to create secondary colors. Then, mix a primary and a secondary color to create tertiary colors. Fill in a chart with these mixtures, and you’ll have a guide you can refer to whenever you’re painting.For example, mixing red and blue will give you purple. Mixing blue and yellow will give you green. And mixing yellow and red will give you orange. These are your secondary colors. For tertiary colors, mix a primary color with a secondary color. For example, mixing red with orange will give you red-orange.
- Understanding Color TemperatureColor temperature refers to how warm or cool a color appears. Warm colors, like red, orange, and yellow, are often associated with sunlight and heat. Cool colors, like blue, green, and purple, are often associated with water, sky, and shadows. Understanding color temperature can help you create more realistic paintings.For example, if you’re painting a sunset, you might use warm colors in the sky and cool colors in the shadows. This can help create a sense of depth and realism in your painting.
- How to Mix Colors for Realistic Shadows and HighlightsShadows and highlights can add depth and realism to your paintings. To create realistic shadows, don’t just add black to your color. Instead, mix in a bit of the color’s complementary color. For example, for a red apple, mix a bit of green into your red for the shadows.For highlights, don’t just add white to your color. Instead, mix in a bit of a lighter, warmer color. For example, for a green leaf, mix a bit of yellow into your green for the highlights. This can help create a more realistic sense of light and shadow in your painting.
How to Paint Realistically: Techniques for Realistic Painting
Painting realistically is a skill that requires patience, practice, and the right techniques. In this section, we will explore some of the most effective brush techniques used by professional artists to achieve a realistic look in their paintings. Let’s dive in!
Brush Techniques for Realism Painting
There are several brush techniques that can help you paint more realistically. Here are three of the most important ones:
- Blending Techniques
- Glazing Techniques
- Scumbling Techniques
By mastering these brush techniques, you can add depth, texture, and realism to your oil paintings. Remember, practice makes perfect, so don’t be discouraged if your first attempts don’t turn out exactly as you hope. Keep painting, keep learning, and most importantly, keep having fun!
Layering Techniques in Realism Art
Creating a realistic painting is like building a house. You start with a strong foundation and build up, layer by layer. In painting, this process is called layering. Let’s dive into the three main steps of layering in realism art: underpainting, building up layers, and adding final details and glazing.
- Underpainting
Underpainting is the first step in the layering process. It’s like sketching out your ideas before you start writing an essay. In underpainting, you’ll create a monochrome version of your final painting using just one color. This helps you figure out the values (light and dark areas) of your painting. It’s like a roadmap for your artwork! Check out this Wikipedia article for more information on underpainting.
- Building up Layers
Once your underpainting is dry, it’s time to start building up layers. This is where you’ll start adding color to your painting. But remember, patience is key! You’ll want to add thin layers of paint and let each one dry before adding the next. This allows you to gradually build up the depth and richness of color in your painting.
- Final Details and Glazing
The last step in the layering process is adding the final details and glazing. This is where you’ll add the small details that really make your painting come to life. Glazing is a technique where you apply a thin, transparent layer of paint over the dry layers. This can help to adjust the color and tone of your painting, and give it a nice glossy finish. For more on glazing, check out this Wikipedia article.
And there you have it! The three main steps of layering in realism art. Remember, practice makes perfect. So grab your brushes and start painting!
Realism Art Color Palette: Choosing Your Colors
Choosing the right colors for your realism art can be a bit tricky. But don’t worry, we’re here to help! In this section, we’ll discuss how to choose a limited color palette, understand value and saturation, and pick the right color schemes for realistic paintings. So, let’s dive right in!
- Choosing a Limited Color Palette
- Understanding Value and Saturation
- Color Schemes for Realistic Paintings
Remember, mastering the art of color in realism painting takes practice. So, don’t be afraid to experiment and make mistakes. Happy painting!
Realistic Painting Color Tips
When it comes to painting, color is key. But how do you use color to create realistic paintings? Let’s dive into some case studies to find out!
Mixing Paint Colors for Realism: Case Studies
Understanding how to mix and use colors can make a huge difference in your paintings. Let’s take a look at three different scenarios: landscape painting, portrait painting, and still life painting.
- Case Study 1: Landscape Painting
- Case Study 2: Portrait Painting
- Case Study 3: Still Life Painting
So there you have it, folks! Three different case studies on how to mix colors for realistic painting. Remember, it’s all about observation, experimentation, and practice. Happy painting!
Common Mistakes in Color Mixing and How to Avoid Them
Color mixing is a crucial part of creating realistic art. But, it’s not always as easy as it seems. Let’s explore some common mistakes artists make and how you can avoid them.
- Mistake 1: Muddy Colors
- Mistake 2: Overmixing
- Mistake 3: Ignoring the Importance of Value
Remember, practice makes perfect. Don’t be afraid to make mistakes. They’re just stepping stones on your journey to becoming a better artist. Happy painting!
Conclusion: Mastering the Art of Realism Painting
As we wrap up this journey into the world of realism painting, let’s take a moment to reflect on the key takeaways, the importance of practice, and some final words of encouragement.
- Recap of Key Takeaways
- Continued Practice and Experimentation
- Final Words of Encouragement