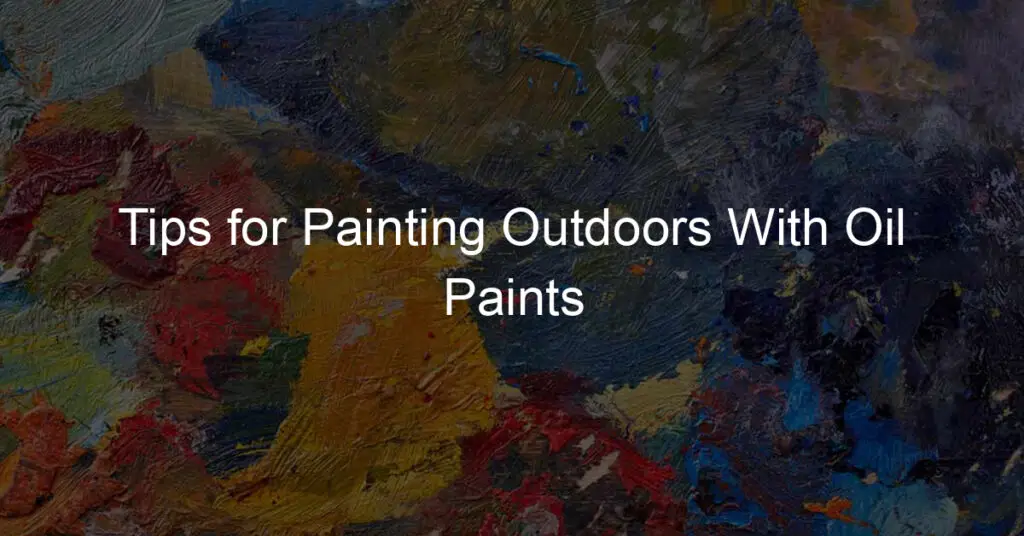
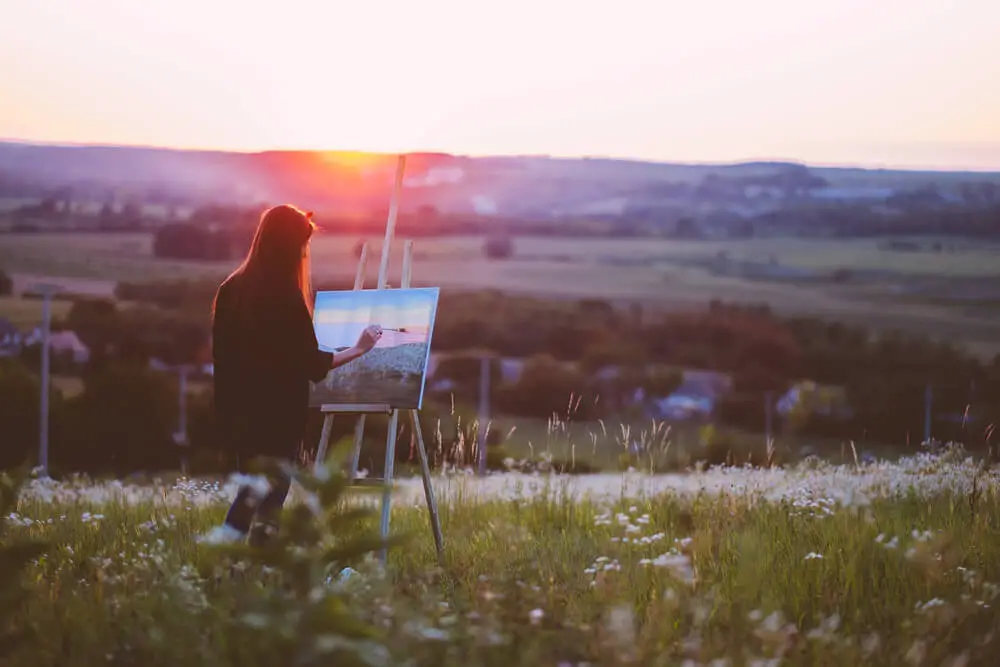
Painting outdoors, or en plein air, has been a favorite pastime for many artists throughout history. This practice allows them to capture the beauty of nature and immerse themselves in the environment, offering a unique perspective and a chance to practice their observational skills.
With oil paints, there’s a rich history of landscape painting that goes back centuries, and many contemporary artists continue to enjoy the challenge and rewards of painting outside.
When venturing into the great outdoors with your oil paints, it’s essential to be prepared for the unique challenges you may face.
From unpredictable weather to changing light conditions, plein-air painting can be a test of your adaptability as an artist. This article aims to provide you with practical tips and techniques that will help you confidently create beautiful oil paintings outside.
In the following sections, we will discuss the best materials for outdoor painting, how to properly set up your working space, various painting techniques, and considerations for preserving your work. Equipped with these tips, you will be well on your way to producing striking outdoor oil paintings.
Getting Started
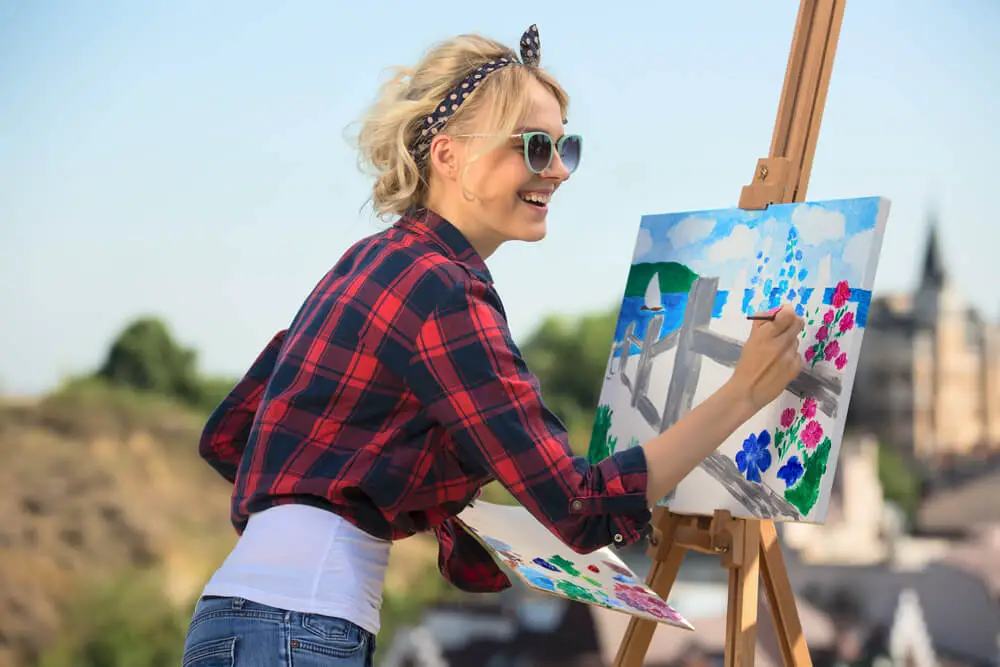
When painting outdoors with oil paints, there are a few tips and tools you should have on hand to ensure a successful en plein air experience.
First and foremost, choose quality oil paints, as they will provide better coverage and pigmentation. Using a good palette will also help you mix and manage your colors efficiently.
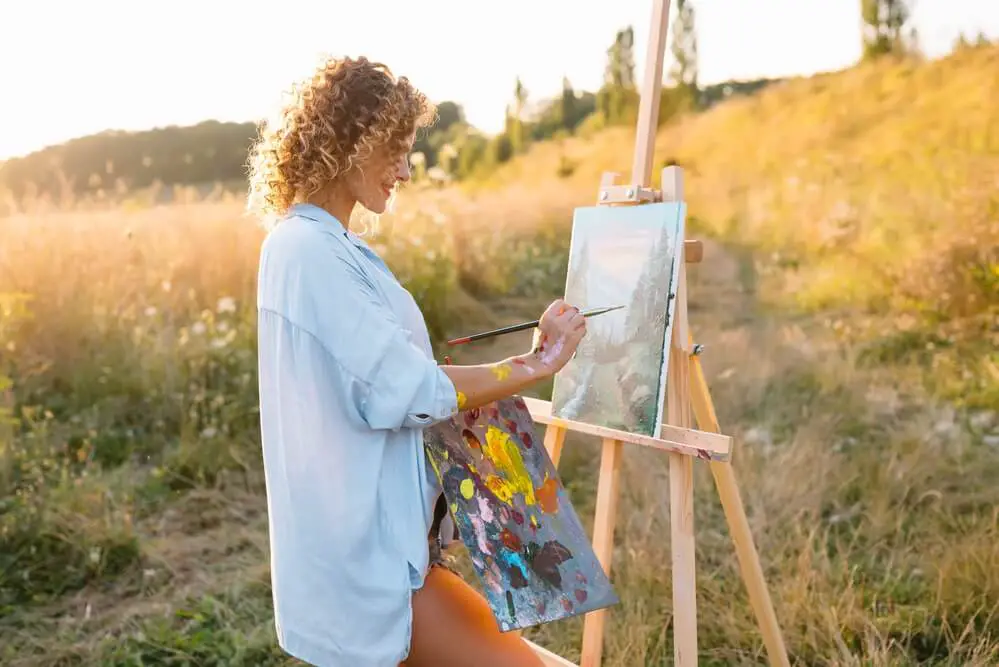
Be sure to have the proper equipment and supplies for plein air painting. This includes a sturdy easel that can withstand outdoor elements and an umbrella to protect your canvas from direct sunlight.
It is also crucial to have a palette with airtight seals to keep your oil paints from drying out under the sun. Bring along a backpack or bag to carry your supplies, as well as a portable chair for comfort.
The need for good ventilation when using oil paints is a given. However, painting outdoors offers fresh air and natural light that can significantly enhance your work. By choosing a well-ventilated spot, you can also avoid potential hazards caused by toxic fumes from oil paints.
When transitioning from using acrylics or watercolors, plein air painting presents some unique challenges for the artist. One helpful tip is to invest in a medium that speeds up the drying time of your oil paint. This allows you to apply multiple layers on your canvas more quicker and prevents unwanted smudging.
Finally, always be prepared for changes in weather conditions.
Bring along extra layers of clothing, sunscreen, and water to stay comfortable during extended periods of outdoor painting. By adapting to your surroundings, you can fully immerse yourself in the process and create a memorable work of art under the open sky.
Preparing Your Painting Surface
When painting outdoors with oil paints, it’s essential to prepare your painting surface properly. To start, choose a suitable surface, such as wood or canvas.
Wood provides a smooth, sturdy base but may require sealing with an acrylic gesso primer. Canvas, on the other hand, is lightweight and easy to transport, making it an ideal choice for plein air painting.
Next, consider the canvas size. A smaller canvas is more portable and allows for quicker completion of the painting. However, a larger canvas offers more space for creativity and can capture more detail. Balance these factors when selecting the canvas size for your outdoor painting session.
Before you begin painting, it is crucial to prime the surface with gesso. Gesso is a white acrylic primer that provides a consistent, non-absorbent surface for your oil paints to adhere to.
It also protects the canvas fibers from the oil content in the paints, preventing yellowing and rotting over time. Apply at least two layers of gesso to your chosen surface, allowing each layer to dry before applying the next.
Once your surface is primed, you can opt for an underpainting to establish the basic composition and tonal values of your artwork.
An underpainting is a monochromatic version of your final painting, usually done in shades of brown or gray. This helps you to establish the correct values and shapes early on, making the final painting process more efficient and fluid.
Lastly, organize your palette. When painting outdoors, it’s beneficial to have a compact setup. Choose a palette with ample mixing space and sturdy construction.
Ensure it is easy to hold or can be attached to a support system, such as an easel. Preparing your palette beforehand can save valuable time and effort during your outdoor painting session.
By following these steps, your painting surface will be ready for a successful outdoor oil painting adventure. Remember to choose the appropriate surface, canvas size, and primer, and take the time to establish an underpainting and organized palette. With proper preparation, you can confidently begin your plein air painting experience.
Selecting Colors and Paint Brands
When painting outdoors with oil paints, choosing the right colors and paint brands is crucial to achieving your desired outcome. The variety of paint colors available for exterior projects can be overwhelming, but understanding the basics of color and pigments will make the selection process simpler.
First, consider the value – the lightness or darkness of a color – as it plays a significant role in how your painting will appear.
Look for colors with high opacity as they will effectively cover underlying layers. You may also want to opt for earthy and natural shades, as they tend to work harmoniously with outdoor settings. Examples of such colors include ochre, burnt sienna, and raw umber.
As for paint brands, visit your local paint stores and review their selections of oil paints, as well as acrylic latex and alkyd paints.
These types of paints might offer various benefits based on your specific needs. Don’t be afraid to ask the store staff for advice on which to choose. Keep in mind that investing in high-quality paints will likely result in better long-term durability and color longevity.
When it comes to pigments, remember that not all brands use the same formulation of ingredients. Research the pigment characteristics and select paint brands that use pure pigments instead of mixtures. Pure pigments are known for their vibrancy and consistency, top attributes for outdoor painting.
In summary, carefully select colors and paint brands based on value, exterior compatibility, and pigment quality. Doing so will lead to successful outdoor painting projects with oil paints. Remember to always test your chosen colors on a small surface before fully committing to ensure the desired outcome is achievable.
Painting Techniques and Tips
Outdoor painting with oil paints, also known as plein air oil painting, requires a different approach compared to working indoors with acrylics. Here are some techniques and tips to excel in your outdoor oil painting experience.
When painting outdoors, focus on creating accurate values. This means comparing the lightest and darkest colors analytically and understanding their relationship.
Values are essential to create a sense of depth and form. Train your eye to see subtle differences in lightness and darkness.
Color mixing can be both an exciting and challenging aspect of plein air oil painting. To create harmonious colors, use a limited palette of primary colors with a few additional colors like earth tones. This will help you achieve a wide range of colors while maintaining color harmony.
Edges play a crucial role in the visual appeal of outdoor painting. Use hard edges to draw attention to important areas, while soft edges help in blending different elements of the painting.
Knowing when to use hard and soft edges creates a visually interesting and realistic piece.
When it comes to views, try to include both detailed and less-detailed areas in your composition. This can create a sense of depth as the viewer’s eye moves from the foreground to the background. Additionally, try changing your perspective to create a varied and dynamic visual experience.
A step-by-step guide to help you get started with your outdoor painting journey could be as follows:
- Select a suitable location and set up your easel, brushes, and palette.
- Create a simple thumbnail sketch of your composition, focusing on the major shapes and forms.
- Block in the major shapes with a thinned-down wash of color to establish the overall composition.
- Work on the form and values, establishing the lightest and darkest areas.
- Add color, keeping in mind the importance of accurate color mixing and harmonious hues.
- Refine the edges and details of your painting.
- Regularly step back to assess your painting from a distance to get a better understanding of how it appears to the viewer.
In conclusion, plein air oil painting can provide a unique challenge for artists, designers, and hobbyists alike. By focusing on values, color mixing, and edges and following a methodical approach, you can create stunning outdoor oil paintings that capture the essence of your chosen subject.
Setting Up Your Painting Workspace
When painting outdoors with oil paints, setting up your workspace is crucial to achieving a successful piece. First and foremost, you’ll need to gather your painting tools such as brushes, paints, medium, and a palette knife.
Choose a palette that suits your needs and preferences. It can be either a traditional wood palette, a disposable paper palette, or even a glass palette. Make sure it’s large enough to accommodate your colors and mixing needs.
Next, select an appropriate easel to hold your canvas or painting surface securely. A portable or collapsible easel is ideal for outdoor painting as it’s easier to transport and set up on various terrains. Try to find one that’s sturdy, strong, and adjustable.
Pay close attention to sunlight when setting up your workspace. Avoid placing your easel in direct sunlight whenever possible, as it can cause glare on your canvas or surface and may hinder your ability to judge colors accurately. Look for an area with even, diffused light, such as under a tree or in the shade of a building.
Scumbling is a helpful technique to consider when painting with oil paints outdoors. By applying thin layers of paint and allowing for some transparency, you can achieve unique effects that respond to the natural environment. To implement scumbling, you’ll need a range of tools like soft brushes, stiff bristle brushes, and even rags or sponges.
Additionally, be mindful of the presence of other members around you, such as fellow painters, pedestrians, or wildlife. Maintain a respectful distance and be aware of your surroundings to create a comfortable and enjoyable outdoor painting experience.
In conclusion, setting up your painting workspace outdoors involves thoughtful planning, being aware of environmental factors, and having the appropriate tools at hand.
With a well-organized workspace, you’ll be prepared to tackle any challenges the great outdoors may present and create beautiful oil paintings that capture the essence of nature.
Creating Shadows and Values
Painting outdoors with oil paints presents its own unique challenges, particularly when it comes to capturing shadows and values accurately. Weather and lighting conditions can change drastically over the course of a day, requiring you to adapt your approach accordingly.
One key factor to consider is the ever-changing weather when working outdoors. Observe the light and shadow conditions during different times of the day and select a time that best suits your desired effect.
Keep in mind that clouds and changes in light can impact the appearance of shadows and values, so be prepared to work quickly or return to the same location at a similar time to maintain consistency.
Values, or the relative lightness or darkness of a color, play a prominent role in creating depth and dimension in your painting.
To achieve the necessary range of values, start by laying down a foundation of light, medium, and dark paint to help you establish the major light and shadow areas in your composition. Use thinner washes of paint to build up the values gradually, allowing you to create subtle changes in the shadows that provide a realistic effect.
The texture is another essential aspect of painting outdoors with oils and can greatly enhance the visual interest of your depiction of shadows and values. Vary the thickness of your paint application to create textures that mimic the surfaces you are representing.
Rough, textured surfaces will catch more light, while smooth surfaces will display sharper, more defined shadows.
Lastly, pay attention to the color temperature of your shadows and the surrounding environment. Shadows are not always a simple gray or black; they often take on the color of nearby objects and the atmosphere.
Be conscious of how the color temperature is affected by factors such as time of day, altitude, and the presence of water or foliage. Integrating these color shifts into your shadows will add depth and authenticity to your outdoor oil paintings.
Working With Ambient Light
When painting outdoors with oil paints, working with ambient light is essential for capturing the true essence of the landscape. Ambient light, or natural light, can greatly influence the mood of a painting and requires careful consideration.
The temperature of the ambient light changes throughout the day, affecting the colors and shadows in your painting. In the early morning or late afternoon, the light is warm, with reddish hues that create long shadows. To reflect these effects, use warmer colors, like yellows and oranges.
On the other hand, midday light is cool and bright, with minimal shadows. Here, rely on cooler colors, like blues and greens.
An essential aspect of working with natural light is adapting your position to ensure proper lighting on both your canvas and the scene you are painting.
Assess the light source and direction to optimize your outdoor setup. Find a vantage point that allows for consistent lighting throughout your painting session. Be mindful of the changing weather, as clouds can dramatically alter the lighting conditions.
Maintaining the consistency of your colors and values is crucial for an accurate representation of the scene.
To achieve this, pay attention to the relationships between lights and darks instead of focusing on individual colors. This will ensure that your painting reflects the desired mood and atmosphere.
Don’t forget to consider the impact of temperature on the oil paint itself. In warmer temperatures, the paint may become more fluid, leading to a faster drying time. Conversely, in colder conditions, the paint may thicken and take longer to dry.
Adjust your techniques and paint application accordingly, and pack any necessary supplies to protect your work (such as a sun visor or umbrella) from unforeseen weather changes.
With practice, you’ll be able to take full advantage of the natural light when painting outdoors, elevating your landscape paintings to new levels. Stay patient and observant, and remember to consider the ever-changing conditions when working with ambient light.
Addressing Environmental Factors
Painting outdoors with oil paints requires attention to various environmental factors that can impact your final result. It’s essential to be aware of the weather, temperature, and sunlight conditions before starting your painting session.
Weather: The weather plays a significant role in the drying and adhesion of oil paints. It’s best to avoid painting during rainy or overly humid conditions, as moisture can affect the paint’s ability to adhere to the exterior surface properly. Choose a day with dry and mild conditions for the best results.
Temperature: Keep in mind that oil paints tend to dry slower in colder temperatures. Though they can be applied in temperatures below 50 degrees, it’s better to paint in a temperature range between 60 and 90 degrees Fahrenheit. This will ensure a smooth paint job and facilitate even drying.
Sunlight: Direct sunlight can cause oil paints to dry too quickly, leading to uneven coats and visible brush strokes. When planning your outdoor painting session, try to work in a shaded area or during a time of day when the sunlight isn’t too harsh, such as early morning or late afternoon.
Exterior Paint Selection: It’s crucial to choose a high-quality exterior paint that specifically caters to outdoor conditions. This type of paint is designed to withstand UV radiation and inclement weather. Consider a siding paint that offers a long-lasting, waterproof, and protective finish.
Coat Application: Apply multiple thin coats of paint for a more even finish. This will also contribute to better durability in varying environmental conditions. Don’t rush the drying process between coats, as this can affect the paint’s adhesion.
Maximizing Savings: Opting for high-quality paints and materials may seem more expensive initially, but investing in such products will help save money in the long run. Superior paints provide better coverage and longevity, allowing you to spend less on touch-ups and maintenance.
Gloss Level: Lastly, consider the gloss level of the paint you choose. High-gloss paints can be more durable and weather-resistant, but they may also show flaws in the siding more visibly. A low to medium-gloss paint can offer a balance of durability and aesthetics for your outdoor painting project.
Drying Time and Proper Ventilation
When painting outdoors with oil paints, it is essential to consider drying times and proper ventilation. Various factors, such as weather conditions and paint thickness can influence the drying time of oil paints. In general, oil paints can take anywhere from 24 hours to several days or even weeks to fully dry, depending on their makeup and environmental factors.
Weather plays a significant role in the drying process. In humid or cold environments, the drying time may be extended, while in warmer or drier conditions, the paints could dry faster.
To speed up the drying process, you can use a fast-drying medium and work in thin layers. This will help the paints to dry more quickly and reduce the risk of damage to your artwork.
Paying attention to the edges and sheen of your painting is crucial when working with oil paints outdoors. As drying occurs, some areas of the painting may have a matte finish, while others may remain glossy. To avoid inconsistencies in the finished piece, try to work with the edges in mind and blend them carefully so that they appear cohesive when the paints have fully dried.
Ventilation is another crucial factor in outdoor oil painting. Ideally, there should be adequate airflow around your painting to help speed up drying times and prevent the buildup of fumes.
In outdoor settings, natural air circulation is usually sufficient, but you may want to position yourself in a location where there is a gentle breeze or regular movement of air.
Working with oil paints outdoors requires planning and adaptability to various environmental factors, such as weather, drying time, and ventilation. By taking these considerations into account and making appropriate adjustments, you can create beautiful outdoor oil paintings with a confident, knowledgeable, and clear approach.
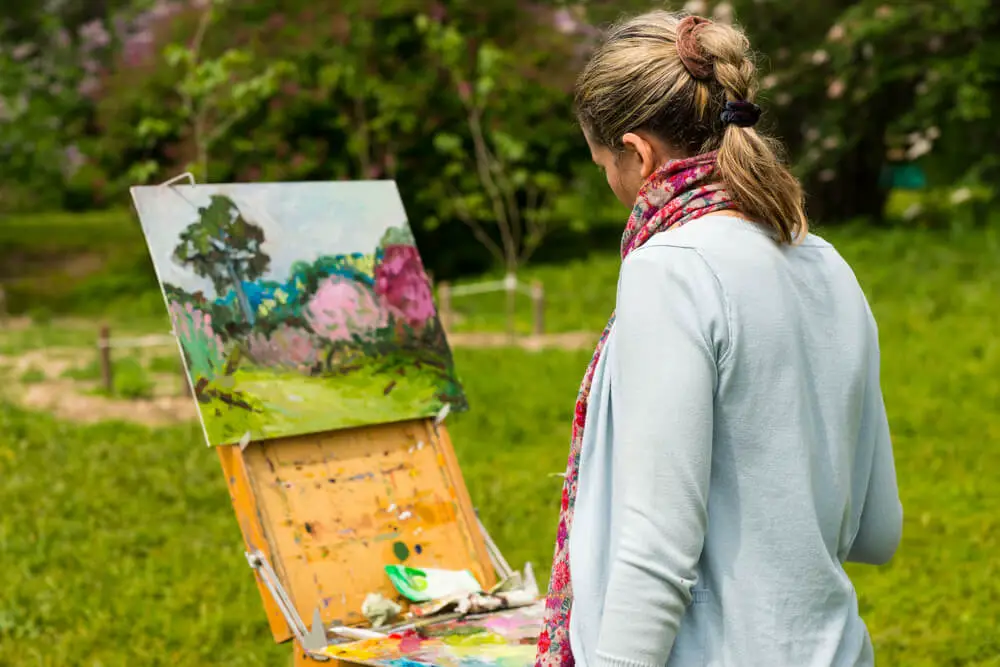
Cleaning and Materials
When painting outdoors with oil paints, it’s essential to have the right tools and materials on hand. A well-organized setup will allow you to concentrate on your canvas and capture the beauty of your surroundings.
1. Choose the right canvas: When painting outdoors, artists should consider using a smaller, portable canvas that’s easy to carry and set up. The ideal canvas size will depend on your subject and design preferences.
2. Select appropriate brushes: A variety of brushes are crucial to achieving different textures and strokes in your artwork. Synthetic brushes are recommended for oil painting, but natural brushes such as hog hair or sable can also be used if you prefer.
3. Tools and equipment: In addition to quality brushes and canvas, you’ll need a portable easel, paint palette, and a reliable carrying case for your paints and brushes. Some artists prefer to make use of a plein air painting umbrella for shade and comfort while painting outdoors.
4. Prepare your paints: Investing in high-quality oil paints is essential for capturing the vibrancy and depth of color in your outdoor landscape. Be sure to include both warm and cool colors in your palette, as well as a range of values to achieve a convincing sense of depth and atmosphere.
Keep the following tips when handling materials:
- Clean your brushes periodically with a solvent such as turpentine or odorless mineral spirits. This will prevent the buildup of paint and maintain brush quality.
- Wipe off any excess paint from your brush before dipping it into a cleaner.
- After cleaning your brushes, use a rag or paper towel to remove any remaining residue.
- Keep a sealed container to store used solvents, and dispose of them in accordance with your local regulations.
Professional artists and beginners alike can find additional guidance and tips on exterior painting with oil paints through various sources, such as instructional videos or workshops. These resources can enhance your techniques and understanding of the materials and equipment essential to plein air painting.
Frequently Asked Questions
What are the best practices for setting up an outdoor oil painting workspace?
Choose a location that offers good lighting, ventilation, and some protection from the elements. Set up your easel on a flat surface and secure it to prevent it from falling over. Organize your painting materials within easy reach, but keep solvents and mediums covered to avoid evaporation and contamination.
How can I achieve accurate color mixing while painting outdoors with oils?
Use a limited palette of colors to reduce the complexity of mixing, and take time to study the scene before you start painting. Keep your colors organized on your palette, and clean your mixing area regularly to prevent contamination. Additionally, consider using a color chart or color wheel as a reference for mixing accurate hues.
What essential tools and materials should I bring for plein air oil painting?
Bring a portable easel, oil paints, brushes, a palette and palette knife, mediums and solvents, paper towels or rags, a trash bag, a panel or canvas, and a sturdy container to hold your materials. Additionally, pack a sketchbook, pencils, a sun hat, sunscreen, and insect repellent to ensure your comfort and safety while painting outdoors.
How do I handle changing light conditions when painting outdoors with oils?
Establish your focal point and overall composition quickly, as light conditions can change rapidly. Be prepared to adapt your painting to evolving light and shadows by observing their patterns and making mental notes. Consider breaking the painting process into sessions, focusing on specific elements of the scene as light conditions allow.
What techniques can help me create depth and texture in outdoor oil paintings?
Utilize a range of brushstrokes and layering techniques to create a variety of textures in your painting. Experiment with impasto and glazing techniques to build depth and detail. Pay attention to the relationships between colors and tonal values to create a sense of atmospheric perspective.
How can I ensure the longevity and durability of my plein-air oil paintings?
Use quality materials, including paint, medium, supports, and brushes. Apply the paint in layers that adhere properly, allowing each layer to dry before adding the next. Protect your finished painting from dust and debris by storing it in a dry, clean location. Finally, consider adding a protective varnish once the painting is completely dry to enhance its longevity.