Painting is defined as the process of using paint. Painting is a way of expressing the emotions and ideas of the artist with the creation of aesthetic qualities in a two-dimensional virtual language.
Color, tones, shapes, and texture are the elements of this language, and they are used in various ways to produce sensational space volume, movement, and light on a surface. Therefore, these elements represent supernatural or real phenomena and create a wholly abstract visual relationship.
When painting, the artist is the one who chooses the medium and the form to use.
Below are steps on how to paint clouds in oil;
How to Paint Clouds in Oil: 15 Steps to Follow
Do you have your tools with you? Then let’s get to work!
1. Immerse the Whole Paper
Have you ever done a painting before and noticed that the paper started bending, making your clean work messy? This step’s purpose is to prevent this. A bigger brush is preferred as it evenly distributes water all over the paper.
On top of that, soaking the paper prevents warping while making the paint wet and activated for longer, which is more workable.
2. Setting Up the Sky Gradient

Make this layer thick enough to produce a high-quality image or portrait. Different people have different preferences on their best color choice. The idea you have in mind is what will determine these colors.
A thick layer of the sky gradient also interacts well with the clouds’ color.
3. Gradient Painting
The trick of painting lies in direction. You can start painting from the top to the bottom as you move horizontally. Use a shade of blue on top of the layer with a base sky color. These two mixtures will give you the gradient.
It is important to note that when you start painting, you are required to avoid reloading your brush.
4. Forming of the Clouds
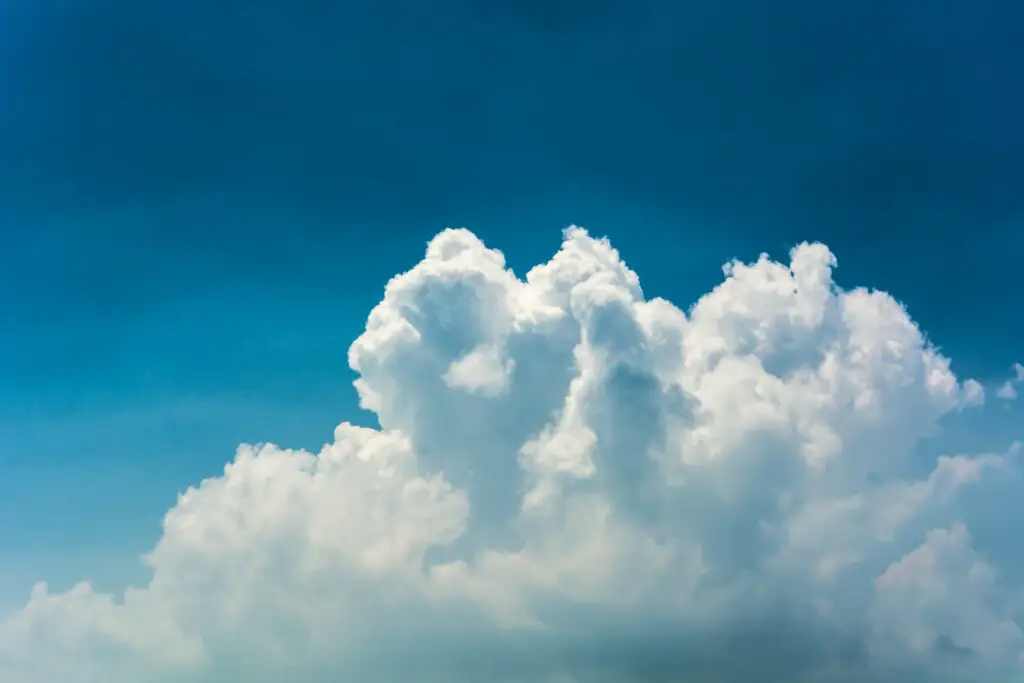
After forming the gradient, you can now start painting the clouds. Apply a white paint layer over the blue painted sky to form the clouds, which requires large amounts of paint and oil.
This process enables the paint to mix naturally to create smooth edges of the clouds. Cloud formation should be done while the paint of the gradient is still wet to produce quality images of the clouds.
5. Painting of the Shadows
Shadows are often created when the clouds are blocking the sunlight. When forming shadows of the clouds, you must create a darker mixture to produce the shadows.
When creating the shadows, one has to consider the bounce light that may appear. Whatever direction it comes from makes the clouds feel fluffy and lighter.
6. Painting Small Shapes Inside the Clouds
When you reach this step, you can include small shapes inside the clouds. Ensure you use paint that will produce quality edges. The paint should not be hard or soft as the layout before because, at this time, some of the paint had already evaporated.
7. Softening the Edges
There are different types of clouds, and their shapes vary. You will have achieved the correct shapes of the clouds you intended to include in your painting at the end of this stage. Always use a soft but dry brush to soften the edges.
Why the edges? They create the difference in the clouds. Drag the brush over the edges to give them a smooth finish. This technique is mainly useful as it makes all the form shadows and lost edges look distinct.
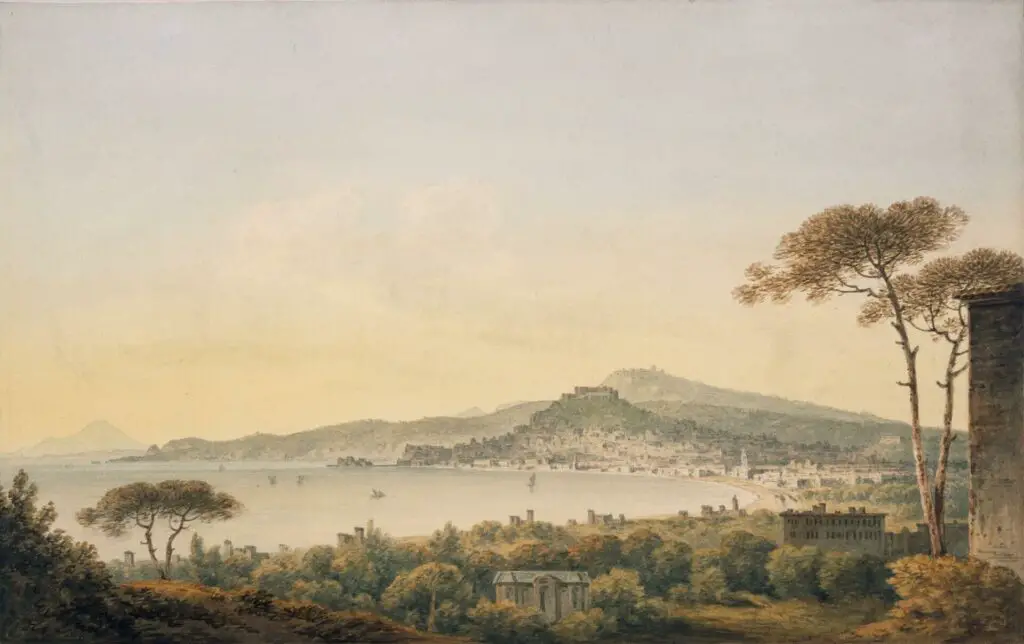
8. Give the Composition a Context
This painting will not be complete with only the clouds in the picture. As of now, you probably feel like something is missing in the painting. The surroundings of the clouds greatly influence the clouds.
Your clouds need to interact with all the things surrounding them. When painting, artists often forget to deal with isolated objects. You should provide your clouds with an interactive environment and context during this step.
For example, when a cloud casts its shadow on a mountain, it gives a precise location in the universe. When clouds are reflected on the sea, we get the water body picture.
9. Painting Mountain View Shadows
Here you are required to form a gradient of the mountain. The quality of the gradient explains where the cloud casting the shadow is. The quality I am referring to here is soft.
Using soft quality enables viewers to vividly see the distance of the shadow from the object as the shadow is soft-edged. Painting the shadows requires using a dry, soft brush that will help extend the gradient’s length.
10. Detailing the Mountain
You have achieved the second goal of giving the context of the cloud. Detail the mountains, and drag the mountain’s shadow towards the light. Wet paint enables a moderately soft result.
11. Lake Painting
At this point, you are required to form a water body – a lake, to be precise. Highlight the idea of water movement by painting a lighter gradient close to the mountain and making it darker as it moves towards the end of the page.
12. Detail the Art
You do not want your piece to appear basic and predictable. Add relevant painting to make your art more creative and interesting to look at.
13. Wet the Paint Again
By this time, your painting is probably getting dry. Wet your painting again for the effectiveness of the coming step, which is more like revision. It is a delicate step since you do not want to destroy your painting.
You do not need to worry because I have something to help you. Pick your brush, let it have very little water, and quickly sweep it through the art. Make sure you do it lightly.
14. Making Final Touches to the Artwork
Here is a technique that you probably did not know about. At this stage, you can add more water. As risky as this sounds, it is the best decision you will make as a painter as your painting will not be left dry.
15. Framing Your Artwork
When the art is finally completely done, you can choose to frame your art behind a glass frame to avoid accidental moisturizing. Besides framing in glass, wax sealant can keep it safe and clean.
Wrap Up
Painting can be categorized as a hobby. Your self-esteem incredibly grows as you see the beautiful fruits of your hobby. Paintings also increase cultural appreciation and help learn history. Have fun!