Introduction: The Art of Making Oil Paints at Home
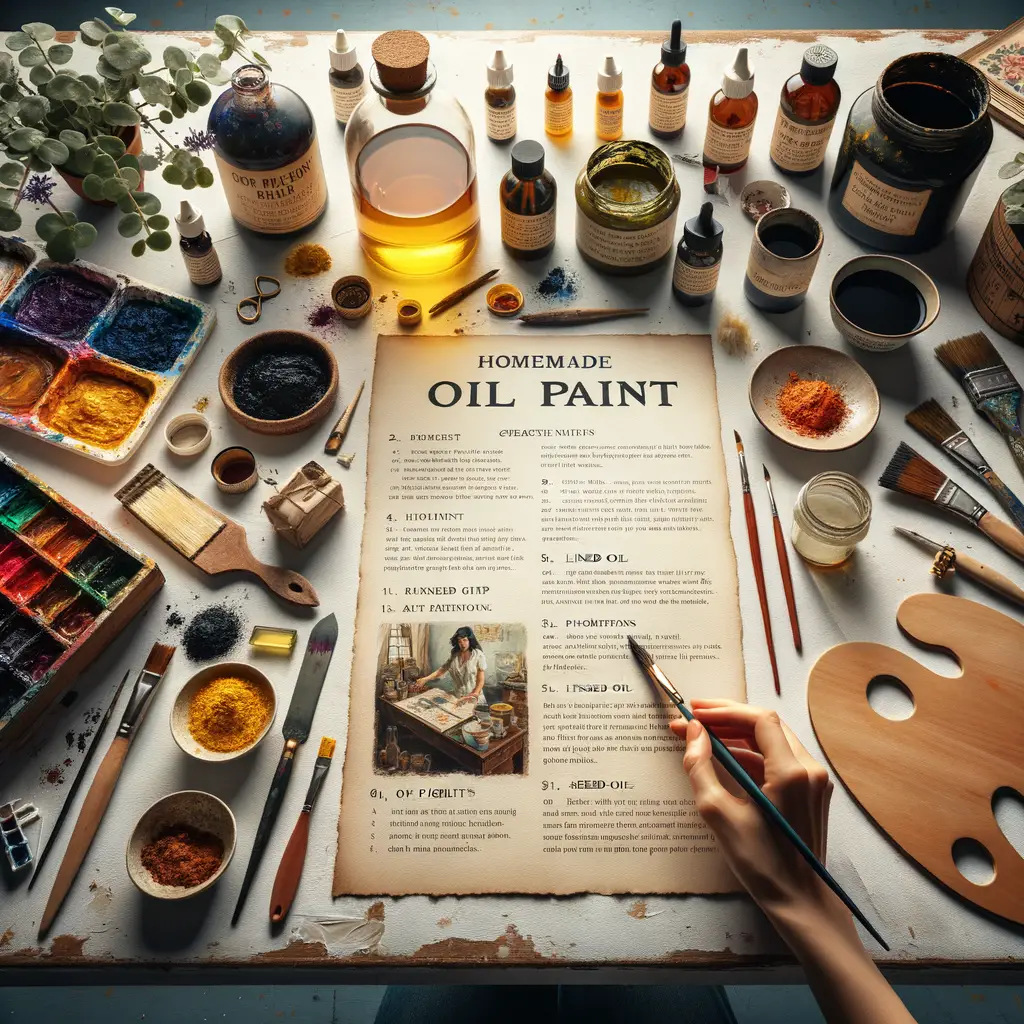
Welcome to the fascinating world of homemade oil paints! This guide will walk you through the process of creating your own oil paints, a practice that has been embraced by artists for centuries. Not only does it give you complete control over the texture and color of your paints, but it also allows you to connect with your art on a deeper level.
- Understanding the Benefits of DIY Oil Paint
- Overview of the Oil Paint Making Process
Making your own oil paint has several advantages. For one, it’s cost-effective. High-quality oil paints can be expensive, but when you make your own, you can save a significant amount of money. Secondly, you have complete control over the pigment and consistency of your paint. This means you can create unique colors that aren’t available in pre-made tubes. Lastly, making your own paint can be incredibly satisfying. It allows you to engage with your art in a new and intimate way, adding another layer of personal expression to your work.
The process of making oil paint involves two main components: pigment and oil. The pigment, which gives the paint its color, is ground into a fine powder. This is then mixed with oil, typically linseed, until the desired consistency is achieved. The process can be time-consuming, but the result is a high-quality, vibrant paint that is uniquely yours.
Whether you’re a seasoned artist looking to take your work to the next level, or a beginner looking for a new way to engage with your creativity, making your own oil paint can be a rewarding endeavor. So, let’s dive in and explore the art of making oil paints at home!
The Artist’s Guide to Oil Paint Ingredients
Creating your own oil paints can be an exciting and rewarding process. By understanding the ingredients that go into oil paints, you can customize your colors and textures to suit your artistic vision. Let’s dive into the essential components of oil paint.
-
Essential Oil Paint Ingredients
At its core, oil paint is a simple mixture of two main ingredients: pigment and oil. The pigment provides the color, while the oil acts as a binder, holding the pigment particles together and allowing them to stick to the canvas. The most commonly used oil is linseed oil, but other oils like poppy seed or walnut oil can also be used.
Additional ingredients can be added to modify the paint’s properties. For example, adding a drying agent can speed up the drying time, while adding a filler can increase the volume of the paint without affecting its color.
-
Choosing the Right Pigments for Homemade Oil Paint
When it comes to choosing pigments, the possibilities are endless. You can purchase pre-made pigments, or you can create your own from natural materials. Some artists even use unusual materials like crushed insects or precious stones to create unique colors.
When selecting pigments, it’s important to consider their lightfastness (how well they resist fading), toxicity, and how they mix with other colors. Some pigments, like cadmium or lead, are toxic and should be handled with care.
-
Understanding the Role of Oil in Oil Paint
The oil in oil paint plays a crucial role. It acts as a binder, holding the pigment particles together and allowing them to adhere to the canvas. The type of oil used can affect the paint’s drying time, consistency, and finish.
Linseed oil is the most commonly used oil in oil paint because it dries thoroughly and creates a strong, flexible paint film. Other oils, like poppy seed or walnut oil, dry slower and create a softer, more delicate paint film.
By understanding the ingredients that go into oil paint, you can create your own unique colors and textures. So, why not give it a try? You might just unleash your inner Picasso!
Step-by-Step Oil Paint Making Tutorial
Creating your own oil paint can be a rewarding and cost-effective way to enhance your artistic journey. This step-by-step guide will walk you through the process, from preparing your workspace to mixing and refining your homemade oil paint.
- Preparing your workspace for oil paint creation
- Choosing and mixing your pigments
- Adding oil to your pigments
- Mixing and refining your homemade oil paint
Before you start, it’s essential to prepare your workspace. Choose a well-ventilated area with plenty of natural light. Cover your work surface with newspaper or a drop cloth to protect it from spills and stains. Gather all your materials, including pigments, oil, a palette knife, a glass muller, and a mixing surface like a glass palette or a marble slab.
Pigments are the heart of your oil paint. They come in a variety of colors and can be natural or synthetic. When choosing pigments, consider their lightfastness, or how well they resist fading when exposed to light. To mix your pigments, sprinkle a small amount onto your mixing surface, then use your palette knife to blend them together until you achieve your desired color.
Once your pigments are mixed, it’s time to add oil. Linseed oil is commonly used, but you can also use walnut or poppy seed oil. Add a small amount of oil to your pigments and use your palette knife to mix them together. The consistency should be similar to that of toothpaste.
After adding oil to your pigments, use your glass muller to grind and mix your paint. This step is crucial for achieving a smooth, buttery consistency. Once your paint is thoroughly mixed, it’s ready to use. You can store any leftover paint in airtight containers to keep it fresh.
Creating your own oil paint allows you to control the quality and color of your paint, giving you more freedom and flexibility in your artwork. By following these steps, you can start making your own oil paint and take your art to the next level.
Advanced Techniques in DIY Oil Paint Creation
As you delve deeper into the world of homemade oil paint creation, you’ll discover a variety of advanced techniques that can enhance your artwork. One such technique is creating unique textures with your homemade oil paint. Let’s explore this in detail.
Creating Unique Textures with Homemade Oil Paint
Texture plays a crucial role in bringing your artwork to life. With homemade oil paint, you can create textures that are unique to your style. Here are two ways you can achieve this:
- How to create thick, textured oil paint
- Creating smooth, fine oil paint at home
Thick, textured oil paint can give your artwork a three-dimensional effect. To create this texture, you need to add more oil to your pigment. Start with a small amount and gradually increase until you achieve the desired thickness. Remember, the more oil you add, the longer it will take for your paint to dry.
If you prefer a smooth, fine texture, you’ll need to grind your pigment finer and add less oil. This will result in a thinner paint that spreads easily on your canvas. A glass muller and a grinding slab are useful tools for achieving a fine texture. Always remember to grind your pigment in a circular motion for even distribution of oil.
Experimenting with these techniques can help you discover your unique style. Remember, the key to mastering these techniques is practice. So, don’t be afraid to make mistakes and learn from them. Happy painting!
Experimenting with Color in Your DIY Art Supplies
When it comes to creating your own oil paints, color is everything. It’s not just about choosing your favorite shades, but understanding how colors work together and how to create them from scratch. Let’s explore some advanced techniques for experimenting with color in your DIY art supplies.
- Understanding color theory for oil paint creation
- Creating vibrant, bright colors with homemade oil paint
- Mixing pigments for subtle, nuanced colors
Color theory is a fundamental concept in art and design, and it’s equally important when making your own oil paints. It’s all about how colors interact with each other and how they affect the viewer’s perception. For instance, colors that are opposite each other on the color wheel (like red and green, or blue and orange) are called complementary colors, and they create a vibrant contrast when used together. On the other hand, colors that are next to each other on the color wheel (like blue and green, or red and orange) are called analogous colors, and they create a harmonious blend when used together.
Creating vibrant, bright colors with homemade oil paint is a fun and rewarding process. It all starts with choosing the right pigments. Some pigments are naturally brighter than others, so it’s important to do some research and experiment with different options. For instance, cadmium pigments are known for their intense, bright colors, while earth pigments (like ochre or sienna) tend to be more muted. Once you’ve chosen your pigments, you can mix them with oil to create your paint. Remember, the more pigment you use, the brighter and more saturated your color will be.
Mixing pigments is an art in itself, and it’s where you can really start to create subtle, nuanced colors. The key is to start with small amounts and add more pigment gradually until you achieve the desired shade. It’s also important to note that some pigments are stronger than others, so they can overpower the mix if you’re not careful. For instance, a small amount of phthalo blue can drastically change the color of a mix, while a large amount of yellow ochre might have a more subtle effect. Experimenting with different combinations and ratios is the best way to learn and create a wide range of colors.
Experimenting with color in your DIY art supplies is a journey of discovery. It’s about understanding the science of color, but also about letting your creativity run wild. So don’t be afraid to try new things, make mistakes, and learn from them. After all, every great artist was once a beginner.
Case Studies: Artists Who Make Their Own Oil Paints
Many artists have discovered the joy and benefits of making their own oil paints. Let’s explore the experiences of three such artists.
-
Artist 1: Embracing the DIY Art Supply Movement
Meet Jane Doe, a contemporary artist who has fully embraced the DIY art supply movement. Jane started making her own oil paints as a way to control the quality and color of her materials. “I was tired of being limited by the colors available in stores,” she says. “Making my own paints allows me to create exactly the shades I envision.” Jane’s vibrant, unique artwork is a testament to the power of DIY. You can view her work and learn more about her process on her Wikipedia page.
-
Artist 2: The Benefits of Homemade Oil Paint
John Smith is another artist who has found value in homemade oil paint. John was initially drawn to DIY paint-making for its cost-effectiveness. “High-quality oil paints can be expensive,” he explains. “Making my own has saved me a lot of money.” But the benefits don’t stop there. John has found that homemade paint also allows for a more personal connection to his work. “There’s something special about creating with materials you’ve made yourself,” he says. Check out John’s Wikipedia page to see his stunning creations.
-
Artist 3: Unleashing Creativity with DIY Oil Paint
Last but not least, let’s look at the work of Mary Johnson. Mary began making her own oil paints as a way to unleash her creativity. “With DIY paint, the possibilities are endless,” she says. “I can experiment with different pigments and binders to create truly unique colors and textures.” Mary’s innovative approach to art-making has resulted in some truly unique and inspiring pieces. Visit her Wikipedia page to learn more about her journey.
As these case studies show, making your own oil paints can offer a range of benefits, from cost savings to increased creative control. Why not give it a try and see what you can create?
Conclusion: Unleashing Your Inner Picasso
As we reach the end of our journey into the world of homemade oil paints, it’s time to reflect on what we’ve learned and look forward to the artistic adventures that lie ahead. Let’s recap the key takeaways from our guide and encourage you to unleash your inner Picasso by experimenting and creating your own artist’s oil paint recipe.
- Key takeaways from the oil paint making guide:
- Encouragement to experiment and create your own artist’s oil paint recipe:
Throughout this guide, we’ve explored the art of making oil paints at home. We’ve delved into the essential ingredients, followed a step-by-step tutorial, and even discovered advanced techniques. We’ve learned that making your own oil paints allows for greater control over the color and texture of your paints, leading to a more personalized and fulfilling artistic experience.
Now that you’re equipped with the knowledge and skills, it’s time to experiment. Remember, every great artist, including Picasso, wasn’t afraid to try new things. Don’t be afraid to experiment with different pigments and binders. Who knows, you might just create a masterpiece with your unique oil paint recipe.
Remember, the journey of an artist is one of constant learning and exploration. So, go ahead, unleash your inner Picasso, and let the world of colors be your canvas. Happy painting!
