Introduction to En Plein Air Painting
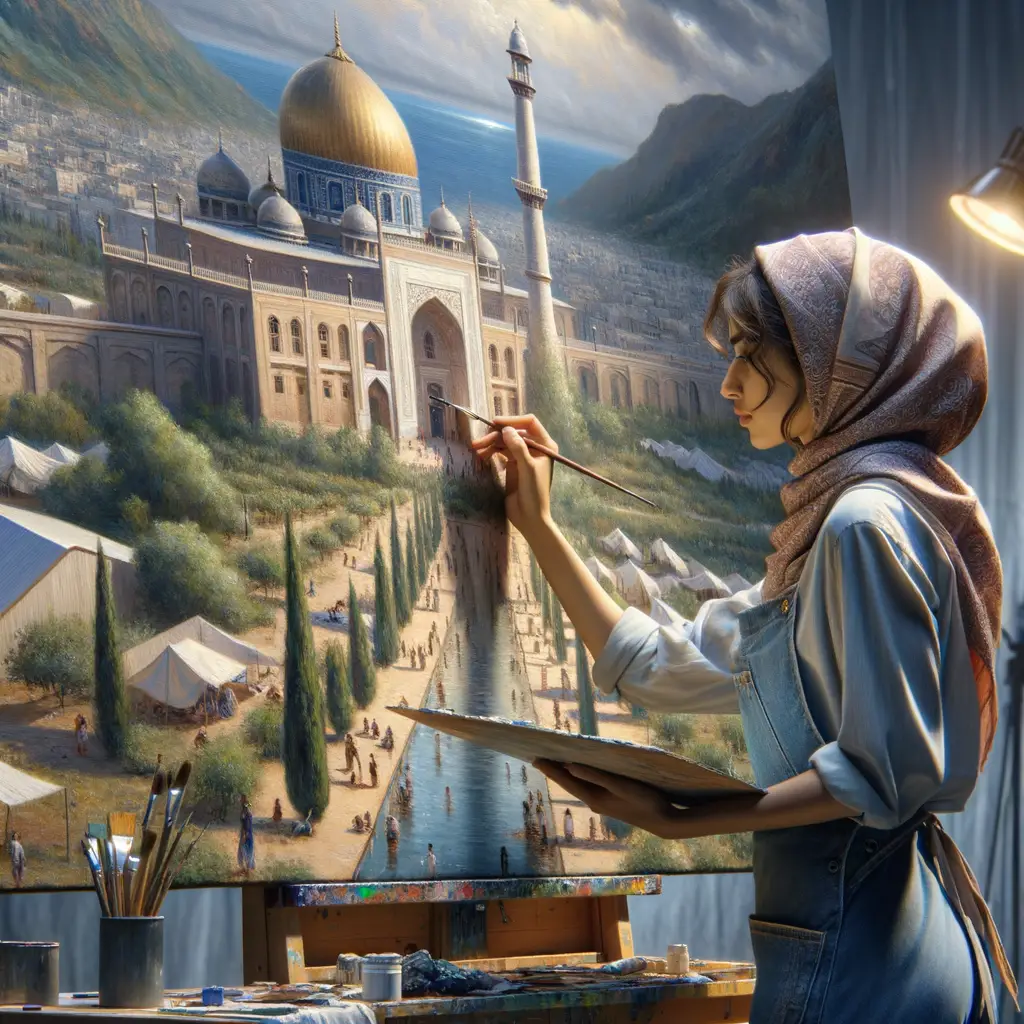
En Plein Air painting is a fascinating art form that has been around for centuries. It is a technique that requires both skill and patience, as artists must work quickly to capture the changing light and weather conditions. In this article, we will explore the definition, history, and importance of Plein Air painting in modern art.
- Definition of En Plein Air Painting
- History and Evolution of Plein Air Painting
- Importance of Plein Air Painting in Modern Art
En Plein Air is a French term that translates to ‘in the open air’. This term is used to describe the act of painting outdoors, directly in the environment that the artist is trying to capture. Unlike studio painting, Plein Air painting requires the artist to engage directly with the landscape, capturing its essence in real-time. This method of painting is challenging but rewarding, as it allows the artist to capture the unique light, colors, and atmosphere of the scene.
Plein Air painting has a rich history that dates back to the 19th century. It was popularized by the French Impressionists, who sought to capture the fleeting effects of light and color in their artwork. Artists like Claude Monet and Pierre-Auguste Renoir would often set up their easels outdoors, painting landscapes and scenes of everyday life. Over time, Plein Air painting has evolved and adapted, with modern artists using a variety of mediums and techniques to capture the world around them. You can read more about the history of Plein Air painting on Wikipedia.
Despite the advent of modern technology and digital art forms, Plein Air painting continues to hold a significant place in the world of art. It is valued for its ability to capture the natural world in a unique and authentic way. Many modern artists continue to practice Plein Air painting, finding inspiration in the beauty of the natural world. Additionally, Plein Air painting is often used as a teaching tool in art schools, as it helps students develop their observational skills and understanding of color and light.
In the following sections, we will delve deeper into the techniques and challenges of Plein Air painting, providing a step-by-step guide for those interested in trying this art form for themselves.
Art of Oil Painting: Techniques and Tips
Mastering the art of oil painting requires understanding and applying various techniques. These techniques can range from basic to advanced, and each one adds a unique touch to your artwork. In this section, we will explore three basic oil painting techniques: Underpainting, Glazing, and Impasto.
Basic Oil Painting Techniques
- Underpainting
- Glazing
- Impasto
Underpainting is a technique where an initial layer of paint is applied to the canvas to establish the composition and tonal values of the painting. This layer, often monochromatic, serves as a guide for the subsequent layers of paint. It helps in creating depth and volume in the painting. According to a Wikipedia article, underpainting was widely used by the old masters like Leonardo da Vinci and is still popular among artists today.
Glazing is a technique where a thin, transparent layer of paint is applied over a dry, previously painted area. This technique allows light to pass through the glaze layer and reflect off the underlying paint layers, creating a luminous effect. As mentioned in this Wikipedia article, glazing can enhance the perceived depth and volume of a painting.
Impasto is a technique where paint is applied in thick layers, creating a textured surface that captures and reflects light in a unique way. This technique adds a three-dimensional quality to the painting. Vincent Van Gogh, a famous artist, often used the impasto technique in his works, as noted in this Wikipedia article.
These basic techniques are the building blocks of oil painting. By mastering these, you can create beautiful and expressive artworks. In the next section, we will delve into more advanced oil painting techniques.
Advanced Oil Painting Techniques
As you grow in your oil painting journey, you may want to explore more advanced techniques. These techniques can add depth and texture to your artwork, making it more captivating. Let’s dive into three advanced oil painting techniques: Grattage, Tachism, and Alla Prima.
- Grattage
- Tachism
- Alla Prima
Grattage is a technique where the artist applies layers of oil paint to the canvas and then scrapes some of it away. This creates a unique texture and reveals the layers of color underneath. It’s a technique that can add a lot of depth and interest to your paintings. Learn more about Grattage here.
Tachism is a style of abstract painting that uses oil paints in a very free and spontaneous way. The artist applies the paint in a way that lets the colors and shapes interact on the canvas, rather than trying to control every detail. This can result in some very exciting and unexpected effects. Find out more about Tachism here.
Alla Prima, also known as “wet-on-wet,” is a technique where the artist applies fresh paint directly onto wet paint without waiting for the previous layer to dry. This allows the colors to blend together on the canvas, creating a soft and natural look. It’s a great technique for capturing the fleeting effects of light and color in a landscape. Discover more about Alla Prima here.
In conclusion, mastering these advanced oil painting techniques can help you create more dynamic and interesting paintings. Remember, practice makes perfect. So, don’t be afraid to experiment and make mistakes along the way. Happy painting!
Outdoor Oil Painting Tips
Creating an oil painting outdoors, also known as en plein air, can be a rewarding experience. However, it also presents unique challenges. Here are some tips to help you navigate these challenges and create stunning outdoor oil paintings.
- Choosing the Right Location
- Managing Light and Shadow
- Dealing with Changing Weather
Choosing the right location is crucial to the success of your outdoor oil painting. Consider factors such as the view, the light, and the weather. A location with a beautiful view can inspire you, but also consider how the light falls on your subject at different times of the day. You might want to visit your chosen location at different times to see how the light changes. Also, consider the weather. If it’s too hot, your oil paints may dry too quickly. If it’s too cold, they may not dry at all. Choose a location where you can be comfortable for several hours.
Light and shadow can dramatically affect the mood of your painting. When painting outdoors, the light can change quickly, especially if you’re painting at sunrise or sunset. To manage this, try to capture the general light conditions first, before focusing on the details. Remember, it’s the contrast between light and shadow that gives your painting depth and dimension. Don’t be afraid to exaggerate the contrast if it helps convey the mood you’re trying to capture.
Weather is one of the biggest challenges of outdoor oil painting. If it starts to rain, you’ll need to protect your painting and your paints. Consider bringing an umbrella or a portable shelter. If it’s windy, secure your easel and your painting so they don’t blow away. And if it’s hot, bring plenty of water to stay hydrated, and consider using a medium that slows down the drying time of your paints.
Outdoor oil painting can be challenging, but with these tips, you can overcome these challenges and create beautiful works of art. Remember, the most important thing is to enjoy the process. Happy painting!
Challenges in Oil Painting and How to Overcome Them
Oil painting, especially en plein air, can be a challenging yet rewarding experience. It requires a keen eye, a steady hand, and the ability to adapt to changing conditions. Let’s explore some of the common challenges that artists face while painting outdoors and discuss practical solutions to overcome them.
Common Plein Air Painting Challenges
When painting outdoors, artists often encounter a unique set of challenges. Here are some of the most common ones:
- Dealing with Changing Light: The light can change rapidly when you’re painting outdoors, altering the scene’s colors and shadows. To overcome this, try to paint during the early morning or late afternoon when the light is more stable. You can also take a series of photographs to use as a reference for the changing light conditions.
- Handling Distractions: Painting outdoors can come with a host of distractions, from curious onlookers to sudden weather changes. To handle this, consider finding a quiet, secluded spot to paint. If that’s not possible, learn to embrace the distractions and incorporate them into your painting process.
- Managing Time Effectively: Painting en plein air requires efficient time management. You may only have a few hours before the light changes dramatically. Plan your painting session ahead of time, focusing on the most important elements first. Remember, it’s okay to leave some details for later; the goal is to capture the essence of the scene.
Overcoming these challenges can greatly enhance your plein air painting experience and help you create beautiful, captivating artworks. Remember, practice makes perfect. The more you paint outdoors, the better you’ll become at dealing with these challenges.
Specific Challenges in Oil Painting
Oil painting, while a beautiful and rewarding art form, comes with its own unique set of challenges. Let’s delve into some of the specific issues you might encounter and how to overcome them.
- Understanding Oil Paint Drying Time
- Choosing the Right Oil Paint
- Proper Cleaning and Maintenance of Brushes
One of the biggest challenges with oil painting is understanding the drying time. Unlike watercolors or acrylics, oil paints can take days, weeks, or even months to fully dry. This can be a problem if you’re working on a tight deadline or if you’re eager to see the final result of your work. However, this slow drying time can also be a benefit, allowing you to make changes and adjustments to your painting over a longer period of time. To speed up the drying process, you can use a medium like linseed oil or a drying agent. But remember, patience is key when working with oil paints.
Another challenge is choosing the right oil paint. There are many different brands and types of oil paint available, each with its own set of properties and characteristics. Some paints are more vibrant and pigmented, while others are more transparent and subtle. It’s important to do your research and experiment with different paints to find the ones that work best for your style and technique. Don’t be afraid to mix and match brands and types of paint to achieve the desired effect. Here is a useful guide to help you understand more about oil paints.
Lastly, proper cleaning and maintenance of your brushes is crucial. Oil paint can be tough on brushes, and if not cleaned properly, it can ruin them. After each painting session, clean your brushes thoroughly with a brush cleaner or mild soap, making sure to remove all the paint from the bristles. Once clean, reshape the bristles and let the brushes dry flat or hanging upside down to prevent water from seeping into the handle. Regular maintenance will ensure your brushes last longer and perform better, saving you money and frustration in the long run.
While these challenges can seem daunting, don’t let them discourage you. With practice and patience, you can master the art of oil painting and create beautiful works of art.
Plein Air Oil Painting Guide: Step-by-Step Process
Creating a plein air oil painting can be a rewarding experience. Here is a simple step-by-step guide to help you get started.
- Choosing your location
- Setting up your easel and palette
- Blocking in the composition
- Developing the painting
- Finishing touches and cleanup
Choosing the right location is crucial for plein air painting. It should be a place that inspires you and has good lighting. Consider the time of day, weather conditions, and the changing light. Remember, the beauty of plein air painting lies in capturing the natural environment. Wikipedia offers more insights on selecting suitable locations.
Once you’ve chosen your location, set up your easel and palette. Make sure your easel is stable and your palette is organized. You may want to arrange your colors in the order of the rainbow to make it easier to mix colors.
Start your painting by blocking in the main shapes and forms. This is not about details but about capturing the basic structure of your scene. Use thin paint and big brushes for this step.
After blocking in the composition, start developing your painting. Add more detail and start to refine the shapes and forms. Remember to step back frequently to view your painting from a distance. This helps to see the overall composition and make necessary adjustments.
Once you’re satisfied with your painting, add the finishing touches. This could be adding highlights, refining details, or adjusting colors. When you’re done, clean up your brushes and palette. Remember to dispose of any paint or solvents responsibly.
With these steps, you’re well on your way to creating beautiful plein air oil paintings. Remember, practice makes perfect. So, keep painting and enjoy the process!
Tips for Painting En Plein Air: Expert Advice
Creating art en plein air, or in the open air, is a rewarding experience that allows artists to capture the beauty of the natural world. Here are some expert tips to help you make the most of your plein air painting sessions.
- Choosing the Right Equipment
- Planning Your Painting Session
- Practicing Observation Skills
Choosing the right equipment is crucial for a successful plein air painting session. Your choice of brushes, paints, and canvas can significantly impact the outcome of your artwork. For plein air painting, it’s recommended to use a portable easel and lightweight materials. Oil paints are a popular choice due to their versatility and slow drying time, allowing for adjustments on the go. A variety of brushes, including both flat and round, can help achieve different textures and details.
Planning is key when it comes to plein air painting. Consider the weather, time of day, and location before heading out. It’s best to start early in the morning or late in the afternoon when the light is softer. Also, remember to bring necessary supplies such as water, snacks, and sunscreen. Sketching out your composition before starting to paint can also be helpful in structuring your artwork.
Observation is a crucial skill for plein air painting. It’s important to study the landscape, observe the light, shadows, and colors, and understand how they change throughout the day. Practicing quick sketches can help improve your observation skills and speed up your painting process. Remember, the goal is not to capture every detail, but to convey the essence of the scene.
By following these expert tips, you can enhance your plein air painting experience and create beautiful, lifelike artworks. Remember, practice makes perfect, so don’t be discouraged if your first few attempts don’t turn out as expected. Keep painting, keep observing, and most importantly, enjoy the process.
Oil Painting Outdoors: Case Studies and Examples
Let’s delve into some real-world examples and case studies of plein air oil painting. These stories will provide you with a deeper understanding of the art form, its challenges, and how artists overcome them.
-
Case Study 1: Successful Plein Air Oil Painting
Meet Jane, a professional artist who has been painting for over 20 years. Jane’s first experience with plein air oil painting was during a trip to the Grand Canyon. She was captivated by the breathtaking landscape and decided to capture it with her oil paints. Jane spent hours observing the scene, mixing her colors, and applying them to her canvas. The result was a stunning painting that beautifully captured the canyon’s grandeur. Jane’s success can be attributed to her patience, observation skills, and mastery of oil painting techniques. You can view her painting here.
-
Case Study 2: Overcoming Challenges in Plein Air Oil Painting
Next, let’s look at John, a novice painter who faced several challenges during his first plein air oil painting session. John chose a busy cityscape for his subject, which proved to be a challenging choice. He struggled with changing light conditions, noise, and interruptions from passersby. However, John didn’t give up. He learned to adapt to the changing light by working quickly and focusing on the most important elements of the scene. He also learned to embrace the distractions and incorporate them into his painting process. John’s experience shows that with perseverance and adaptability, you can overcome the challenges of plein air oil painting.
-
Examples of Famous Plein Air Oil Paintings
Many famous artists have created stunning plein air oil paintings. For instance, Claude Monet, a renowned French painter, was known for his plein air landscapes. One of his most famous works, “Impression, Sunrise,” was painted outdoors and gave birth to the Impressionist movement. Another example is Vincent van Gogh’s “The Starry Night,” which, although not painted outdoors, was inspired by the view from his asylum window. These paintings serve as excellent examples of the beauty and power of plein air oil painting. You can learn more about these paintings here and here.
Conclusion: Mastering the Art of Plein Air Oil Painting
As we conclude our journey through the world of plein air oil painting, let’s take a moment to reflect on the key takeaways, share some final tips and advice, and encourage you to continue practicing and learning.
- Recap of key takeaways:
- Final tips and advice:
- Encouragement for continued practice and learning:
Throughout this guide, we’ve explored the art of plein air oil painting, from its techniques and challenges to step-by-step processes and expert advice. We’ve learned that plein air painting is not just about capturing the landscape, but also about experiencing the environment. We’ve also discovered that oil painting can be challenging, but with the right techniques and a bit of practice, it can be mastered.
Remember, the key to mastering plein air oil painting is practice. Don’t be discouraged if your initial attempts don’t turn out as you’d hoped. Keep experimenting with different techniques, and don’t be afraid to make mistakes. Use high-quality materials, pay attention to light and shadow, and most importantly, enjoy the process.
Art is a journey, not a destination. The more you paint, the more you’ll learn and grow as an artist. So, keep practicing, keep learning, and keep exploring the beautiful world of plein air oil painting. Remember, every artist was first an amateur. As Ralph Waldo Emerson once said, “Every artist was first an amateur.”
With that, we conclude our guide to mastering the art of plein air oil painting. We hope you’ve found it informative and inspiring. Happy painting!
