Introduction to Photographing Oil Paintings for Digital Display
In today’s digital era, the art world has seen a significant shift from traditional viewing methods to online platforms. This shift has necessitated the need for high-quality digital images of artwork, particularly oil paintings. This article will introduce you to the process of photographing oil paintings for digital display.
- The importance of high quality art photos in the digital era
- Overview of the art digitization process
High-quality photographs of art are more important than ever in the digital age. With the rise of online art galleries, auctions, and social media platforms, artists and collectors alike need high-quality digital images to showcase their work effectively.
According to a Wikipedia article, the quality of a digital image can significantly impact the viewer’s perception of the artwork. A poor-quality image may not accurately represent the colors, textures, and details of an oil painting, potentially leading to a loss of interest or even a lower perceived value of the artwork.
Art digitization is the process of converting physical artwork into a digital format. This process involves photographing the artwork, editing the image to ensure it accurately represents the original piece, and then storing the digital file for future use.
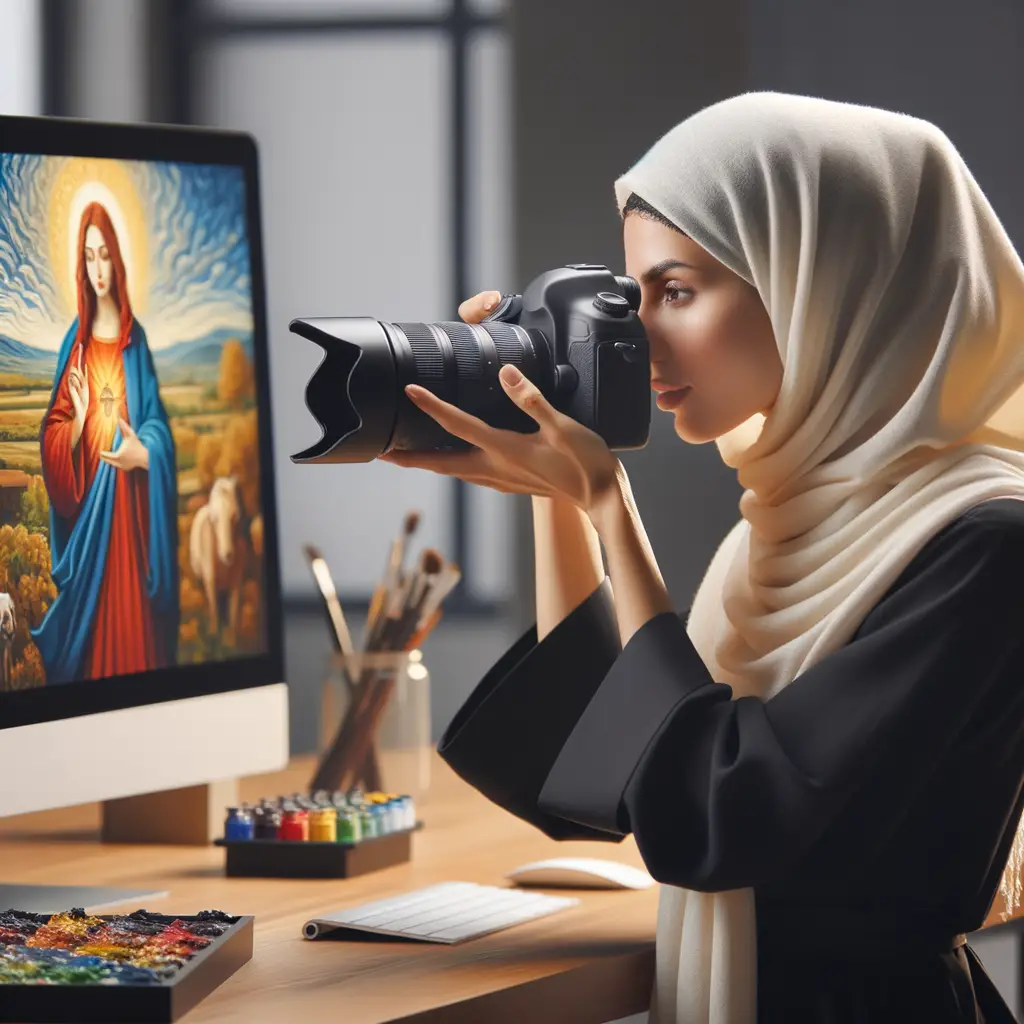
Photographing oil paintings for digital display involves several steps. First, the artwork is photographed under controlled lighting conditions to capture the true colors and details of the piece. Next, the image is edited using software like Photoshop to correct any distortions and to adjust the color balance if necessary. Finally, the digital image is saved in a high-resolution format for display on digital platforms.
Understanding the importance of high-quality art photos and the process of art digitization is the first step towards successfully photographing oil paintings for digital display. In the next sections, we will delve deeper into the specific techniques and considerations for photographing oil paintings.
Understanding Oil Painting Photography
Photographing oil paintings is a unique art form that requires a deep understanding of both photography and painting. It’s not as simple as snapping a photo. There are specific challenges and techniques involved that we’ll explore in this section.
- Unique challenges of photographing artwork
- Why oil paintings require special photography techniques
Artwork, especially oil paintings, can be difficult to photograph due to their texture and reflective nature. The oil in the paint can create a glare when photographed, making it hard to capture the true colors and details of the artwork. Additionally, the size and shape of the artwork can pose challenges. Large paintings may require special equipment to photograph in their entirety, while small or intricate pieces may require close-up shots to capture the details.
Unlike photographing people or landscapes, oil paintings require special techniques to accurately capture their essence. One of these techniques is using polarizing filters to reduce glare and reflections. Another is using a color checker to ensure the colors in the photograph match those of the original painting. It’s also important to use the correct lighting, as too much or too little can distort the colors and details of the painting.
Understanding these challenges and techniques is crucial for anyone looking to photograph oil paintings. With the right knowledge and equipment, you can capture stunning images that do justice to the original artwork.
Case Study: Professional Art Photography
Let’s delve into the world of professional art photography, focusing on oil paintings. We’ll explore how experts approach this unique task and the key lessons we can learn from them.
- How professionals approach photographing oil paintings
- Lighting: Professionals often use a two-light setup to avoid glare and reflections. Each light is positioned at a 45-degree angle from the painting, ensuring even illumination.
- Angle: The camera is positioned directly in front of the painting to avoid distortion. A tripod is often used for stability and precision.
- Distance: The camera is placed at a distance that allows the entire painting to be captured without cropping.
- Key takeaways from professional art photography
- Attention to Detail: Every element matters in art photography, from lighting and angle to the camera settings. Professionals pay meticulous attention to these details.
- Patience and Practice: Capturing the perfect image of an oil painting is a process that requires patience and practice. It’s about trial and error and learning from mistakes.
- Respect for Art: Professional photographers respect the artwork and strive to capture its true essence. They understand that their role is to present the artwork in its best light, not to alter or enhance it.
Professional photographers employ a variety of techniques when photographing oil paintings. They understand the importance of lighting, angle, and distance in capturing the true essence of the artwork. Here’s a step-by-step guide on how they do it:
These techniques ensure that the digital image is as close to the original painting as possible. For more detailed information, you can visit this Wikipedia page.
There’s a lot we can learn from professional art photographers. Here are some key takeaways:
In conclusion, professional art photography is a specialized field that requires a unique set of skills and techniques. By understanding and applying these, we can improve our own photography of oil paintings.
Photography Techniques for Paintings
Photographing artwork, especially oil paintings, requires a unique set of skills and techniques. Let’s explore some of the most effective methods.
- Lighting techniques for capturing oil paintings digitally
- Use natural light: Natural light is the best source for photographing artwork. It brings out the true colors of the painting. Try to photograph your artwork during the day, near a window.
- Use a polarizing filter: This reduces glare and reflections, especially on shiny oil paintings. It helps in capturing the true colors and details of the artwork.
- Use two light sources: Position two lights at a 45-degree angle on either side of the painting. This ensures even lighting and eliminates shadows.
- Camera settings for photographing artwork
- Use a tripod: A tripod ensures stability and prevents blurry images. It also allows you to position the camera at the right angle.
- Set the ISO low: A lower ISO setting reduces noise and grain in the image, resulting in a clearer picture.
- Use manual focus: Manual focus allows you to control the sharpness of the image. It’s especially useful when photographing detailed artwork.
- Set the white balance: Setting the white balance correctly ensures that the colors in your photograph match those in your artwork.
Lighting plays a crucial role in capturing the true essence of an oil painting. Here are some tips:
Proper camera settings are essential for capturing high-quality images of your artwork. Here are some recommendations:
Remember, practice makes perfect. Experiment with different lighting setups and camera settings until you find what works best for your artwork.
Example: High Quality Art Photos
-
Breakdown of a successful oil painting photograph
Let’s take a look at an example of a high-quality oil painting photograph. This photograph captures the vibrant colors and intricate details of the painting perfectly. The lighting is just right, highlighting the texture of the paint and the depth of the artwork. The photographer has used a high-resolution camera and has set it to the correct settings for photographing artwork. This includes setting the ISO to a low value to minimize noise, and using a narrow aperture to ensure that the entire painting is in focus.
The photograph is also well-composed, with the painting filling the frame and no distracting elements in the background. The photographer has also taken care to ensure that the painting is evenly lit, with no harsh shadows or bright spots. This has been achieved by using a diffused light source and positioning it at an angle to the painting.
Finally, the photograph has been carefully post-processed to ensure that the colors in the photograph match those in the original painting as closely as possible. This involves adjusting the white balance, contrast, and saturation in a photo editing software.
-
How to replicate this success in your own photography
Now that we’ve broken down what makes a successful oil painting photograph, let’s look at how you can replicate this success in your own photography. Here are some steps you can follow:
- Use a high-resolution camera: This will ensure that your photograph captures all the details of the painting. A DSLR or mirrorless camera would be ideal for this.
- Set your camera to the correct settings: Set the ISO to a low value to minimize noise, and use a narrow aperture to ensure that the entire painting is in focus. You can refer to this guide for more information on camera settings.
- Compose your photograph carefully: Make sure the painting fills the frame and there are no distracting elements in the background.
- Light your painting evenly: Use a diffused light source and position it at an angle to the painting to avoid harsh shadows or bright spots.
- Post-process your photograph: Adjust the white balance, contrast, and saturation in a photo editing software to ensure that the colors in the photograph match those in the original painting.
By following these steps, you can create high-quality photographs of oil paintings that accurately represent the original artwork and are suitable for digital display.
Digital Display of Art
Once you’ve captured the perfect photograph of your oil painting, the next step is to showcase it online. This process involves two key steps: choosing the right platform for digital art display and optimizing your photos for digital display.
- Choosing the right platform for digital art display
- Optimizing your photos for digital display
There are many platforms available for displaying digital art. Some popular ones include Instagram, DeviantArt, and Behance. When choosing a platform, consider your target audience, the platform’s user interface, and how it displays images. For example, Instagram is a great platform if you want to reach a wide audience, but it may compress your images, which can affect the quality. On the other hand, Behance and DeviantArt maintain high image quality, but they may not have as wide a reach as Instagram.
Optimizing your photos for digital display is crucial to ensure they look their best. This involves adjusting the image resolution, file size, and format. High-resolution images look better, but they can take longer to load, which can frustrate viewers. A good rule of thumb is to aim for a resolution of 72 dpi for web display. As for file size, try to keep it under 1 MB to ensure quick loading times. Lastly, use the JPEG format for photographs as it offers a good balance between image quality and file size.
Remember, the goal is to make your art look as good online as it does in person. By choosing the right platform and optimizing your photos, you can create a digital display that does your artwork justice.
Techniques for Photographing Artwork
Photographing artwork, especially oil paintings, requires a unique set of skills and techniques. The goal is to capture the true essence of the artwork, including its texture and color. Let’s explore some advanced techniques and common mistakes to avoid.
- Advanced techniques for capturing texture and color
- Use a polarizing filter: This reduces glare and reflections, allowing the camera to capture the true colors of the painting.
- Shoot in RAW format: This format captures more detail and allows for better color correction in post-processing.
- Use a tripod: This ensures stability, allowing for sharper images that accurately capture the texture of the painting.
- Common mistakes to avoid when photographing oil paintings
- Using flash: This can create harsh shadows and distort the colors of the painting. Instead, use natural or soft artificial light.
- Shooting at an angle: This can distort the proportions of the painting. Always shoot straight on.
- Ignoring the background: A cluttered or distracting background can take focus away from the artwork. Use a neutral background that complements the painting.
Texture and color are two of the most important elements in an oil painting. Here are some techniques to help you capture them accurately:
Even with the right techniques, it’s easy to make mistakes when photographing oil paintings. Here are some common ones to avoid:
By mastering these techniques and avoiding common mistakes, you can capture stunning photographs of oil paintings that truly represent the artist’s vision. Remember, practice makes perfect. So, keep experimenting and learning to improve your skills.
Conclusion: Mastering the Art of Oil Painting Photography
As we draw to a close on our exploration of oil painting photography and art digitization, it’s time to reflect on what we’ve learned and consider our next steps. This journey has taken us through the basics of photographing oil paintings, understanding the unique challenges this medium presents, and exploring the techniques that can help us overcome them. We’ve also delved into the world of digital display, understanding how to present our photographed art in the best possible light.
- Recap of key points in oil painting photography
We’ve learned that photographing oil paintings is a delicate process that requires careful attention to lighting, angle, and camera settings. We’ve discovered that a polarizing filter can help reduce glare and bring out the true colors of the painting. We’ve also learned that photographing art isn’t just about capturing an image; it’s about preserving and presenting the artist’s intent and vision.
- Next steps in your journey to mastering art digitization
Now that we’ve covered the basics, it’s time to take your knowledge to the next level. Practice is key in mastering any skill, and oil painting photography is no exception. Experiment with different lighting setups, camera angles, and post-processing techniques to find what works best for you. Stay updated with the latest technology and trends in art digitization. Consider attending workshops or enrolling in online courses to further your knowledge and skills. Remember, the journey to mastery is a continuous process of learning and growth.
In conclusion, the art of oil painting photography is a fascinating and rewarding field, blending the worlds of art and technology. With patience, practice, and a keen eye for detail, you can master this art and bring the beauty of oil paintings to the digital world.