Introduction to Underpainting
Art is a beautiful form of expression that allows us to capture the world around us in unique ways. One of the techniques that artists use to create depth and dimension in their work is underpainting. Let’s delve into what underpainting is and why it’s so important in the world of art.
- Definition of Underpainting
- Importance of Underpainting in Art
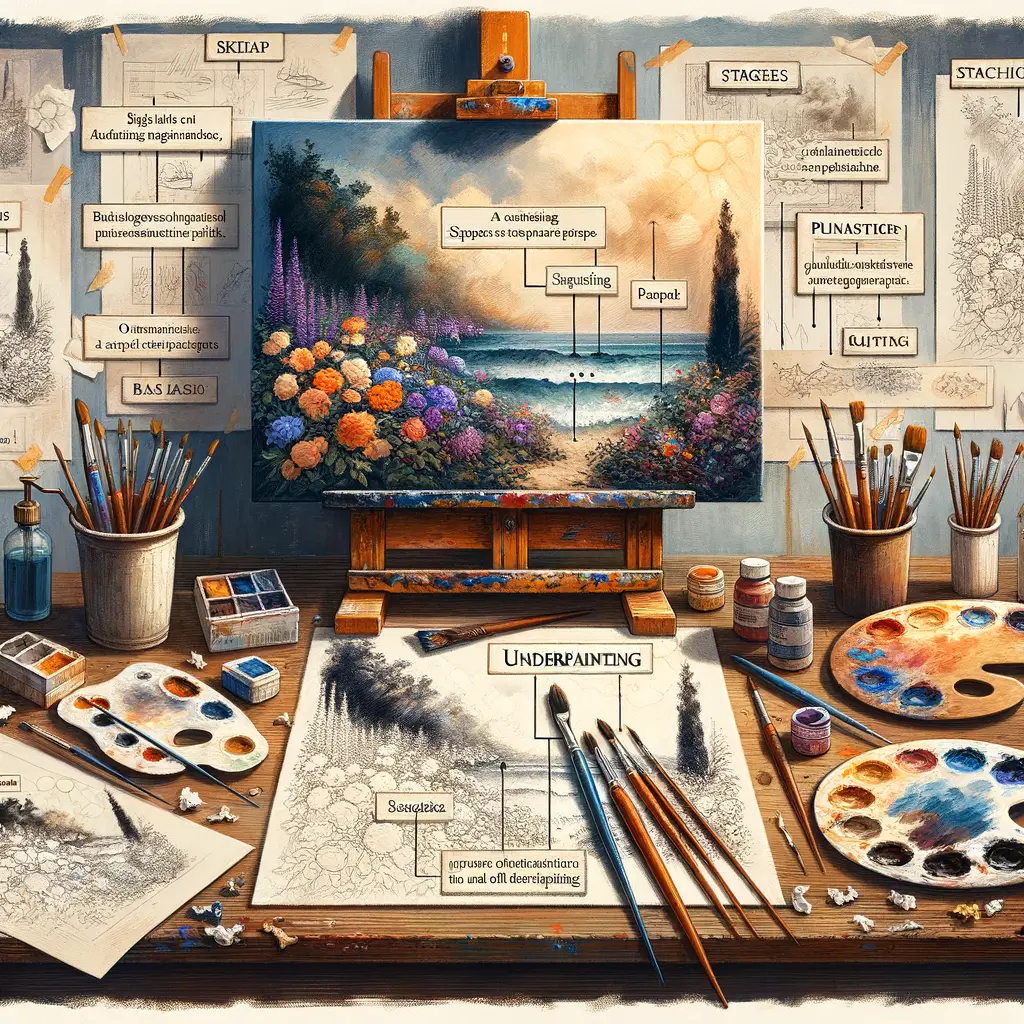
Underpainting is a technique used in painting where an initial layer of paint is applied to the canvas before the final painting begins. This layer, often in a monochrome or muted color palette, serves as a base and helps to define the composition and tonal values of the artwork. The underpainting sets the stage for the layers of paint that will follow, enhancing the vibrancy and depth of the final piece. You can learn more about underpainting on Wikipedia.
Underpainting is not just a preliminary step in the painting process; it holds significant importance in the creation of a masterpiece. It helps in establishing the overall tone of the painting and provides a roadmap for the artist to follow. The underpainting can influence the perception of colors and values in the final layers, making them appear more vibrant and deep. Moreover, underpainting can add a sense of unity to a painting, as the initial colors peek through the subsequent layers, tying the whole piece together. In essence, underpainting is a crucial step that can significantly enhance the final outcome of a painting.
Now that we have a basic understanding of underpainting and its importance in art, let’s move on to explore some underpainting techniques and how they can be applied to create stunning artworks.
Underpainting Techniques
Underpainting is a fundamental technique in the world of painting. It serves as the foundation of your artwork, setting the tone and overall mood. Today, we will delve into two primary methods used in oil painting: direct and indirect painting.
Oil Painting Methods
There are two main methods used in oil painting. Both methods have their unique advantages and can be chosen based on the artist’s preference and the desired outcome of the artwork.
- Direct Painting
- Indirect Painting
Direct painting, also known as ‘alla prima’, is a technique where the paint is applied in one layer. The colors are mixed on the palette and then directly applied to the canvas. This method allows for spontaneous and expressive brushwork, making it popular among artists who prefer a more immediate and vibrant outcome.
For example, the famous artist Vincent Van Gogh often used direct painting in his works. His painting “The Starry Night” is a prime example of this technique.
Indirect painting, on the other hand, involves applying multiple layers of paint. Each layer is allowed to dry before the next one is applied. This method allows for greater depth and detail in the artwork, as the layers of paint can create a rich, complex color and texture.
A famous example of indirect painting is the “Mona Lisa” by Leonardo da Vinci. The subtle transitions of color and tone in the painting were achieved through multiple layers of paint.
Both methods have their own charm and can be used to create beautiful artworks. The choice between direct and indirect painting depends on the artist’s style and the desired effect of the painting.
Advanced Underpainting Techniques
As you continue to explore the world of underpainting, you’ll come across more advanced techniques. These methods can add depth and complexity to your artwork. Let’s delve into two such techniques: Glazing and Scumbling.
- Glazing
- Scumbling
Glazing is an advanced underpainting technique where a thin, transparent layer of paint is applied over a dry, existing layer. This technique allows the color underneath to shine through, creating a rich, luminous effect. It’s like looking through colored glass. The key to successful glazing is patience, as each layer must be completely dry before the next is applied.
For example, if you’re painting a sunset, you might start with an underpainting in a warm, light yellow. Once that’s dry, you could apply a thin glaze of orange, then a glaze of red. The result is a sunset with depth and glow that’s hard to achieve with direct painting alone.
Scumbling is another advanced technique that involves applying a thin, opaque layer of paint over a dry, existing layer. Unlike glazing, scumbling creates a softer, diffused effect. It’s like looking through frosted glass. The color underneath is partially obscured, but still visible.
Imagine you’re painting a cloudy sky. You might start with an underpainting of blue. Once that’s dry, you could scumble over it with white, creating a hazy, cloud-filled sky. The blue underneath peeks through, giving the impression of depth and volume to the clouds.
Both glazing and scumbling require practice to master, but the effects they can create are well worth the effort. They can add a level of sophistication and depth to your paintings that’s hard to achieve with basic techniques. So, don’t be afraid to experiment and see what you can create!
Oil Painting Basics
Oil painting is a timeless art form that has been embraced by artists for centuries. It offers a depth and richness of color that is unparalleled, making it a favorite among both beginners and professionals. One of the key steps in creating an oil painting is the underpainting process.
Oil Painting Underpainting Process
The underpainting process is a crucial step in oil painting. It involves creating a preliminary layer of paint, which serves as a base for the final painting. This process can greatly enhance the overall appearance of your artwork. Let’s break down the steps involved in the underpainting process:
- Choosing the right materials
- Preparing the canvas
- Applying the underpainting
Before you start painting, it’s essential to choose the right materials. This includes selecting the right brushes, paints, and canvas. For oil painting, it’s recommended to use bristle brushes, as they can hold a good amount of paint. As for the paints, go for artist-grade oil paints for their superior pigment quality. Lastly, choose a pre-primed canvas to save time on preparation.
Once you have your materials, the next step is to prepare your canvas. This involves applying a layer of gesso, a white paint mixture, to prevent the oil paint from soaking into the canvas. Allow the gesso to dry before moving on to the next step.
Now, it’s time to apply the underpainting. Start by sketching your subject onto the canvas. Then, using a thin layer of oil paint, fill in the sketch with your base colors. This layer doesn’t need to be detailed; it’s just to provide a guide for your final layers of paint. Once you’re done, let the underpainting dry before proceeding with the overpainting.
Mastering the underpainting process can greatly enhance your oil painting skills. It provides a solid foundation for your artwork, allowing you to create depth and richness in your final piece. So, take your time, practice, and enjoy the process of creating your own oil painting masterpiece.
Underpainting for Beginners
Underpainting is a foundational layer in oil painting that sets the tone for the entire piece. It’s a crucial step for beginners to master. Let’s dive into a step-by-step tutorial to help you get started.
Step-by-Step Underpainting Oil Painting Tutorial
Here, we will break down the process of underpainting into four easy steps. By following these steps, you can create a beautiful oil painting with depth and dimension.
- Choosing your subject
- Sketching the subject on the canvas
- Applying the underpainting
- Building up layers
First, decide what you want to paint. It could be a landscape, a person, or an object. Make sure it’s something you’re interested in, as your passion will shine through in your work. You can find inspiration from photos, nature, or even your imagination.
Once you have your subject, it’s time to sketch it onto your canvas. Use a pencil to lightly draw the outline of your subject. Don’t worry about details at this stage; focus on getting the basic shapes and proportions right.
Now, it’s time to apply the underpainting. Choose a color that complements your subject and mix it with a bit of oil medium. Apply this mixture to your canvas, filling in the shapes you sketched earlier. This layer should be thin and even.
The final step is to build up layers of paint on top of your underpainting. Start with thin layers and gradually add more paint as you go. Remember to let each layer dry before adding the next. This process will give your painting depth and richness.
Underpainting may seem complicated at first, but with practice, it becomes second nature. So, grab your brushes and start painting!
Benefits of Underpainting
Underpainting is a fundamental technique in the world of art, especially in oil painting. It’s not just an extra step in the painting process, but a powerful tool that brings numerous benefits to the final artwork. Let’s delve into the key advantages of underpainting.
- Enhances the depth and dimension of the painting
- Provides a guide for subsequent layers
- Improves the vibrancy of colors
Underpainting is like laying the foundation of a building. It sets the tone and mood of the painting, giving it a sense of depth and dimension. By establishing the values and tones early on, it helps to create a three-dimensional effect in the painting. This depth and dimension make the painting more lifelike and appealing to the viewer.
Think of underpainting as a roadmap for your painting journey. It helps you plan out the composition and color scheme of your artwork. This initial layer serves as a guide, helping you decide where to place the darker and lighter areas in the subsequent layers. This way, you can avoid any confusion or mistakes as you progress with your painting.
Underpainting can significantly enhance the vibrancy and luminosity of colors in a painting. When you apply transparent layers of paint over the underpainting, the light bounces off the underpainting and passes through the top layers, creating a glowing effect. This technique can make your colors pop and your painting stand out.
In conclusion, underpainting is a powerful technique that can elevate your artwork to new heights. Whether you’re a beginner or a seasoned artist, incorporating underpainting into your process can enhance your painting’s depth, provide a clear guide for your work, and improve the vibrancy of your colors. So why not give it a try in your next painting project?
Case Studies: Masterful Oil Paintings with Underpainting
Let’s dive into the world of masterful oil paintings and understand how underpainting played a significant role in creating these masterpieces. We will be exploring two case studies, focusing on the works of Rembrandt and Van Gogh.
- Case Study 1: The use of underpainting in Rembrandt’s works
- Case Study 2: Underpainting techniques in Van Gogh’s Starry Night
Rembrandt, a Dutch artist known for his dramatic use of light and shadow, often used underpainting in his works. Rembrandt would start with a monochromatic underpainting, allowing him to establish the overall composition and lighting of the piece. This technique added depth and dimension to his paintings, creating a realistic and lifelike effect.
One of his most famous works, “The Night Watch,” is a perfect example of this technique. The underpainting in this piece sets the tone and mood, making the final colors pop and the figures appear more three-dimensional.
Van Gogh, another Dutch artist, was known for his unique and expressive style. His painting, “Starry Night,” is one of the most recognized pieces in the world. Van Gogh used underpainting to create a sense of depth and texture in this piece.
He started with a dark underpainting, then layered vibrant colors on top. This technique allowed him to create the swirling, dreamlike quality that “Starry Night” is famous for. The underpainting also helped to enhance the contrast between the bright stars and the dark night sky, making the painting more visually striking.
These case studies show how underpainting can be used to create depth, texture, and contrast in oil paintings. Both Rembrandt and Van Gogh used this technique to enhance their work and create their unique styles.
Key Takeaways
As we wrap up our discussion on underpainting, let’s highlight the key points that we’ve covered. These insights are not only beneficial for budding artists but also for those who wish to refine their skills and understand the depth of oil painting.
- Importance of mastering underpainting techniques: Underpainting is a fundamental technique in oil painting. It sets the tone and mood of the artwork, and mastering it can significantly improve your painting skills. It’s like laying the foundation of a building; the stronger it is, the more robust the structure will be. Underpainting is a method that requires practice, but once mastered, it can take your art to new heights.
- Benefits of underpainting for oil paintings: Underpainting brings numerous benefits to oil paintings. It helps in establishing the values and tones of the painting, enhances the vibrancy of the colors, and adds depth and dimension to the artwork. It also speeds up the painting process as it provides a roadmap for subsequent layers of paint. The benefits of underpainting are well-documented and recognized by professional artists worldwide.
- How underpainting can improve your art: Underpainting can significantly improve your art by providing a guide for the rest of your painting. It allows you to plan your artwork and make necessary adjustments before adding the final layers of paint. This technique can help you avoid mistakes and create a more cohesive and harmonious piece of art. Whether you’re a beginner or a seasoned artist, underpainting can elevate the quality of your work and help you express your artistic vision more effectively.
In conclusion, underpainting is a powerful tool in the artist’s toolbox. It’s a technique that can enhance your oil paintings and help you create more impactful and meaningful art. So, keep practicing, keep learning, and let your art speak for itself.
