Breathing new life into an old oil painting can be a rewarding project, whether you’re restoring a cherished piece or simply seeking to give a fresh update to your artwork. Painting over an existing oil painting offers artists the opportunity to use a once-discarded canvas, layering new ideas and creativity upon the original. In this article, we will explore the process of painting over an old oil painting, delving into the methods, techniques, and considerations needed to create a new masterpiece.
One of the primary concerns when it comes to painting over an old oil painting is the stability of the materials. Oil paintings can take months or even years to completely dry, so it’s crucial to ensure that the original layer is fully cured to prevent the new layer from cracking or separating in the future. Cleaning the surface of the artwork, assessing the integrity of the old paint, and utilizing proper supplies are essential steps in the process.
Before we dive into these steps, it’s worth noting that painting over an existing oil painting is not a one-size-fits-all solution. Each artwork is unique, and it’s important to carefully evaluate the condition of the piece and the desired outcome before embarking on this journey. With the right approach and guidance, though, creating a new work of art on top of a pre-existing one can lead to beautiful and unexpected results.
Preparation and Cleaning
Assess the Old Oil Painting
Before you begin to paint over an old oil painting, you must first assess its condition. Check for any signs of damage, such as flaking paint, cracks, or significant fading. If you find significant damage, it may be best to consult a professional conservator. However, if the painting is in good condition, you can proceed with the preparation and cleaning process.
Clean the Surface
The first step in preparing your old oil painting is to clean the surface. Over time, dirt, dust, and grime can accumulate, potentially affecting the quality of your new paint job. You should gently remove any surface dust and dirt using a soft brush or cloth. Never use water or a damp cloth as this could potentially introduce moisture and further damage your painting.
For especially greasy or dirty surfaces, consider using a solvent like TSP (trisodium phosphate) to clean the canvas. Follow the manufacturer’s instructions, and remember to work in a well-ventilated area when using strong solvents.
Remove Gloss and Varnish
To ensure that your new paint will adhere properly to the old oil painting, you must remove any gloss or varnish from the surface. Using fine-grit sandpaper, lightly sand the entire surface of the painting to create a slightly rough texture. Sanding will also help to remove any residual dirt or grime on the canvas. Be careful not to sand too vigorously or you may inadvertently damage the artwork underneath.
After sanding, wipe away any dust with a clean cloth. If the old painting has a thick layer of varnish, you might need to apply a varnish remover to fully strip the surface. Be sure to follow the manufacturer’s instructions and take proper safety precautions during this step.
Once the surface is clean and free of gloss and varnish, it’s time to apply a thin layer of linseed oil, also known as “oiling out.” This process will help to rejuvenate the old oil painting and provide a suitable ground for the new paint layers. After oiling the surface, the painting is now ready for the next step in the process.
Choosing the Right Materials
Selecting Paint Types
There are a few options when it comes to selecting paint types for painting over an old oil painting. The most commonly used types are acrylic and oil-based paint. Acrylic, being water-based, dries quickly and is usually easier to work with. However, if you prefer a more traditional approach, you can stick with oil-based paint.
Keep in mind that acrylics can be applied over oils, but it is not recommended to apply oil paint over a dried acrylic layer.
Priming the Surface
To ensure a good bond between the gesso and the old painting, consider using a titanium white gesso, which has excellent adhesive and covering capabilities. Additionally, you can clean the surface with a solution of trisodium phosphate prior to priming, which helps remove any dirt, grease, or contaminants that might affect the adhesion.
Using the Proper Tools
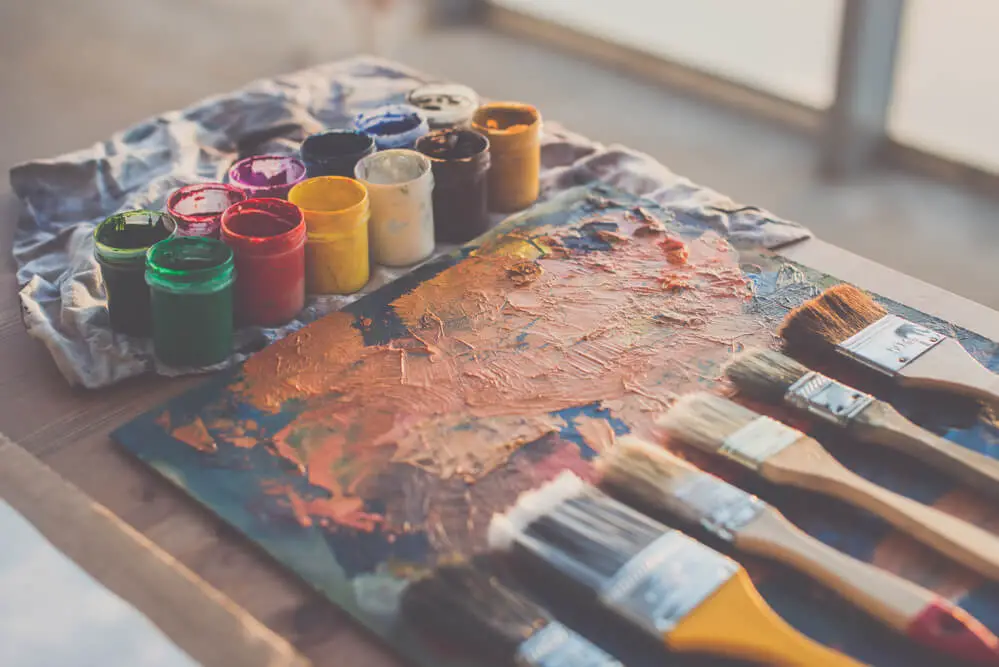
Select the right tools to ensure a smooth and professional-looking finish to your new painting. Some essential tools to consider include:
- Paintbrushes: Use high-quality brushes specifically designed for the type of paint you’re using. Acrylic brushes have synthetic bristles, while oil brushes have natural bristles.
- Palette Knives: These are useful for applying gesso and mixing paint.
- Painting Surface: Make sure the surface you’re working on is stable and prepared, whether it’s a canvas or a wooden panel.
By using the appropriate paint types, priming the surface, and utilizing the proper tools, you can successfully paint over an old oil painting and give it a fresh, updated look.
Application Techniques
Basic Painting Techniques
When painting over an old oil painting, you should first ensure that the surface is clean and dry. Remove any dust or debris using a soft brush, then apply a thin layer of oil-based primer. Allow the primer to dry completely before proceeding with your new painting.
Once the primer is dry, you can begin applying your new oil paints. Use a confident, knowledgeable, and neutral approach when selecting your colors and brush techniques. Make sure to apply the paint in thin, even layers to avoid causing any problems with adhesion or unwanted texture.
Using Sanding for Texture
To create texture in your new painting, lightly sand the existing surface before applying your new layers of paint. This will help to create a rough surface that can enhance the appearance of your new artwork. To do this, use a fine-grit sandpaper and gently buff the surface of the old oil painting. Be careful not to sand too hard or you might damage the underlying surface.
Remember that sanding can create dust, so it is essential to clean the surface before applying your new layers of oil paint. This will ensure the dust does not mix with the paint layers or create any contamination issues.
Creating Underpainting Layers
Underpainting is an essential technique for many artists, and it can be especially useful when painting over an old oil painting. This process involves applying one or more layers of paint beneath the final layers. These underpaintings can serve as a foundation for your new artwork, enhancing colors and adding depth to the overall composition.
To create underpainting layers, you can use oil-based paint or a transparent medium mixed with pigments. Apply these layers thinly and evenly, allowing each layer to dry before adding the next one. This will help you achieve a rich and vibrant artwork that builds upon the foundation of the old oil painting.
Remember, when painting over an old oil painting, it’s essential to consider the techniques and materials used to create a successful new artwork. Be confident in your approach, and don’t be afraid to experiment with different ideas and styles.
Avoiding or Fixing Issues
Dealing with Cracks and Peeling
When painting over an old oil painting, cracks and peeling can be common issues. To deal with these, ensure the surface of the painting is clean and free from dust, debris, or grease. You can gently remove loose paint using a soft brush or lint-free cloth, then fill any gaps with a suitable filler. After this, use a fine-grit sandpaper to smoothen the surface and remove any uneven textures.
Ensuring Proper Adhesion
Adhesion is crucial when painting over an old oil painting. Prepare the surface by removing any dirt or grease with a mild detergent and water, and allow it to dry completely. Prime the painting using a suitable oil-based primer or gesso. This will help the new paint layers adhere better to the old painting, reducing the risk of flaking or peeling.
To further improve adhesion, you can add a small amount of oil medium to your paint. This will increase the paint’s flexibility and reduce the drying time, allowing the paint to bond effectively. Remember to build your layers gradually, starting with a thin layer and gradually increasing the paint’s thickness.
Managing Toxicity and VOCs
Volatile organic compounds (VOCs) and toxicity are important considerations when painting over an old oil painting. Many traditional oil paintings use solvents and pigments with high VOC levels, posing health risks and environmental concerns. To minimize exposure, consider using low-VOC paints, solvents, and mediums, and avoid using lead-based pigments.
Ensure adequate ventilation while working and store your paints and solvents in a cool, dry place away from heat and direct sunlight. It is also helpful to study the safety data sheets (SDS) of the materials you are using and follow their guidelines for safe handling and disposal.
By following these tips and precautions, you can successfully paint over an old oil painting while avoiding common issues such as cracks, peeling, and toxicity.
Finding Inspiration and Reusing Old Canvases
Discovering Creative Ideas
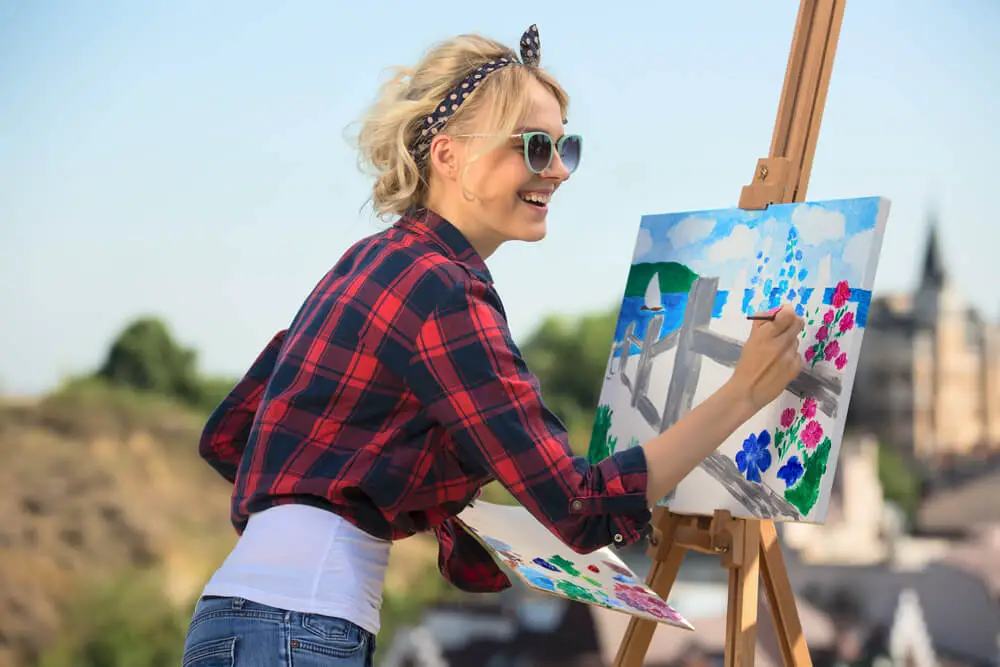
Painting over an old oil painting can be an excellent way to find new inspiration and give life to an old artwork. It’s important to think about the elements that you want to retain from the initial piece, and how you can incorporate them into your new painting. By reusing old canvases, not only are you practicing sustainable art, but it also allows you to explore and experiment with different styles and techniques.
To get started, you can:
- Look for inspiration from other artists’ works, but make sure to add your unique twist.
- Create a mood board or sketch ideas that come to mind when looking at your old painting.
- Read the comments or feedback you received for that piece and consider ways to address them in your new work.
Progressing as an Artist
As an artist, it’s important to push yourself and continue developing your skills, while understanding that the art creation process is an ongoing journey. Working on a new painting over an existing oil painting can be an insightful way to see your own progress and improvement as an artist.
In order to develop your skills, consider the following:
- Reflect on the techniques and aspects you’d like to improve or explore further.
- Use the new painting as an opportunity to experiment with various styles, subjects, or color palettes.
- When painting over, try to implement any constructive feedback you’ve received to improve and grow as an artist.
Remember that to paint over an old oil painting, you must properly prepare the canvas by cleaning and ensuring the surface is suitable for a new layer. By doing so, you create a solid foundation for your new artwork, making the most out of your old canvas and inspiration.
Final Tips and Considerations

The Drying Process
When painting over an old oil painting, it is essential to consider the drying process. Oil paints can take longer to dry than acrylics, so allow ample time for your new paint layer to dry before applying a second coat. A good rule of thumb is to wait at least 24 hours between coats. If you’re using a bonding primer, it may take even longer, so follow the manufacturer’s recommended drying times.
Proper Storage and Display
Proper storage and display of your repainted artwork are crucial to preserving its quality. Store your painting in a well-ventilated area away from direct sunlight and fluctuations in temperature or humidity. When displaying your painting, choose a location free from direct sunlight or extreme temperatures, as these factors can cause the paint to deteriorate or crack over time.
To paint over an old oil painting, follow these guidelines:
- Glossy surface: If the original painting has a glossy surface, lightly sand it to create a suitable surface for new paint to adhere.
- Bristle brush: Use a bristle brush with stiff bristles to apply the new paint. This will help remove any loose paint from the original painting surface.
- Bonding primer: Use a high-quality bonding primer before applying the new paint, especially if you’re using water-based latex or acrylic paints over oils. This will ensure proper adhesion and prevent peeling.
- Color: When choosing a color for your new paint, consider the colors in the original painting. Lighter colors may require additional coats to cover darker pigments.
- Fat layer: Apply a fat layer of new paint over the existing oil paint. The fat layer helps with adhesion and prevents the new paint from cracking.
- Sponge: Use a sponge to apply the new paint in a thin and even layer. This will help achieve a smooth surface for the final coat.
Frequently Asked Questions
What is the best primer to prepare the old oil painting surface?
A good primer to use for preparing an old oil painting surface is acrylic gesso. Acrylic gesso provides an even base without reacting to the existing oil paint and acts as a barrier to prevent any paint layer interactions.
How can I touch up or restore an aged oil painting?
To touch up or restore an aged oil painting, first clean the surface with a mild solvent or linseed oil to remove dirt and grime. Next, using a high-quality, fine-haired brush, carefully apply matching oil colors to areas that require retouching. Allow paint to dry before applying a final varnish to protect the restored areas.
Is it possible to apply gesso on top of an existing oil painting?
Yes, it is possible to apply gesso on top of an existing oil painting. However, it’s essential to first clean and degrease the surface. Also, consider using acrylic gesso as it has better adhesion properties.
Can I modify or rework a fully dried oil painting?
Yes, it is possible to modify or rework a fully dried oil painting. You’ll need to ensure the paint has dried thoroughly, which can take several months. Once the painting is fully dry, you can apply thin layers of new oil paint, followed by a sealing varnish, to modify or rework the piece.
What is the process of painting over a varnished oil painting?
To paint over a varnished oil painting, start by removing the existing varnish using a solvent such as turpentine or mineral spirits. After removing the varnish and allowing the painting to dry, lightly sand the surface to ensure proper adhesion. Apply a thin layer of gesso, then proceed with your new oil painting.
How can I cover black oil paint with a new layer of paint?
To cover black oil paint with a new layer, first allow the black paint to dry completely. Then, apply a layer of either white gesso or a lighter-colored oil paint to neutralize the black. Once dry, you can paint your new layer on top, ensuring proper coverage.
