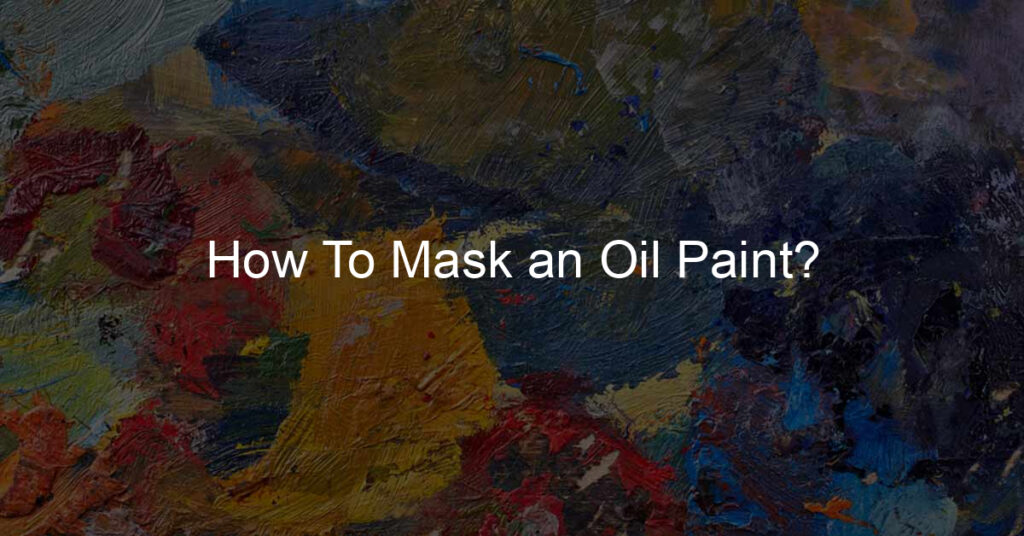
Oil painting is a popular medium for artists, but it presents a unique challenge when it comes to masking techniques. Unlike other media like acrylics or watercolors, the properties of oil paint require specific considerations to achieve clean and crisp edges. In this article, we will explore how to effectively mask an oil painting to ensure your masterpiece consistently exhibits the desired level of detail and precision.
Before diving into the masking techniques, it’s essential to understand the importance of preparing the canvas. Ensuring the surface is primed and ready to accept oil paint will create a more seamless masking experience. Additionally, it’s crucial to understand the drying times associated with oil paint, as this factor plays a significant role in determining when to apply and remove masks.
With those fundamentals in place, we’ll delve into the tools and methods required to achieve professional masking results in your oil painting projects. From proper brush selection to working with specialty products like masking fluid, you’ll be equipped with the knowledge needed to produce clean and controlled lines in your oil paintings.
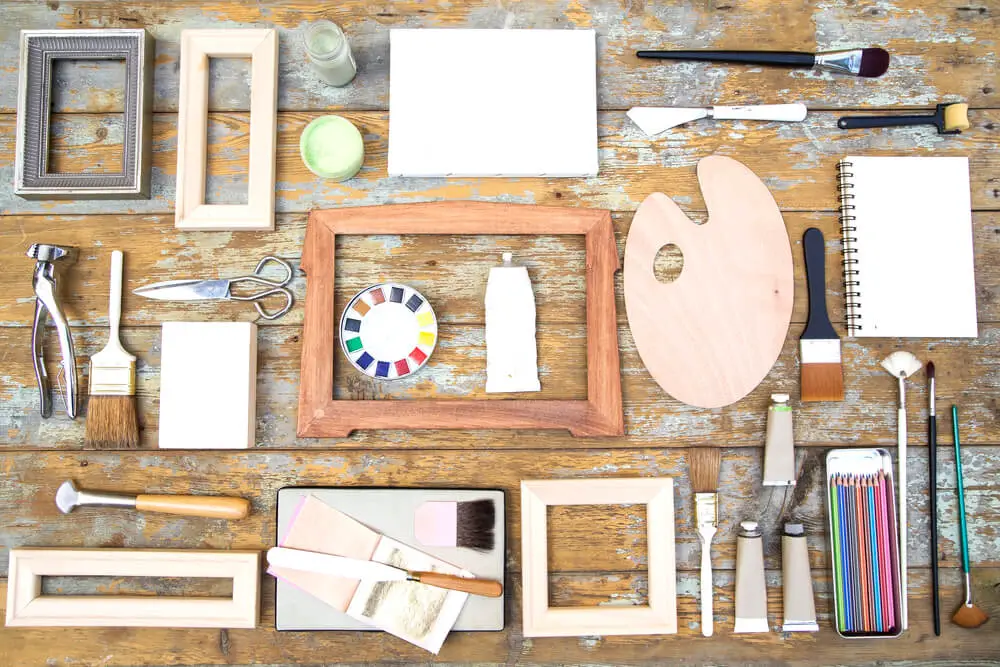
Choosing the Right Materials
Quality Oil Paints
When masking an oil painting, using quality oil paints is essential. High-quality paints typically consist of finely ground pigments and a good binder, resulting in a smoother, more uniform texture. Furthermore, these paints are less susceptible to cracking or fading over time. Some reputable brands for oil paints include Winsor & Newton, Gamblin, and Old Holland.
Canvas and Painting Palette
The choice of canvas also plays a significant role in the success of your oil painting. A pre-primed canvas is preferable, as it already contains an initial coating to prevent oil from seeping into the fabric. This saves you time and effort in preparing the canvas surface before you start painting.
For an effective masking process, using a painting palette that suits your needs is crucial. Choices range from disposable paper palettes to those made from wood, glass or plastic. Consider a mixing surface that is easy to clean and large enough to accommodate the color combinations required for your artwork.
PPE and Masking Supplies
Prioritizing safety is vital when working with oil paints, which can contain toxic substances. It is crucial to wear proper personal protective equipment (PPE), such as gloves and a respirator mask. Nitrile gloves are an ideal choice as they are resistant to solvents and less likely to cause allergic reactions. A respirator mask with replaceable filters can protect against harmful fumes and particulate matter.
Masking fluid is a key supply when masking an oil painting. It is a liquid latex-based substance applied to areas you wish to protect from the paint. When dry, it creates a barrier that can be easily peeled off after the painting process. Make sure to choose masking fluid specifically designed for use with oil paints, as some formulas are incompatible and may cause issues with adhesion or drying.
By selecting the right materials and PPE, you can ensure a successful masking process for your oil painting while maintaining your safety and the longevity of your artwork.
Prepping the Work Area
Ventilation and Fresh Air
When working with oil paints, proper ventilation is essential. Choose a well-ventilated area to set up your work station. Open windows and ensure there is a constant flow of fresh air in the room. Using fans or an air purifier can further improve the air quality. This is crucial for both your health and the drying process of the oil paint.
Organizing Supplies
Proper organization is key to an efficient work area. As oil painting can be a messy process, designate specific areas for your materials and tools. Keep paint tubes, brushes, and other supplies organized and easily accessible. Consider using a tray or container to store loose items. This not only maintains a clean workspace but also saves time when looking for the right tools during painting.
Dealing with Spills
Accidents are inevitable when working with oil paints, so it’s important to be prepared for spills. Place a drop cloth or plastic sheet under your work area to protect your floor or table. Always have paper towels or rags handy for quick cleanup. In case of a spill, blot the area immediately with a paper towel or rag, and then clean further with a suitable solvent or soap, depending on the surface.
Masking Techniques and Composition
Using Masking Fluid
Masking fluid is a popular choice for masking in oil painting. It is a liquid that dries to form a temporary protective barrier on the painting surface. To use masking fluid, follow these steps:
- Apply the masking fluid to the areas you want to protect using a brush or applicator. Make sure to cover the entire area.
- Allow the masking fluid to dry completely. This may take several hours, so be patient.
- Paint your oil painting as usual, being careful not to disturb the masked areas.
- When the painting is complete and the paint is dry, gently remove the masking fluid by peeling or rubbing it off with a finger or an eraser.
Paper Masks
Paper masks are another option for masking in oil painting. They provide a barrier that protects the masked areas from the paint. Here are the steps to create and use paper masks:
- Cut a piece of paper, plastic, or other non-porous material to match the shape and size of the area you want to mask.
- Place the paper mask over the area, making sure the edges are sealed to prevent paint from seeping underneath.
- Secure the paper mask in place with a temporary adhesive, such as a low-tack tape or repositionable glue.
- Proceed with your oil painting, working around the masked areas.
- When the paint is dry, carefully remove the paper mask to reveal the protected area.
Glue
Glue can also be used as a masking technique in oil painting. This method involves applying a water-soluble glue to the areas you want to protect. Here are the steps to use glue for masking:
- Choose a water-soluble glue, such as white glue or gum arabic.
- Dilute the glue with water to create a thin, easily spreadable consistency.
- Apply the glue to the areas you want to mask using a brush or applicator. Allow the glue to dry completely.
- Paint your oil painting, being careful not to disturb the masked areas.
- Once the paint is dry, carefully remove the glue by dampening a cloth or sponge and rubbing it over the masked areas. The glue should dissolve, revealing the protected surface underneath.
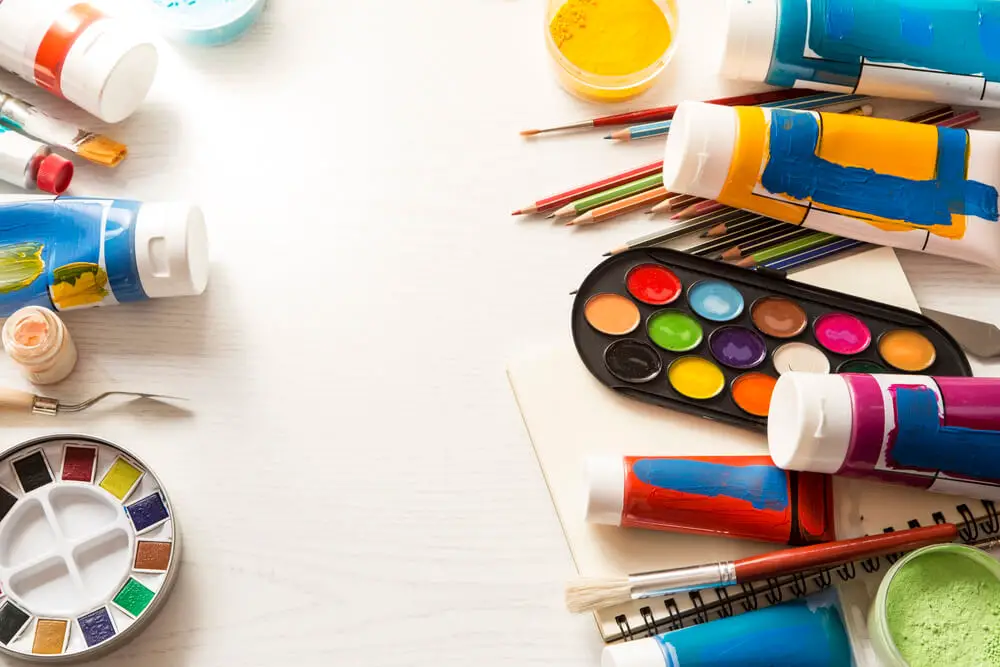
Pigments and Mixing
Understanding Pigments
When working with oil paints, it is essential to understand pigments and their properties. Pigments are the colored particles suspended in the oil, giving the paint its hue and covering power. High-quality pigments offer better colorfastness and lightfastness, ensuring your artwork remains vibrant and true-to-color over time.
To mix pigments, use a clean palette knife and blend colors together on a clean, non-absorbent palette. Experiment with the various pigments and their respective hues to achieve the desired shade. Remember to clean your palette knife between mixing different colors.
Oil Ratio
The oil ratio in your paint affects its drying time, texture, and viscosity. Common oils used in oil paints are linseed oil, poppy oil, and walnut oil. Each oil has different properties and drying rates, so it’s crucial to choose the one that suits your painting style.
Linseed oil dries the fastest and is the most versatile. It is suitable for various painting techniques and provides a strong, flexible film when dried. Poppy oil dries slower, making it ideal for wet-on-wet techniques and maintaining a smooth, brushstroke-free surface. Walnut oil has an intermediate drying time and produces less yellowing than linseed oil.
To adjust the oil ratio in your paint, add more oil to increase the drying time and create a looser, more fluid texture. Reducing the oil content will result in a stiffer, faster-drying paint.
Solvents
Solvents are used to thin oil paints, making them easier to work with and apply to your canvas. Popular solvents for oil painting include turpentine and odorless mineral spirits. When using solvents, take care to ensure proper ventilation, as they can be toxic if inhaled in large quantities.
Turpentine is a traditional solvent known for its fast evaporation rate and ability to dissolve thick layers of paint. However, it has a strong odor and can be more irritating. Odorless mineral spirits (OMS) offer a more user-friendly alternative, with slower evaporation and minimal odor. The downside to OMS is that it may not dissolve or thin out the paint as effectively as turpentine.
To mix solvents into the paint, start with small amounts and gradually increase the ratio, ensuring that the paint remains workable but not overly diluted. This will help you achieve a smooth, consistent application without compromising the paint’s integrity.
Managing Fumes and VOCs
Selecting Low Odour Solvents
When working with oil paints, it’s essential to choose low odour solvents to minimize the release of harmful fumes and volatile organic compounds (VOCs). These solvents not only make your workspace more pleasant but also help reduce irritation, especially for those with sensitive skin. Some low odour solvent options include:
- Odourless mineral spirits
- Refined linseed oil
- Turpentine alternatives such as citrus-based solvents
Remember to ventilate your working area well by opening windows or using an exhaust fan to disperse the fumes.
Using Proper Filters and Masks
Protecting yourself against fumes and VOCs is crucial for maintaining your health while working with oil paints. To filter out these hazardous substances, you should invest in a high-quality mask with appropriate filters designed specifically for VOCs.
- Choose a mask with activated carbon filters. These filters can capture VOCs and other airborne chemicals present in oil-based paint fumes.
- Make sure the mask fits snugly around your nose and mouth to ensure no fumes can enter.
- Change filters regularly according to the manufacturer’s guidelines, as saturated filters become less effective over time.
By following these suggestions, you can confidently work with oil paints while effectively managing fumes and minimizing exposure to VOCs.
Cleanup and Maintenance
Cleaning Brushes and Palette Knife
Cleaning your brushes and palette knife is an essential part of maintaining your oil paint tools. To clean brushes, follow these steps:
- Wipe off excess paint: Use a paper towel or cloth to remove as much paint as possible from the brush.
- Rinse in solvent: Swish the brush in a solvent, such as odorless mineral spirits or turpentine, until the bristles are free of paint.
- Wash with soap: Gently massage a brush cleaner or mild soap into the bristles, then rinse with warm water. Repeat this step until the water runs clear.
- Reshape and dry: Reshape the bristles with your fingers, and lay the brushes flat to dry.
For palette knives, simply wipe off excess paint with a paper towel or cloth, and then clean with soap and water. Dry thoroughly before storing.
Storing Oil Paints Safely
Proper storage of oil paints is vital for preserving their quality and ensuring safety in your workspace. Here are some tips for storing oil paints:
- Keep paints in a cool, dry place: Exposure to heat and humidity can alter the consistency of the paint, making it difficult to work with. Store paints in a room with a constant temperature and low humidity.
- Avoid direct sunlight: Prolonged exposure to sunlight can fade pigments. Store your oil paints away from direct sunlight or in opaque, airtight containers.
- Store in original packaging or airtight containers: Retain the original packaging for your oil paints, as it provides information about the paint and protects it from environmental factors. If the original packaging is damaged or lost, transfer the paint to airtight containers or tubes.
- Keep away from children and pets: Ensure that your oil paints are stored in a safe location, out of reach of children and pets.
Following these cleanup and maintenance tips will help prolong the life of your brushes, palette knife, and oil paints, ensuring that you can continue to create beautiful artwork.
Frequently Asked Questions
What is the best masking fluid for oil paintings?
There are several masking fluids available in the market, but the best option for oil paintings is one that is specifically designed for use with oil-based mediums. Look for a fluid with good adhesion properties, quick drying time, and easy removal capabilities like Winsor & Newton’s Art Masking Fluid or Grumbacher’s Miskit Liquid Frisket.
How do you apply masking fluid in oil painting?
To apply masking fluid in oil painting, first ensure that the surface is clean and dry. Use a brush specifically dedicated for masking fluid application, as the fluid can damage your regular brushes. Dip the brush into the masking fluid and apply it onto the desired area with thin, even strokes. Allow it to dry completely before proceeding with the oil paint application.
Can painter’s tape be used with oil-based paint?
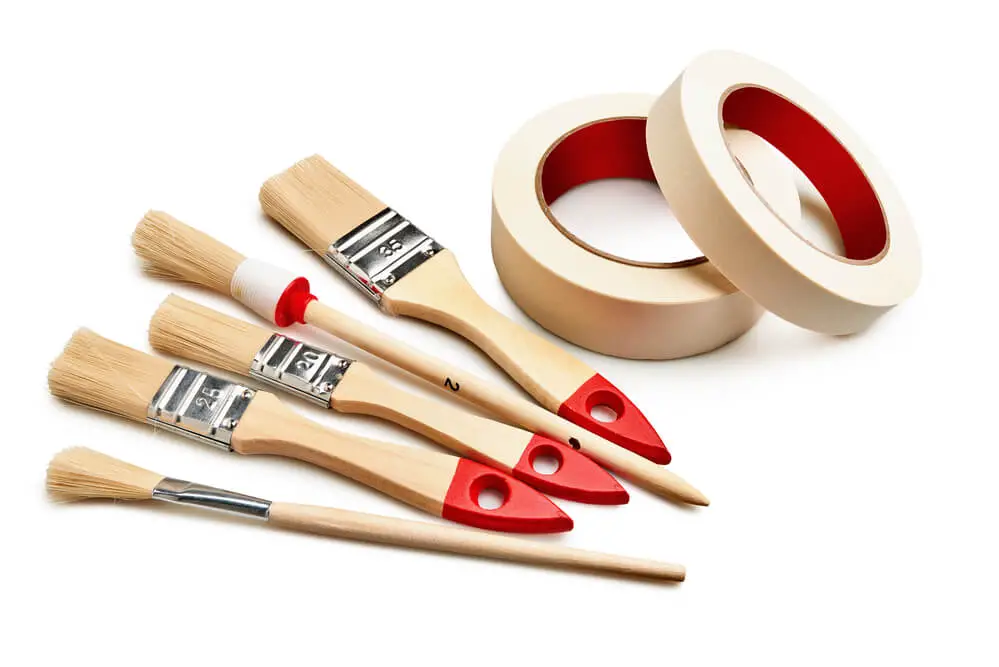
Yes, painter’s tape can be used with oil-based paint. However, it is important to choose a tape that is specifically designed for use with oil paints, as some tapes may not adhere properly or might leave a residue behind after removal. A high-quality painter’s tape, like ScotchBlue or Frogtape, should work well with oil-based paint.
What are some alternatives to traditional masking fluid in oil painting?
While masking fluid is widely used, there are other methods to mask areas in oil painting. Some alternatives include using wax, solid rubber cement, or even utilizing physical barriers like cardboard or paper to block paint from reaching certain areas on the canvas.
What are some common masking techniques in painting?
Common masking techniques in painting include the use of masking fluid, painter’s tape, wax, rubber cement, and physical barriers like cardboard or paper. Each of these methods helps protect certain areas on the canvas during paint application, allowing you to create clean edges, shapes, or intricate designs.
How can you achieve a realistic look with oil paint?
To achieve a realistic look with oil paint, focus on layering, blending, and accurate color mixing. Begin by creating a detailed underpainting using thinned-down paint in monochromatic shades. Once dry, gradually build up layers of color, paying attention to detail, depth, and shading. Use fine brushes for details and a soft, dry brush for blending edges and transitions between colors. Additionally, studying the work of master painters and practicing different techniques can help improve your oil painting skills.